‘Homespun’ My Journey with Flax Growing my own Linen Cloth from Seed
As a gardener and textile artist, I’ve always loved to combine the two loves of my life. My garden, plants, flowers and the natural world have always been an inspiration to me as well as my professional vocation. Moving from horticulture into natural dyeing was a easy step and somewhere I felt totally at home. When the opportunity arose to spend a season growing, dyeing and weaving my own cloth I jumped at the chance. Not only was this a fascinating experience for me, it helped me understand the work involved in creating a natural fibre from seed and how we attribute value to the textiles in our lives.
I signed up to do the ‘Growing Slow Textiles’ course run by Justine Aldersey-Williams. This was a guided season of growing flax/ linen from seed, processing it, dyeing with homegrown indigo, spinning and weaving to create a small piece of cloth. Each month we received tutorials and guidance online for the whole process. Justine herself made British fashion history by producing the UK’s first pair of homegrown indigo linen jeans. She has created a documentary about her process called ‘Woman Grows Jeans’ . Historically linen was commonly grown in the UK prior to imported cotton coming from the colonies and could be an important factor in working towards more sustainable textiles in the future.
So, I thought it would be useful to document my own journey to create my small but very precious piece of ‘Homespun’ cloth.
Sowing the Seeds
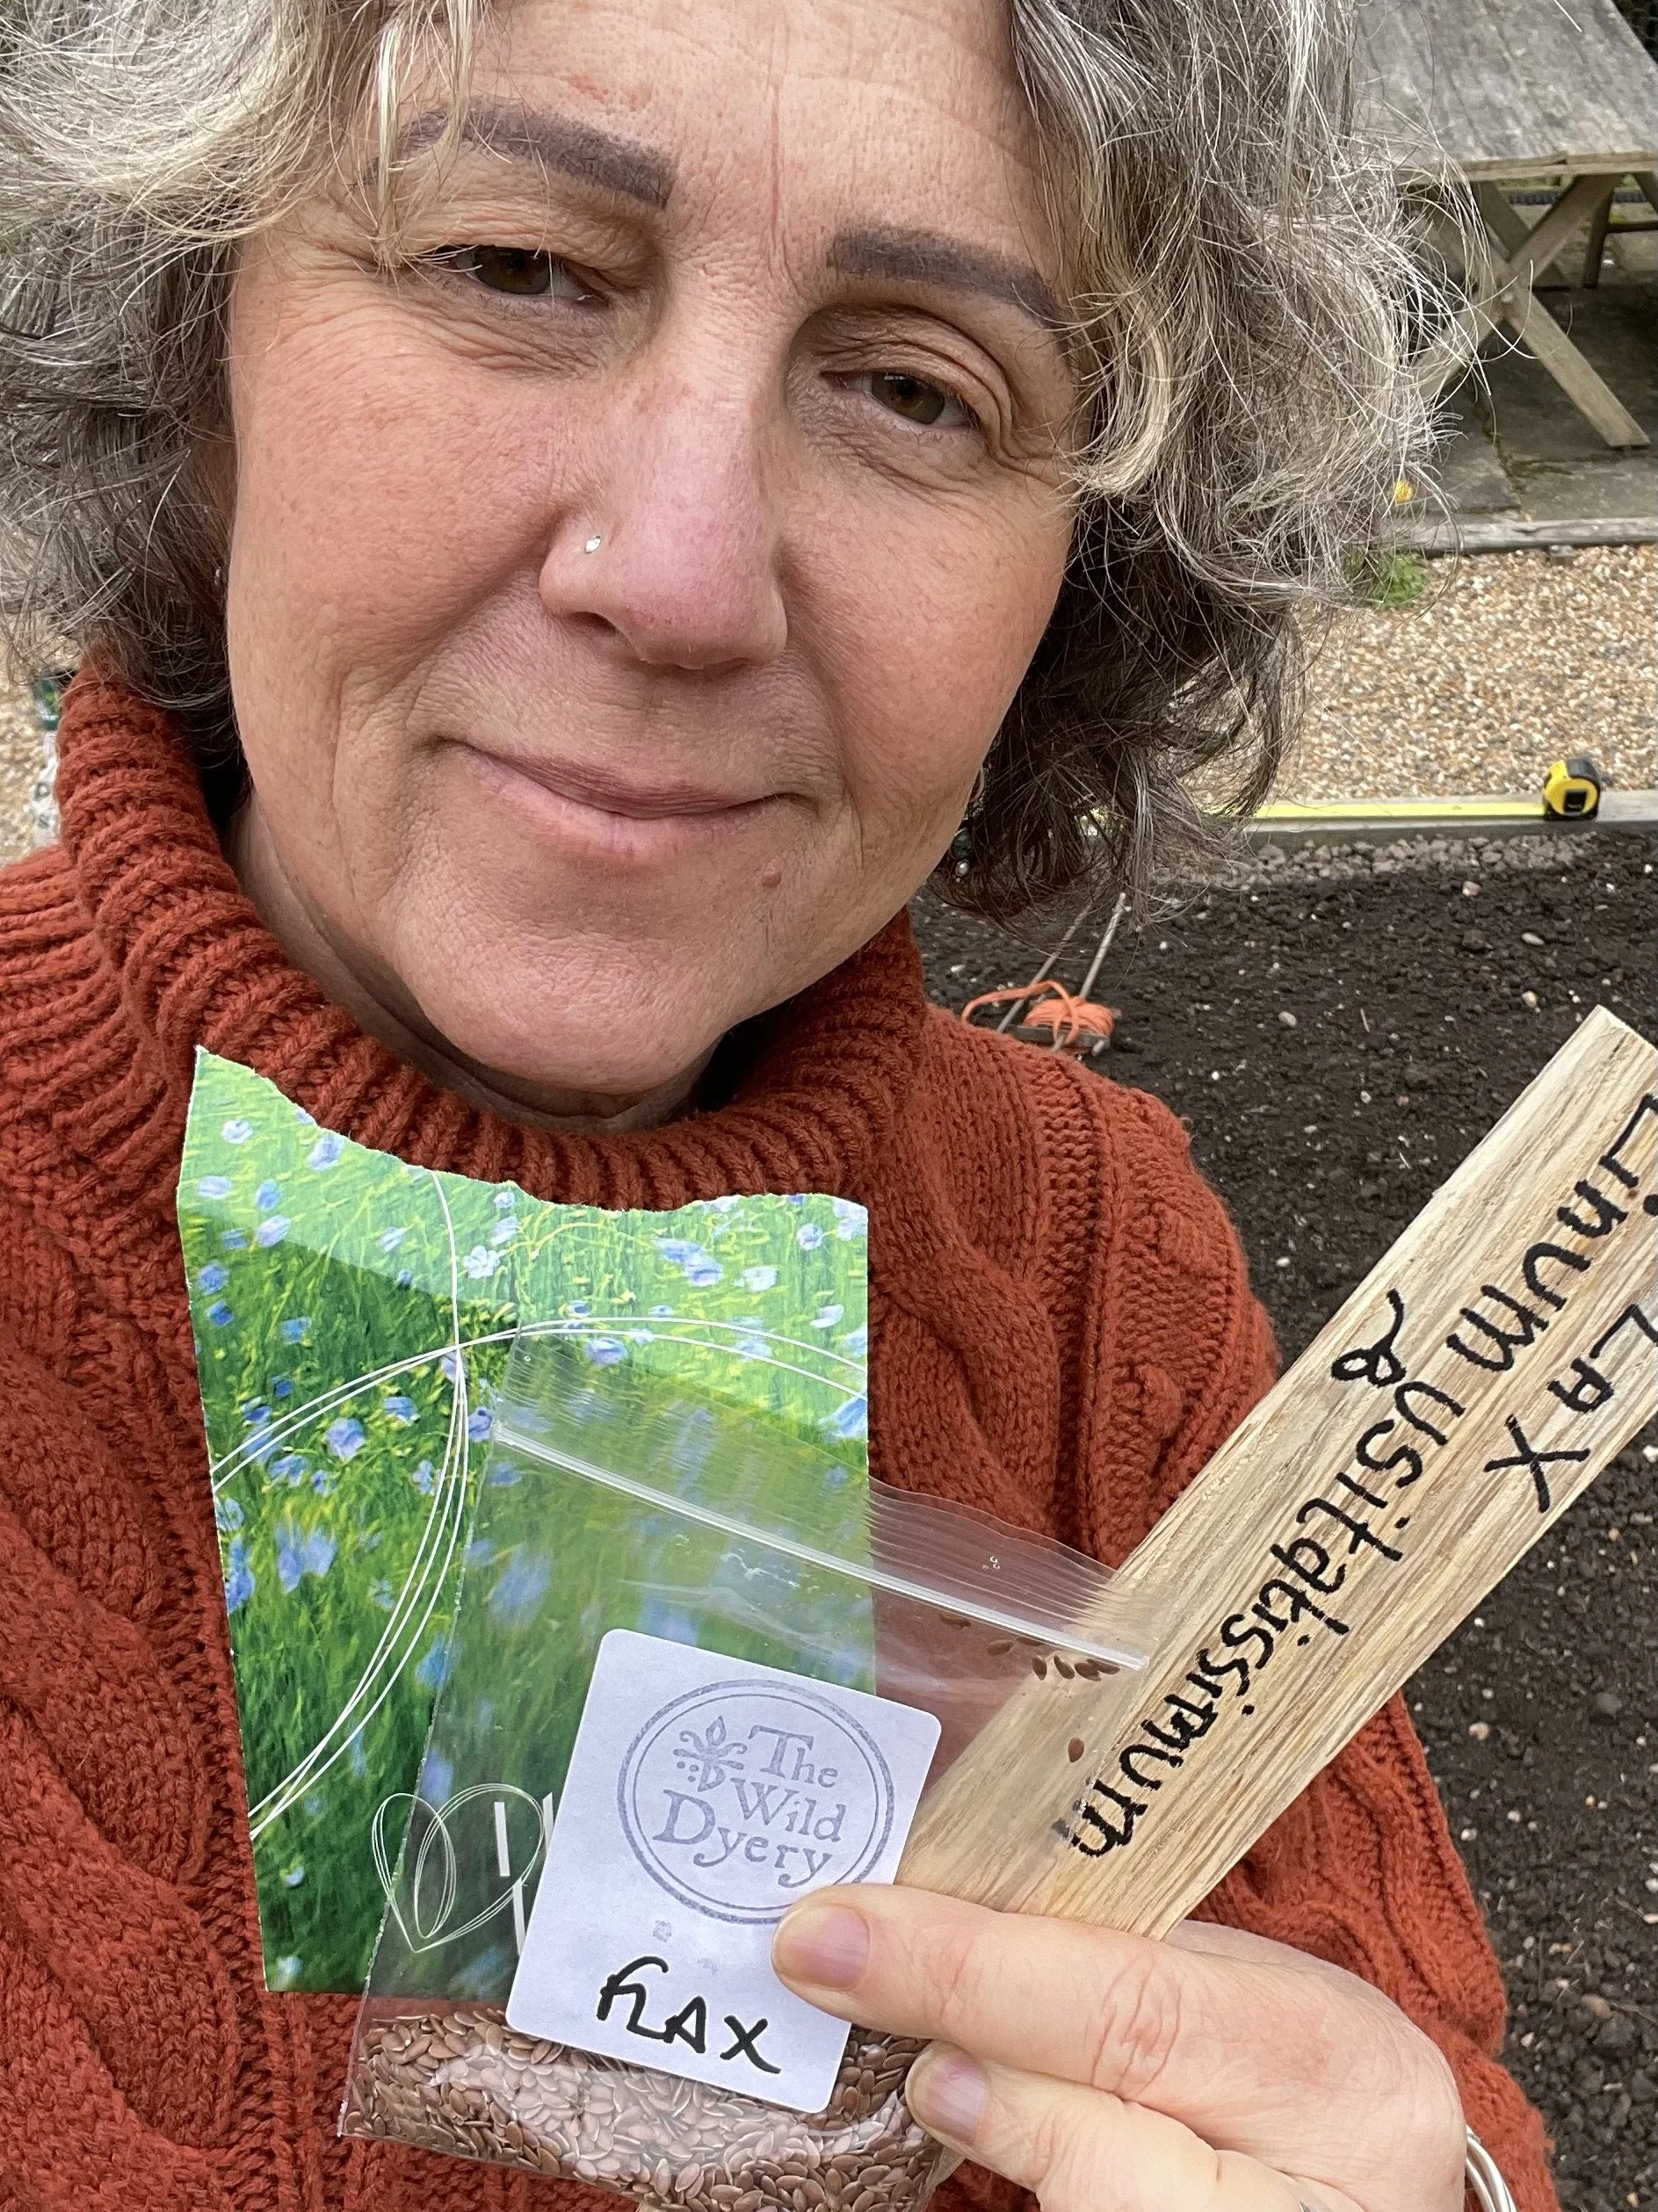
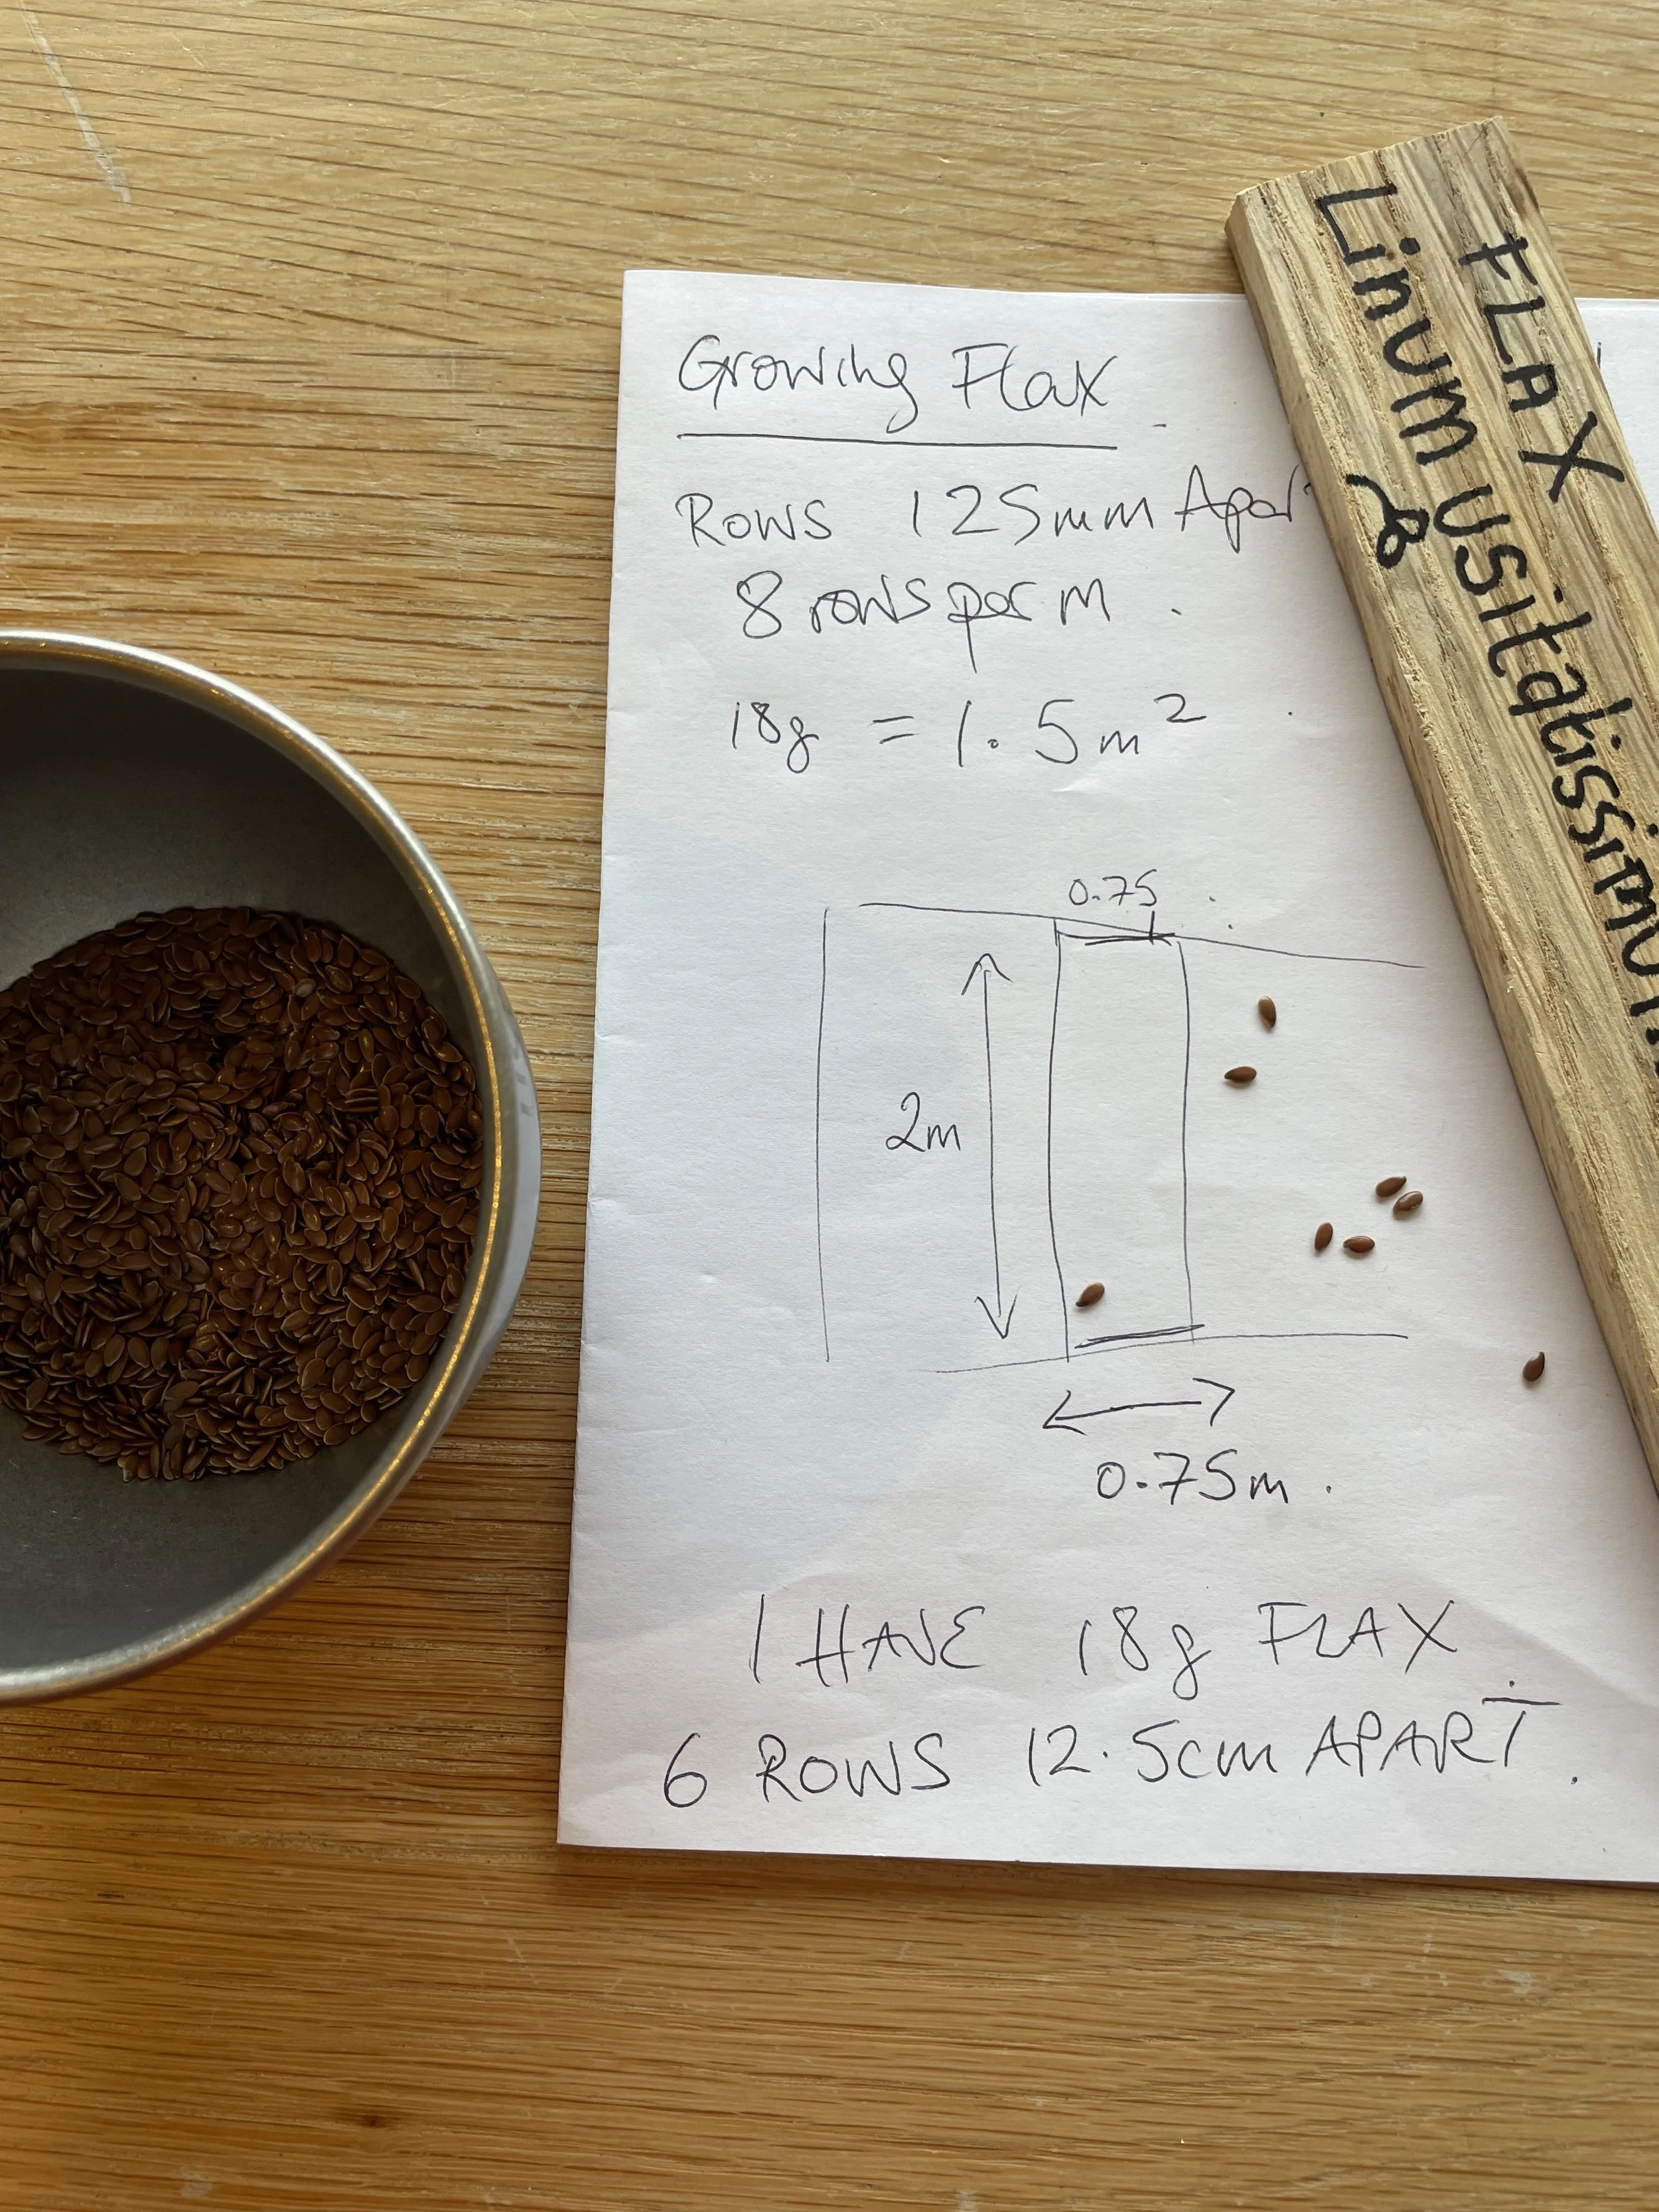
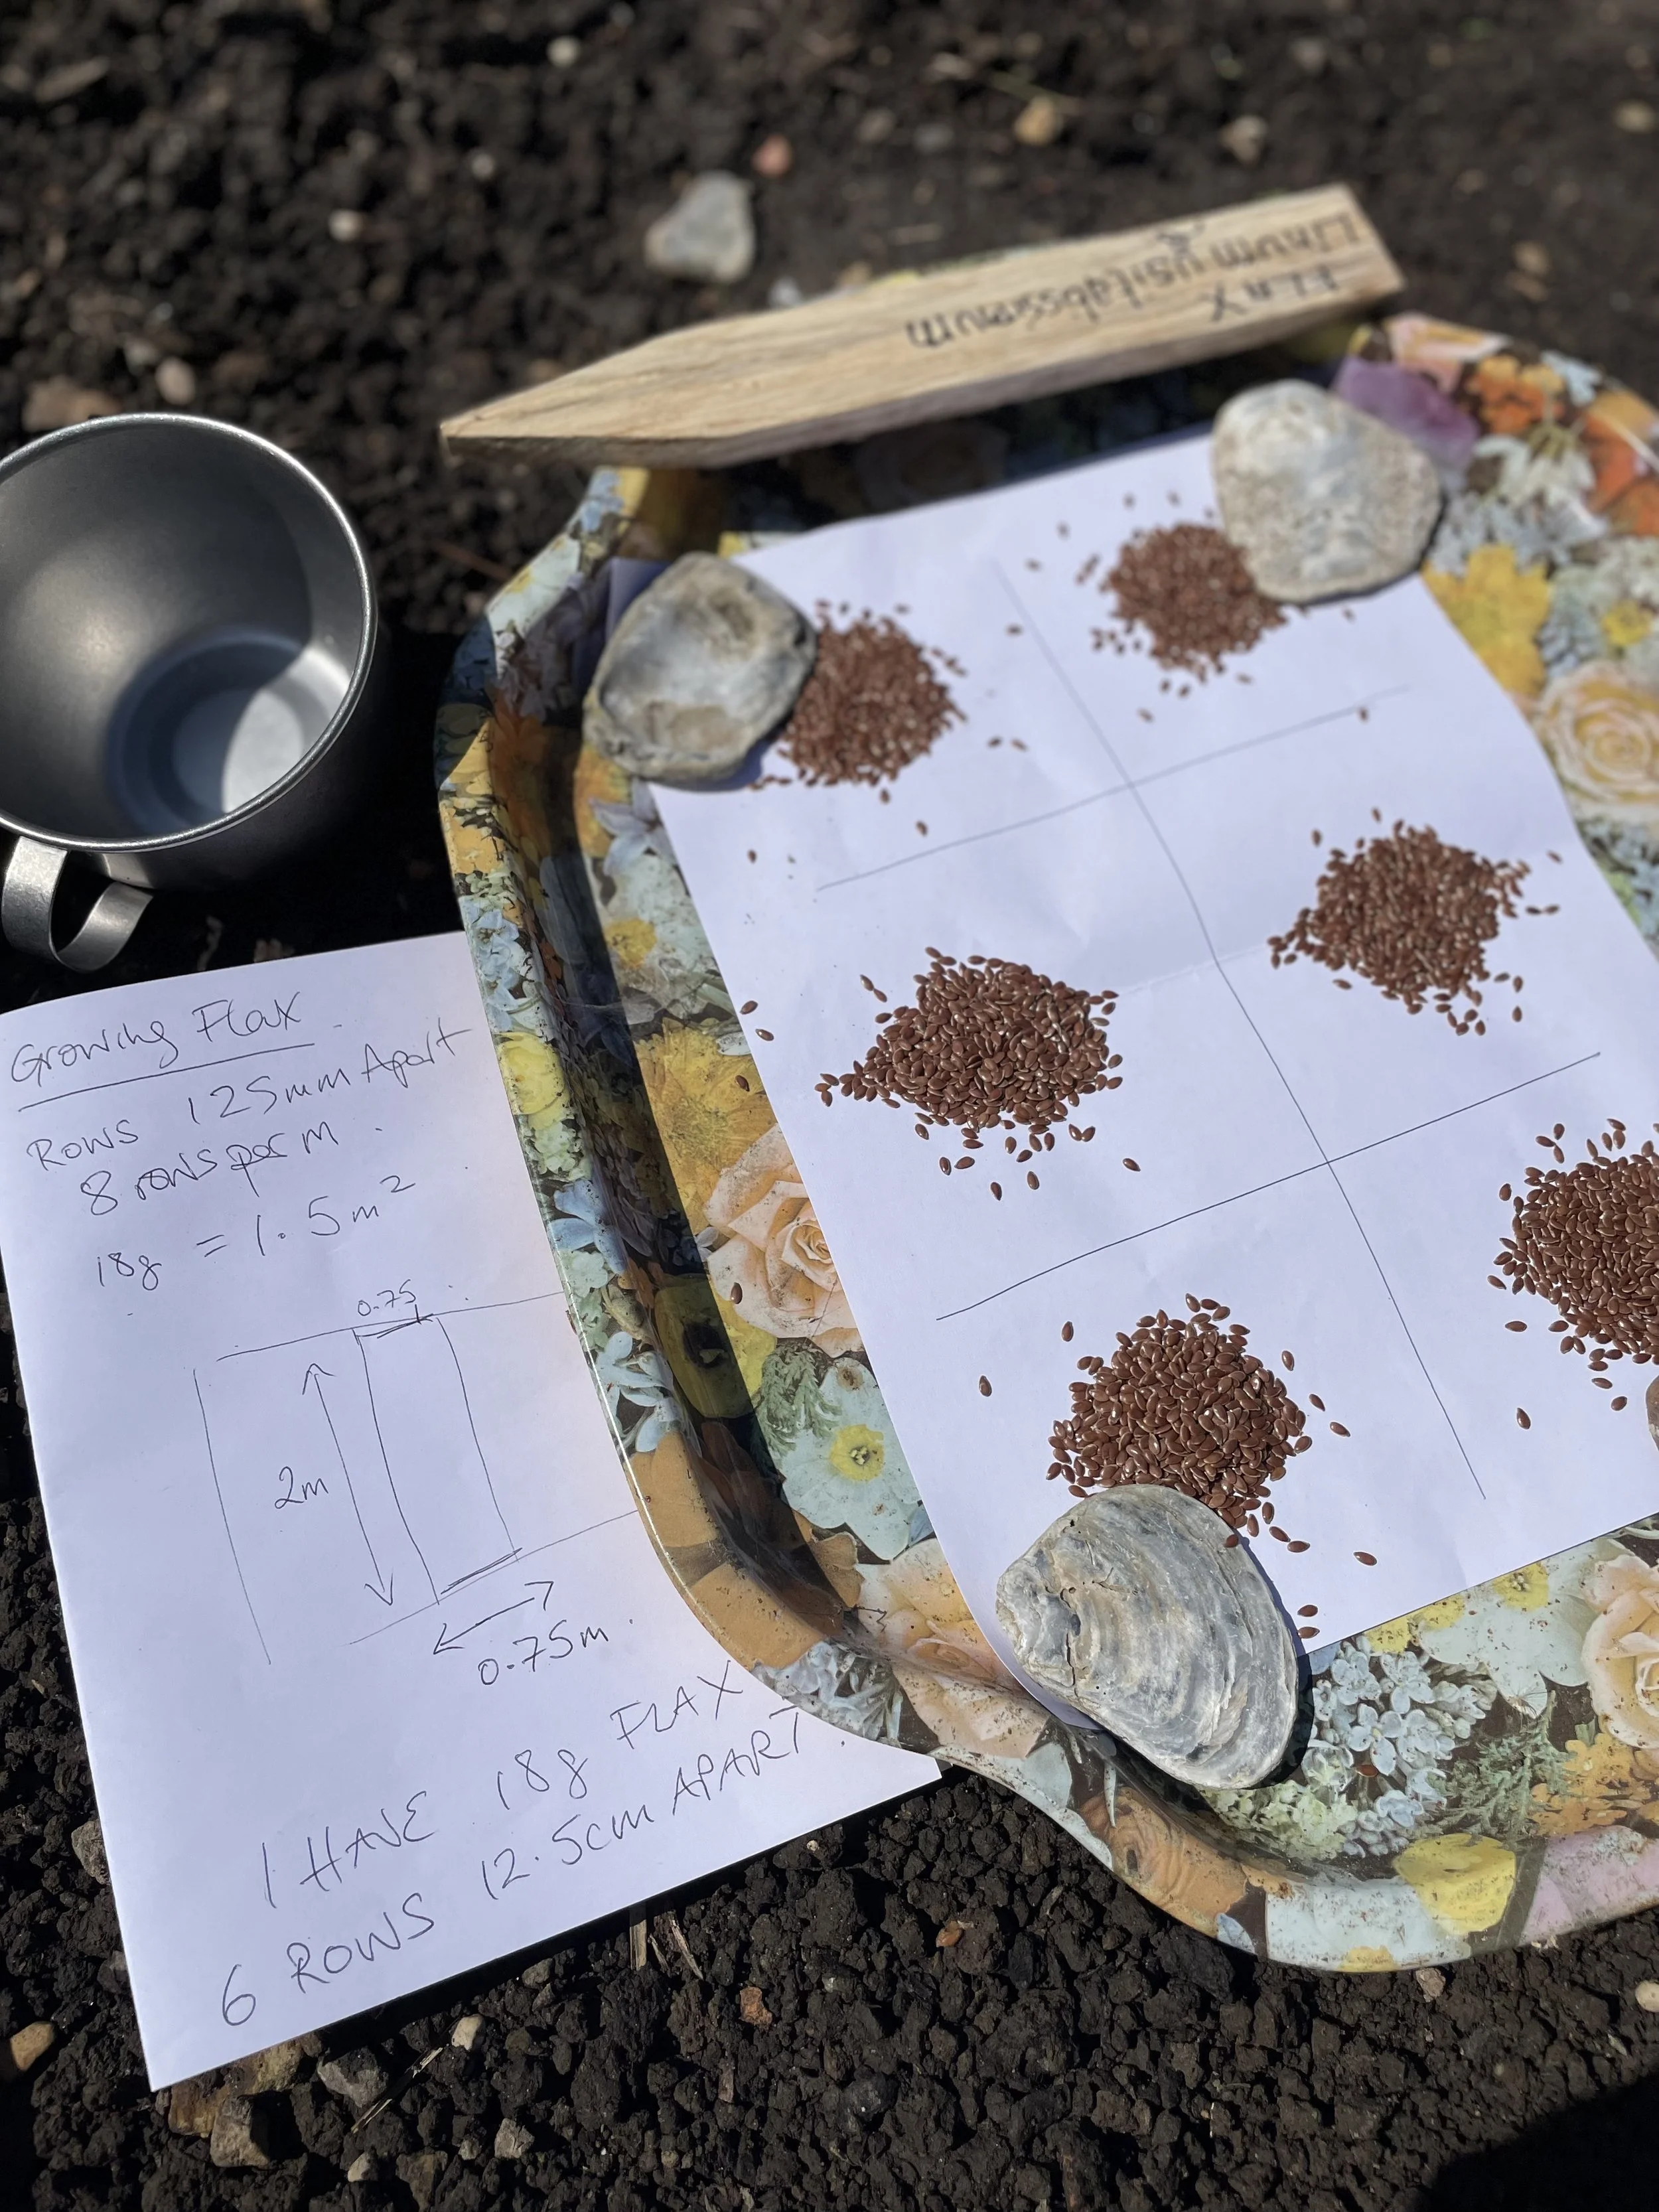
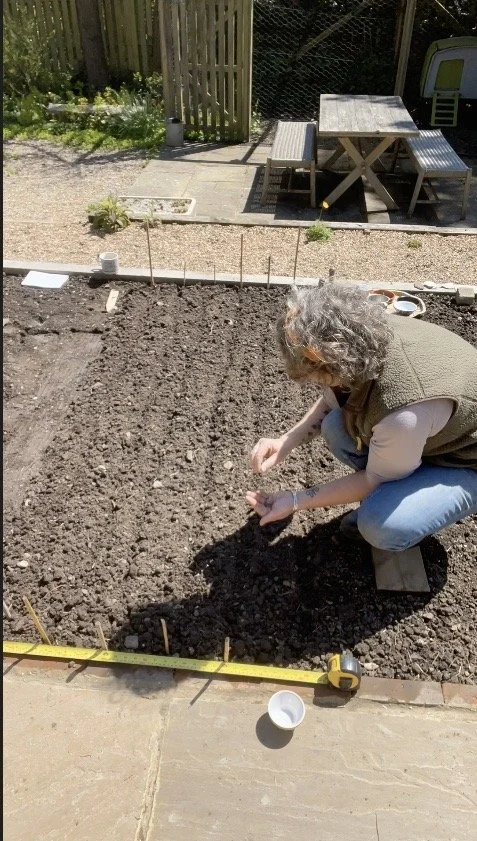
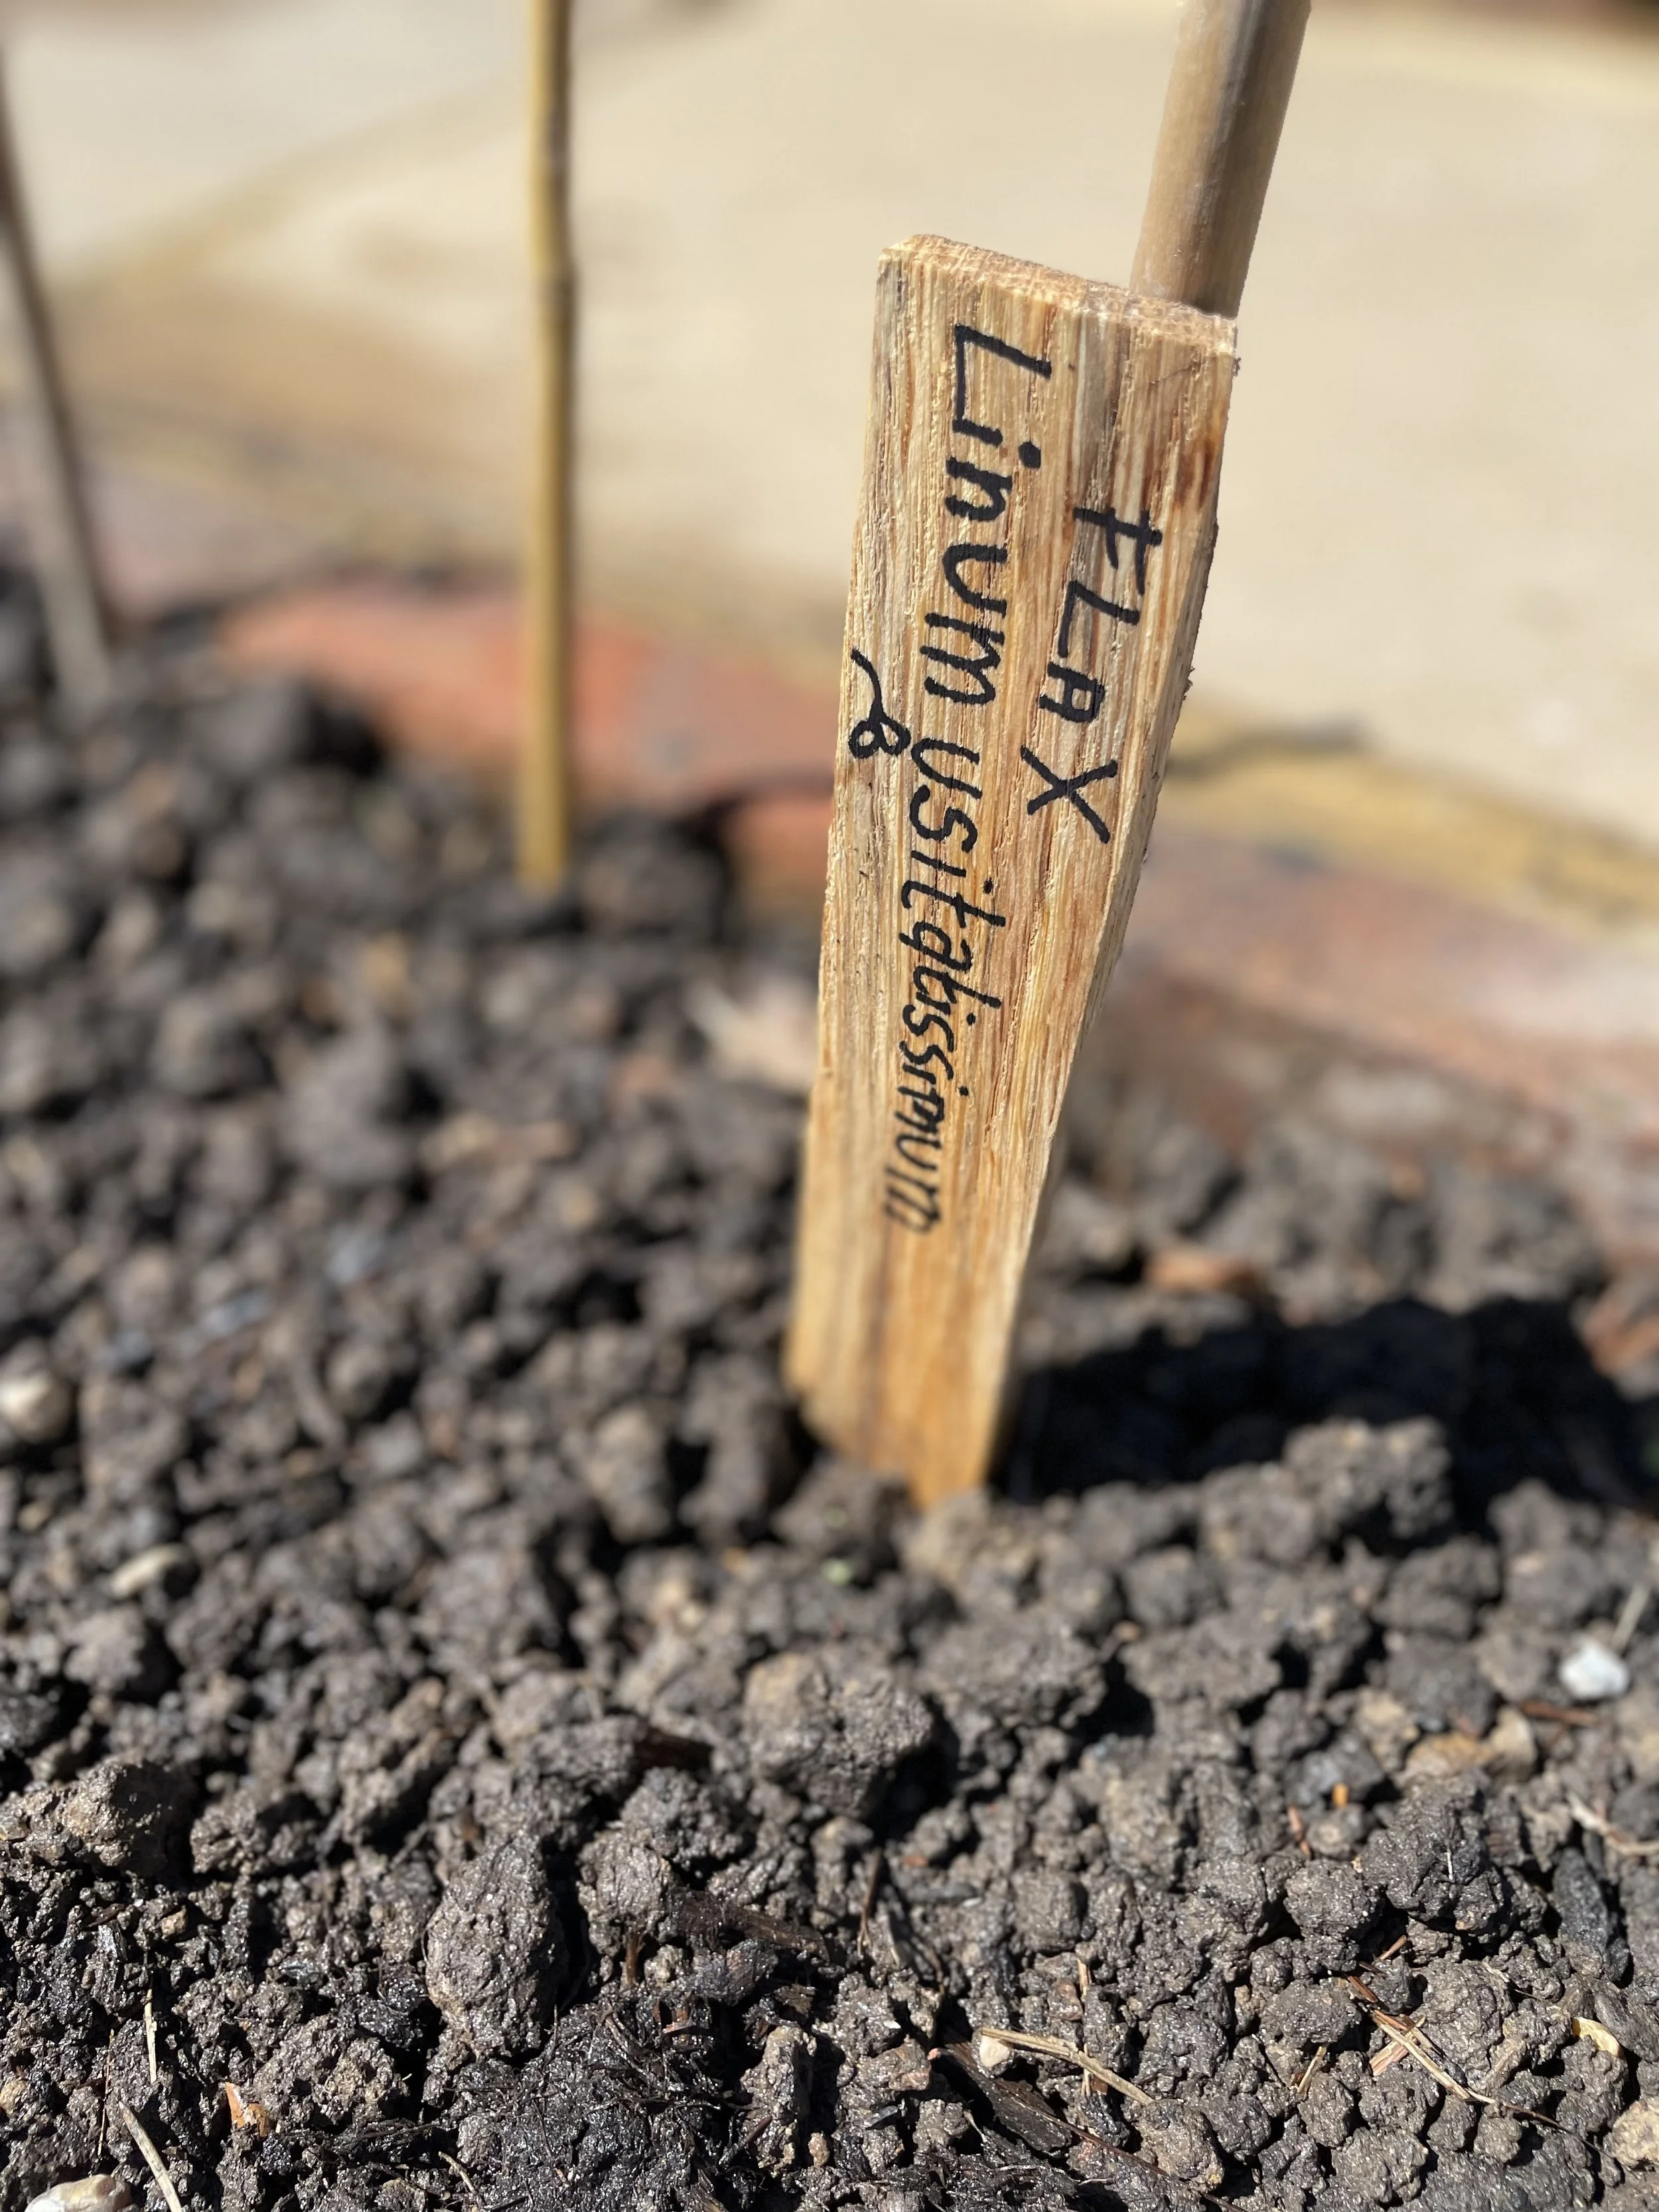
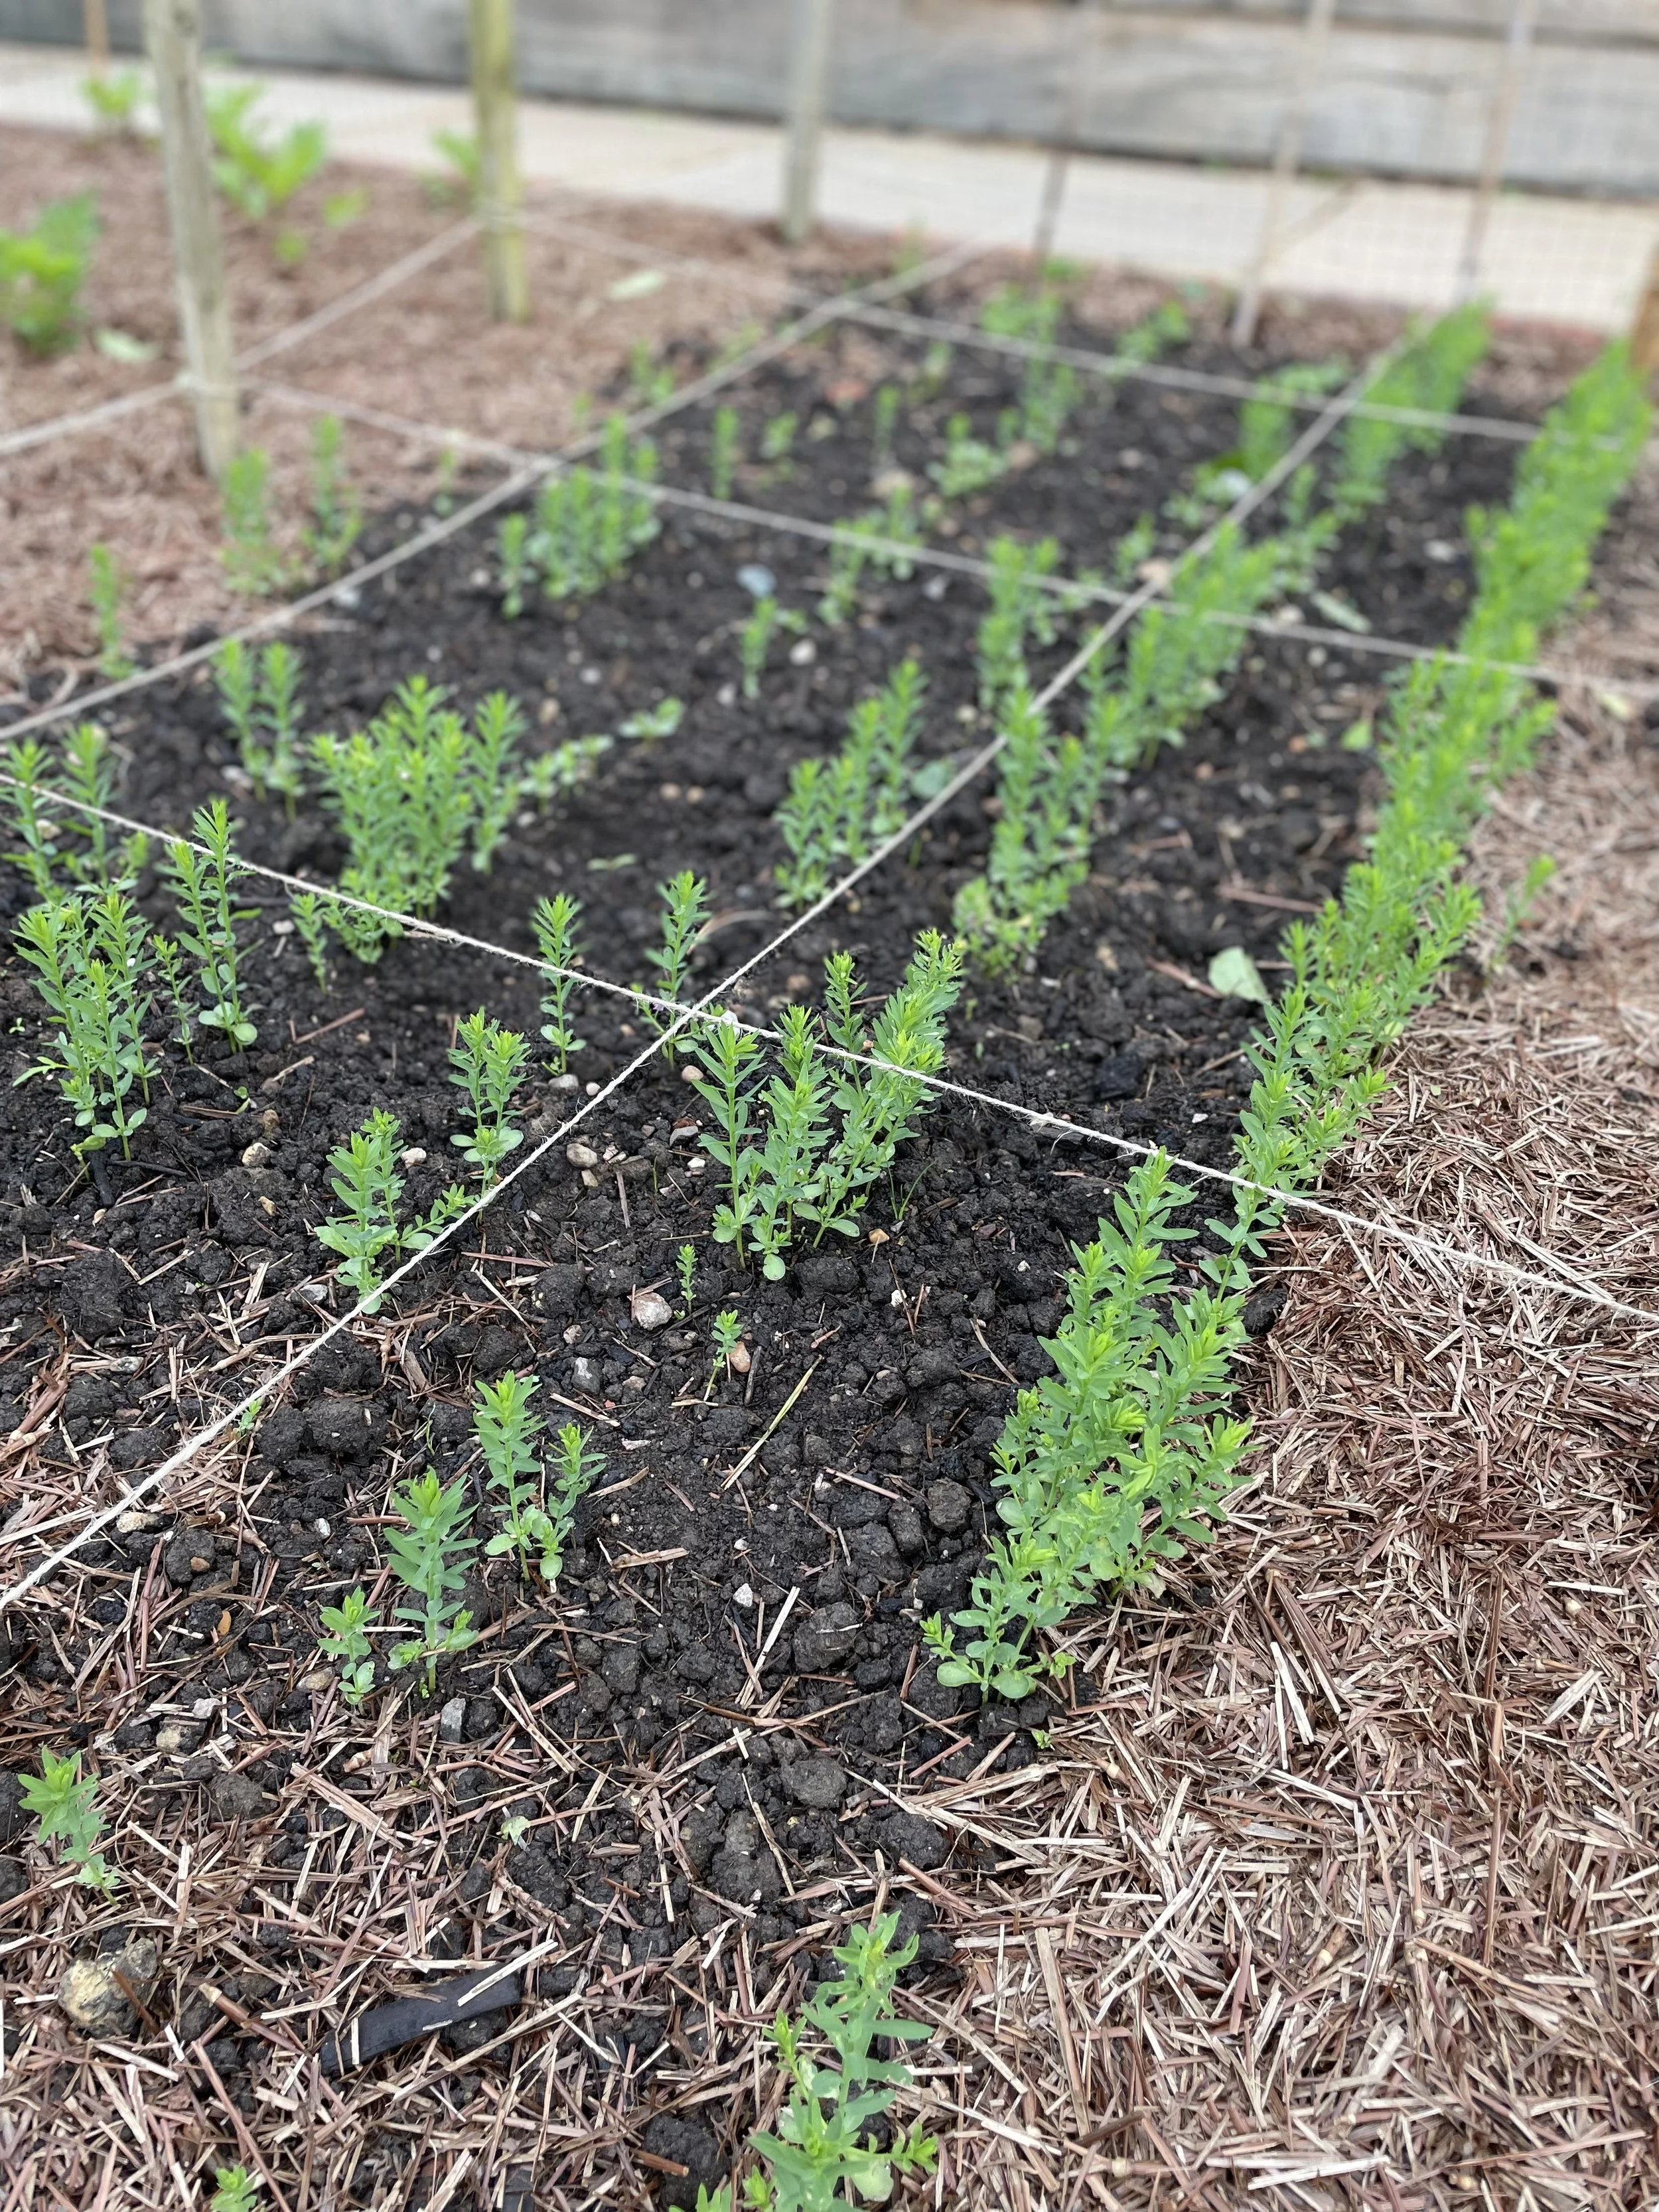
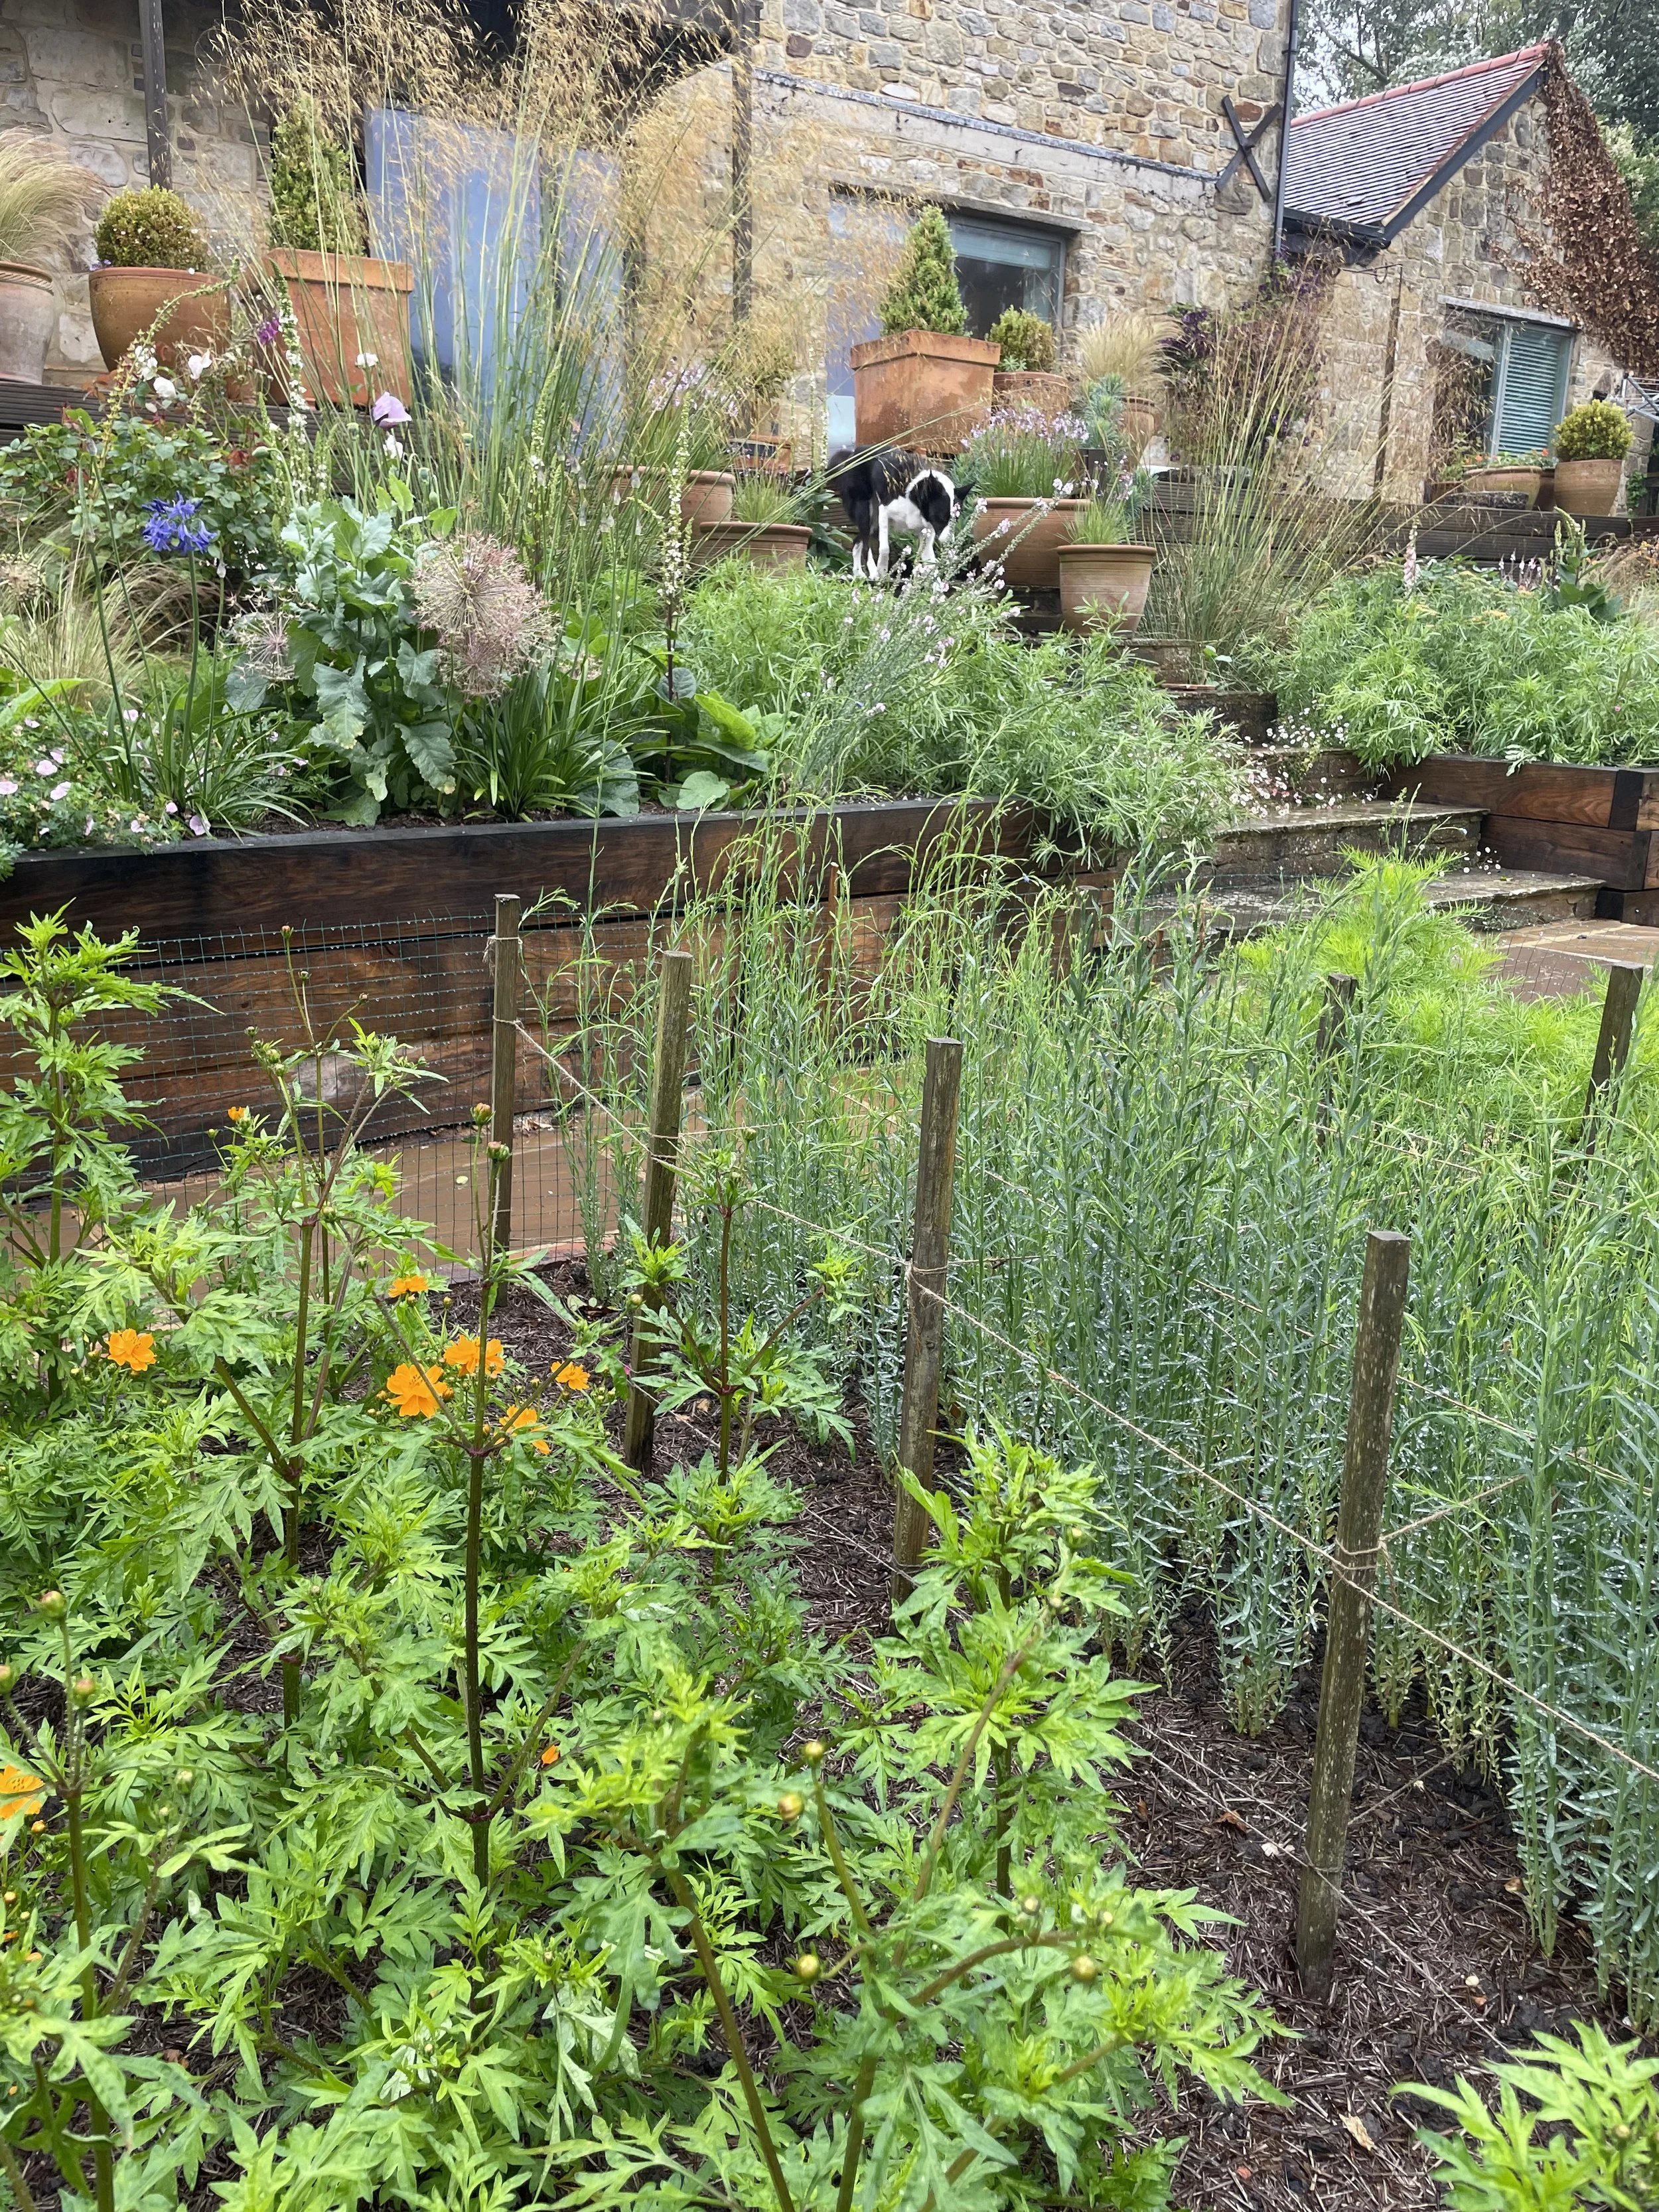
We were provided with a small packet of Flax or Linen seeds of the form Linum usitatissimum. This form is taller with better fibres than the types grown for their seeds. There was enough to grow about 1m2 and I had a few seeds myself that I added too. At the end of April, I sowed 6 rows, spaced 12.5cm apart. I decided to plant in rows rather than broadcast as it is much easier to weed. Flax doesn’t require particularly fertile soil so I didn’t add anything to my border soil which was part of my dye garden on a raised bed. I divided the seed up by weight to be sure I had enough for all the rows and sowed into shallow drills. I gave them some water and mulched around the area. Like many gardeners I share my garden with numerous forms of wildlife and it turns out that mice like flax seed too as do pigeons and slugs! Luckily there still seemed to be enough seedlings to give a reasonable crop. At the end of May I added some strings over the plants for support as living here on the cliffs it can get pretty windy!
Growing and Harvesting
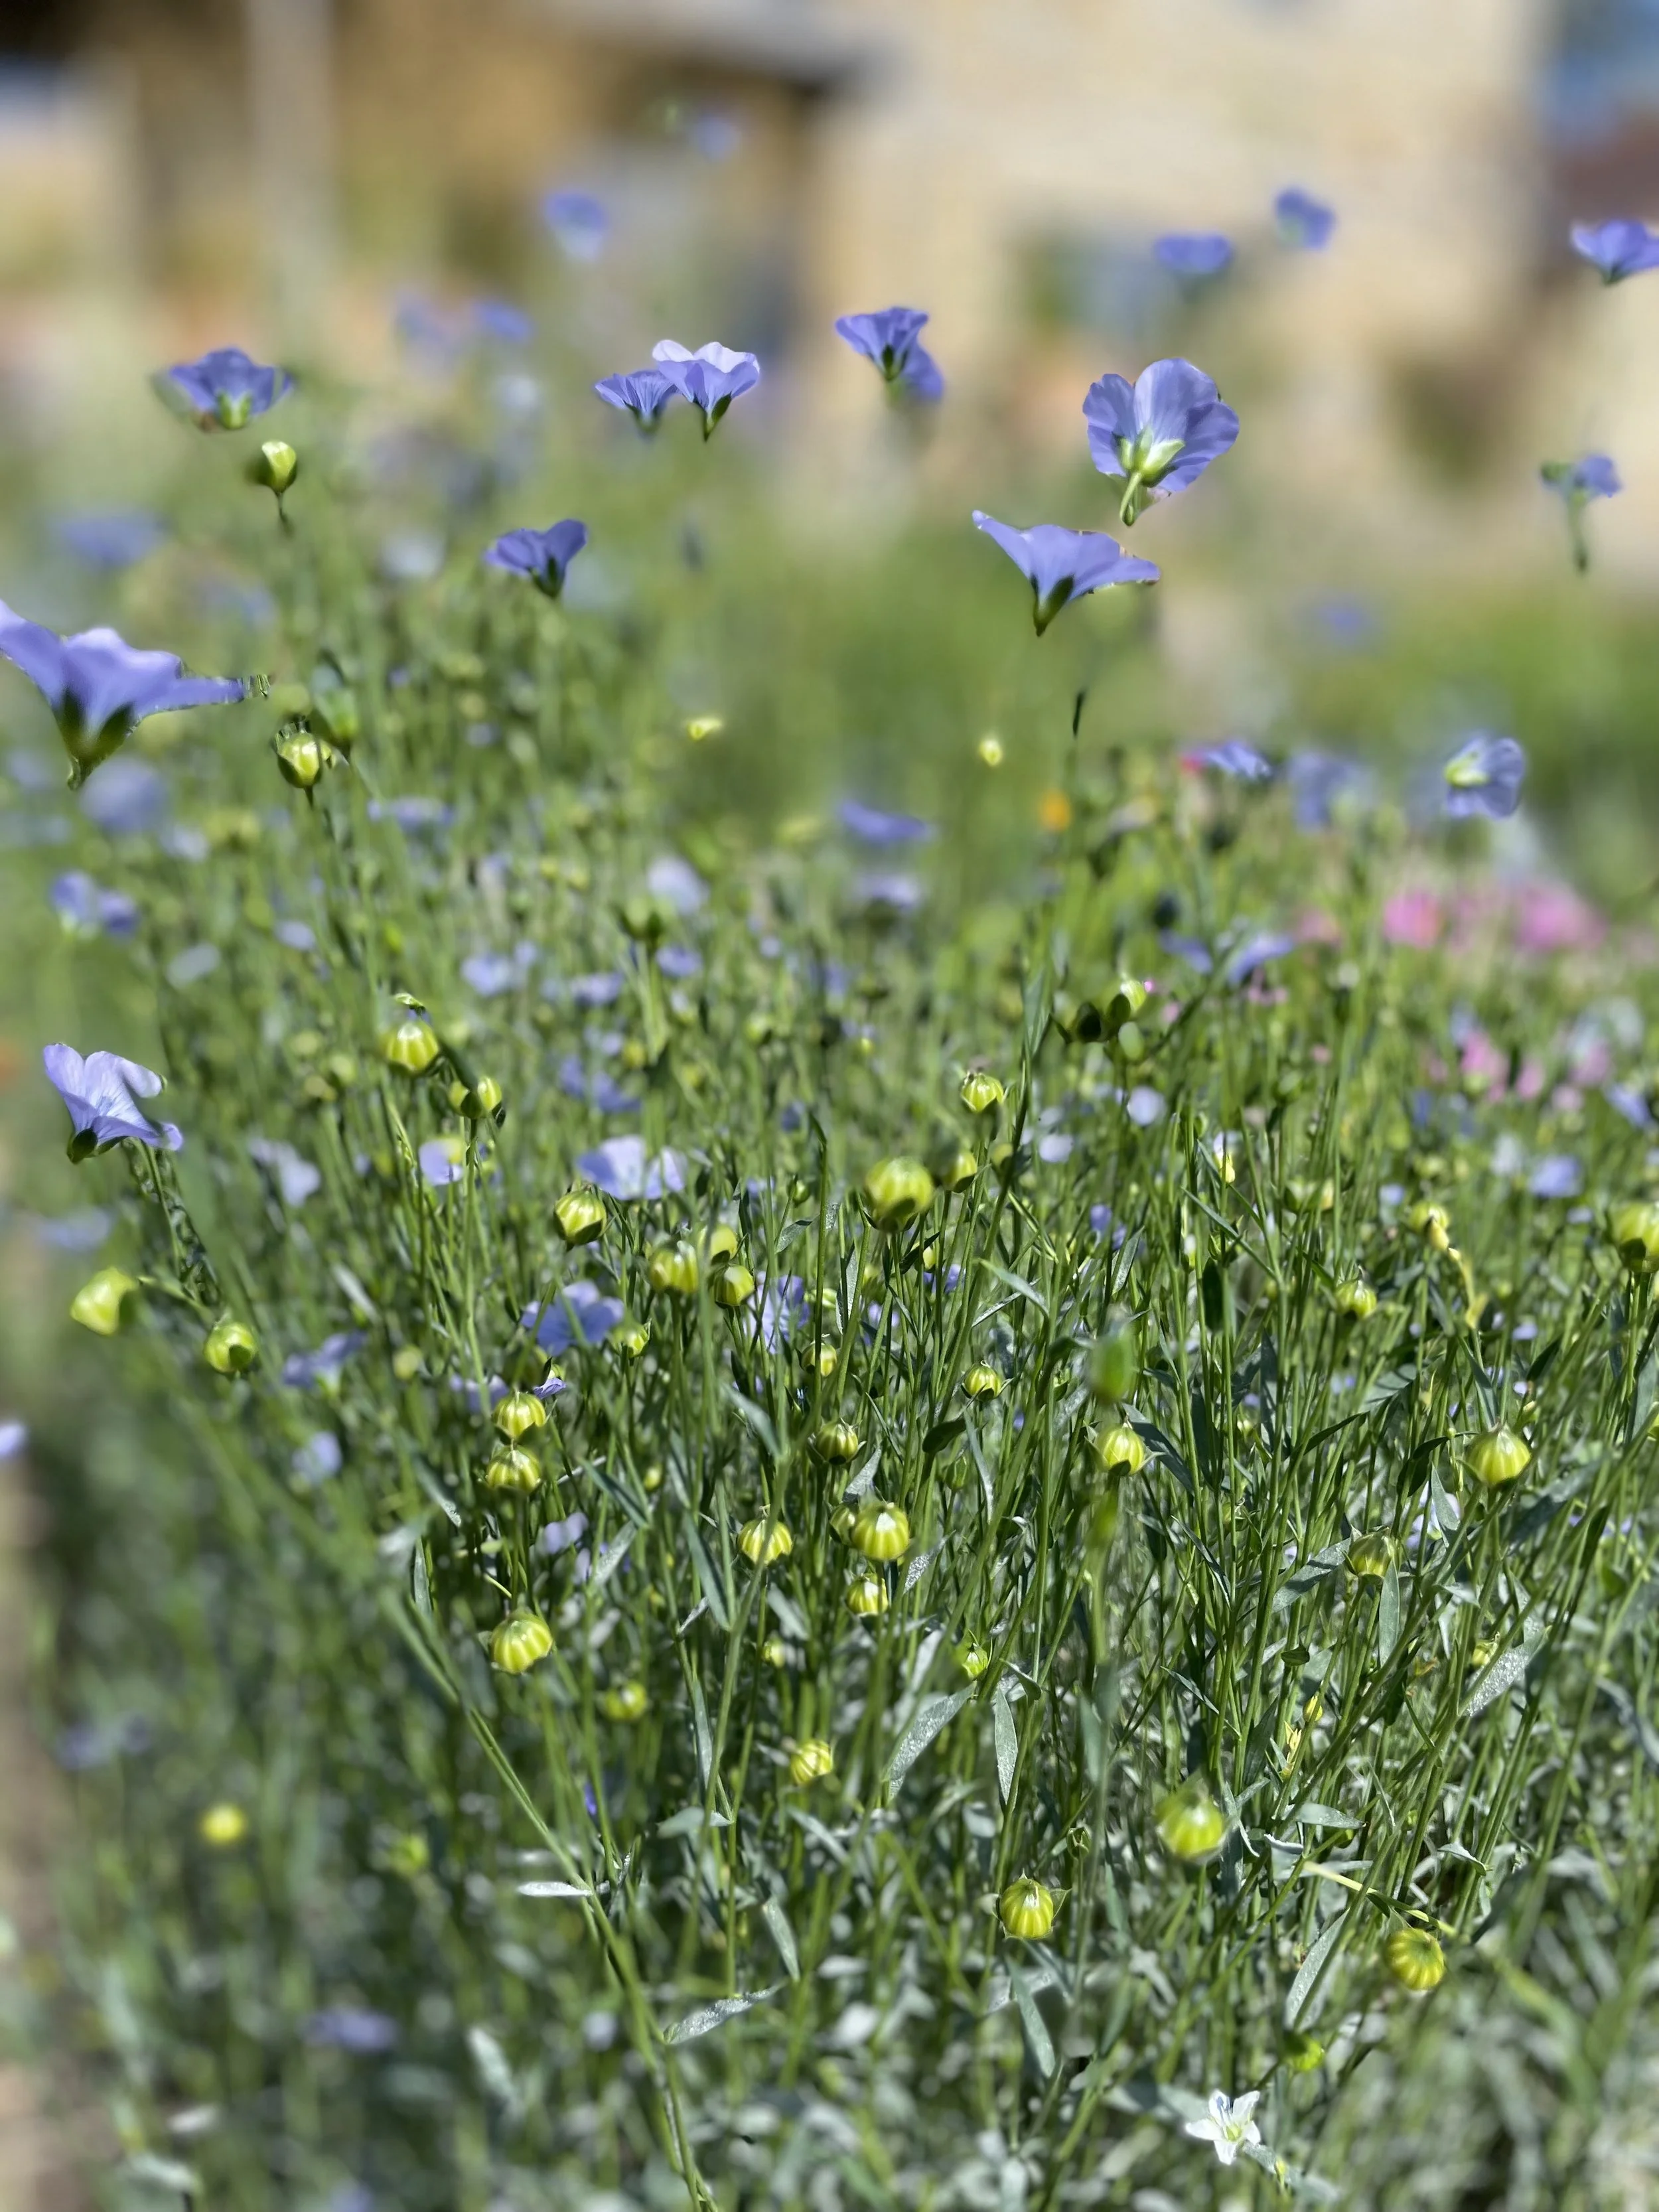
Over the summer months the flax plants pretty much looked after themselves, other than weeding and adding extra layers of strings for support. Flax has particularly beautiful pale blue flowers and was flowering away when I came back from my holiday at the end of July. Everything in the dye garden was really beginning to go for it too and it’s a busy time for flower printing and harvesting and drying materials for later use. Luckily I’ve got my little black and white helper-Maisie!
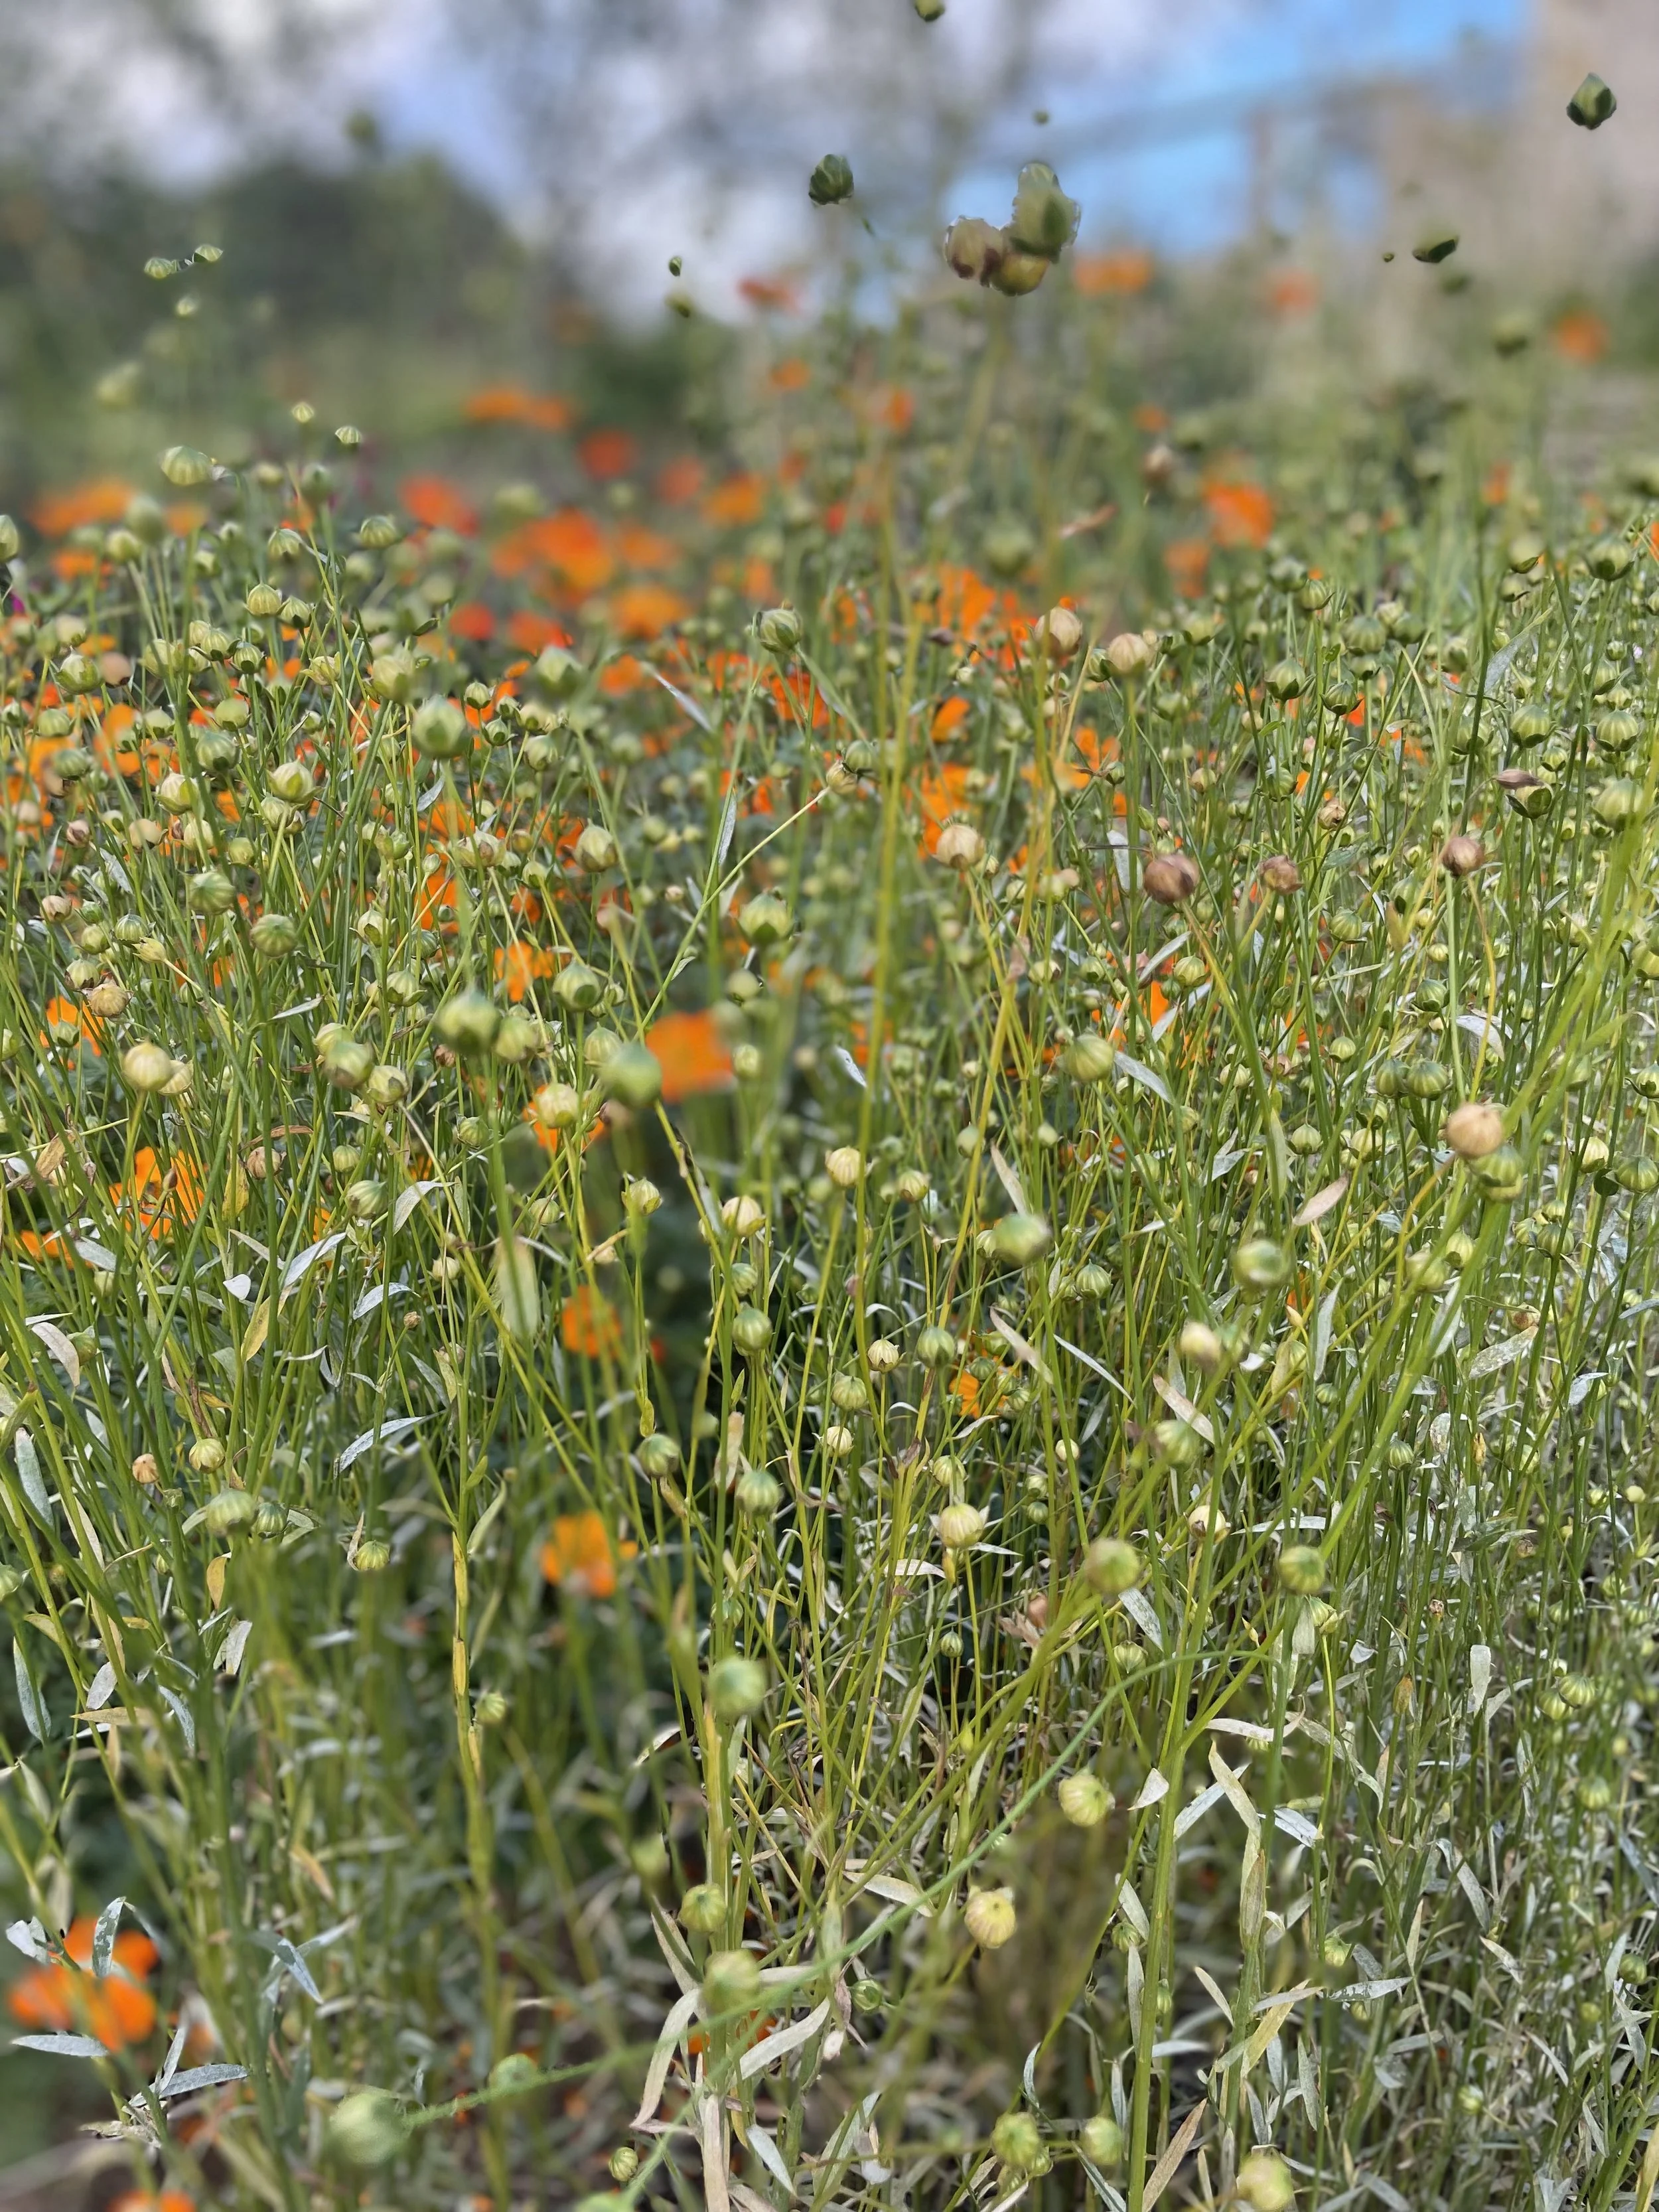
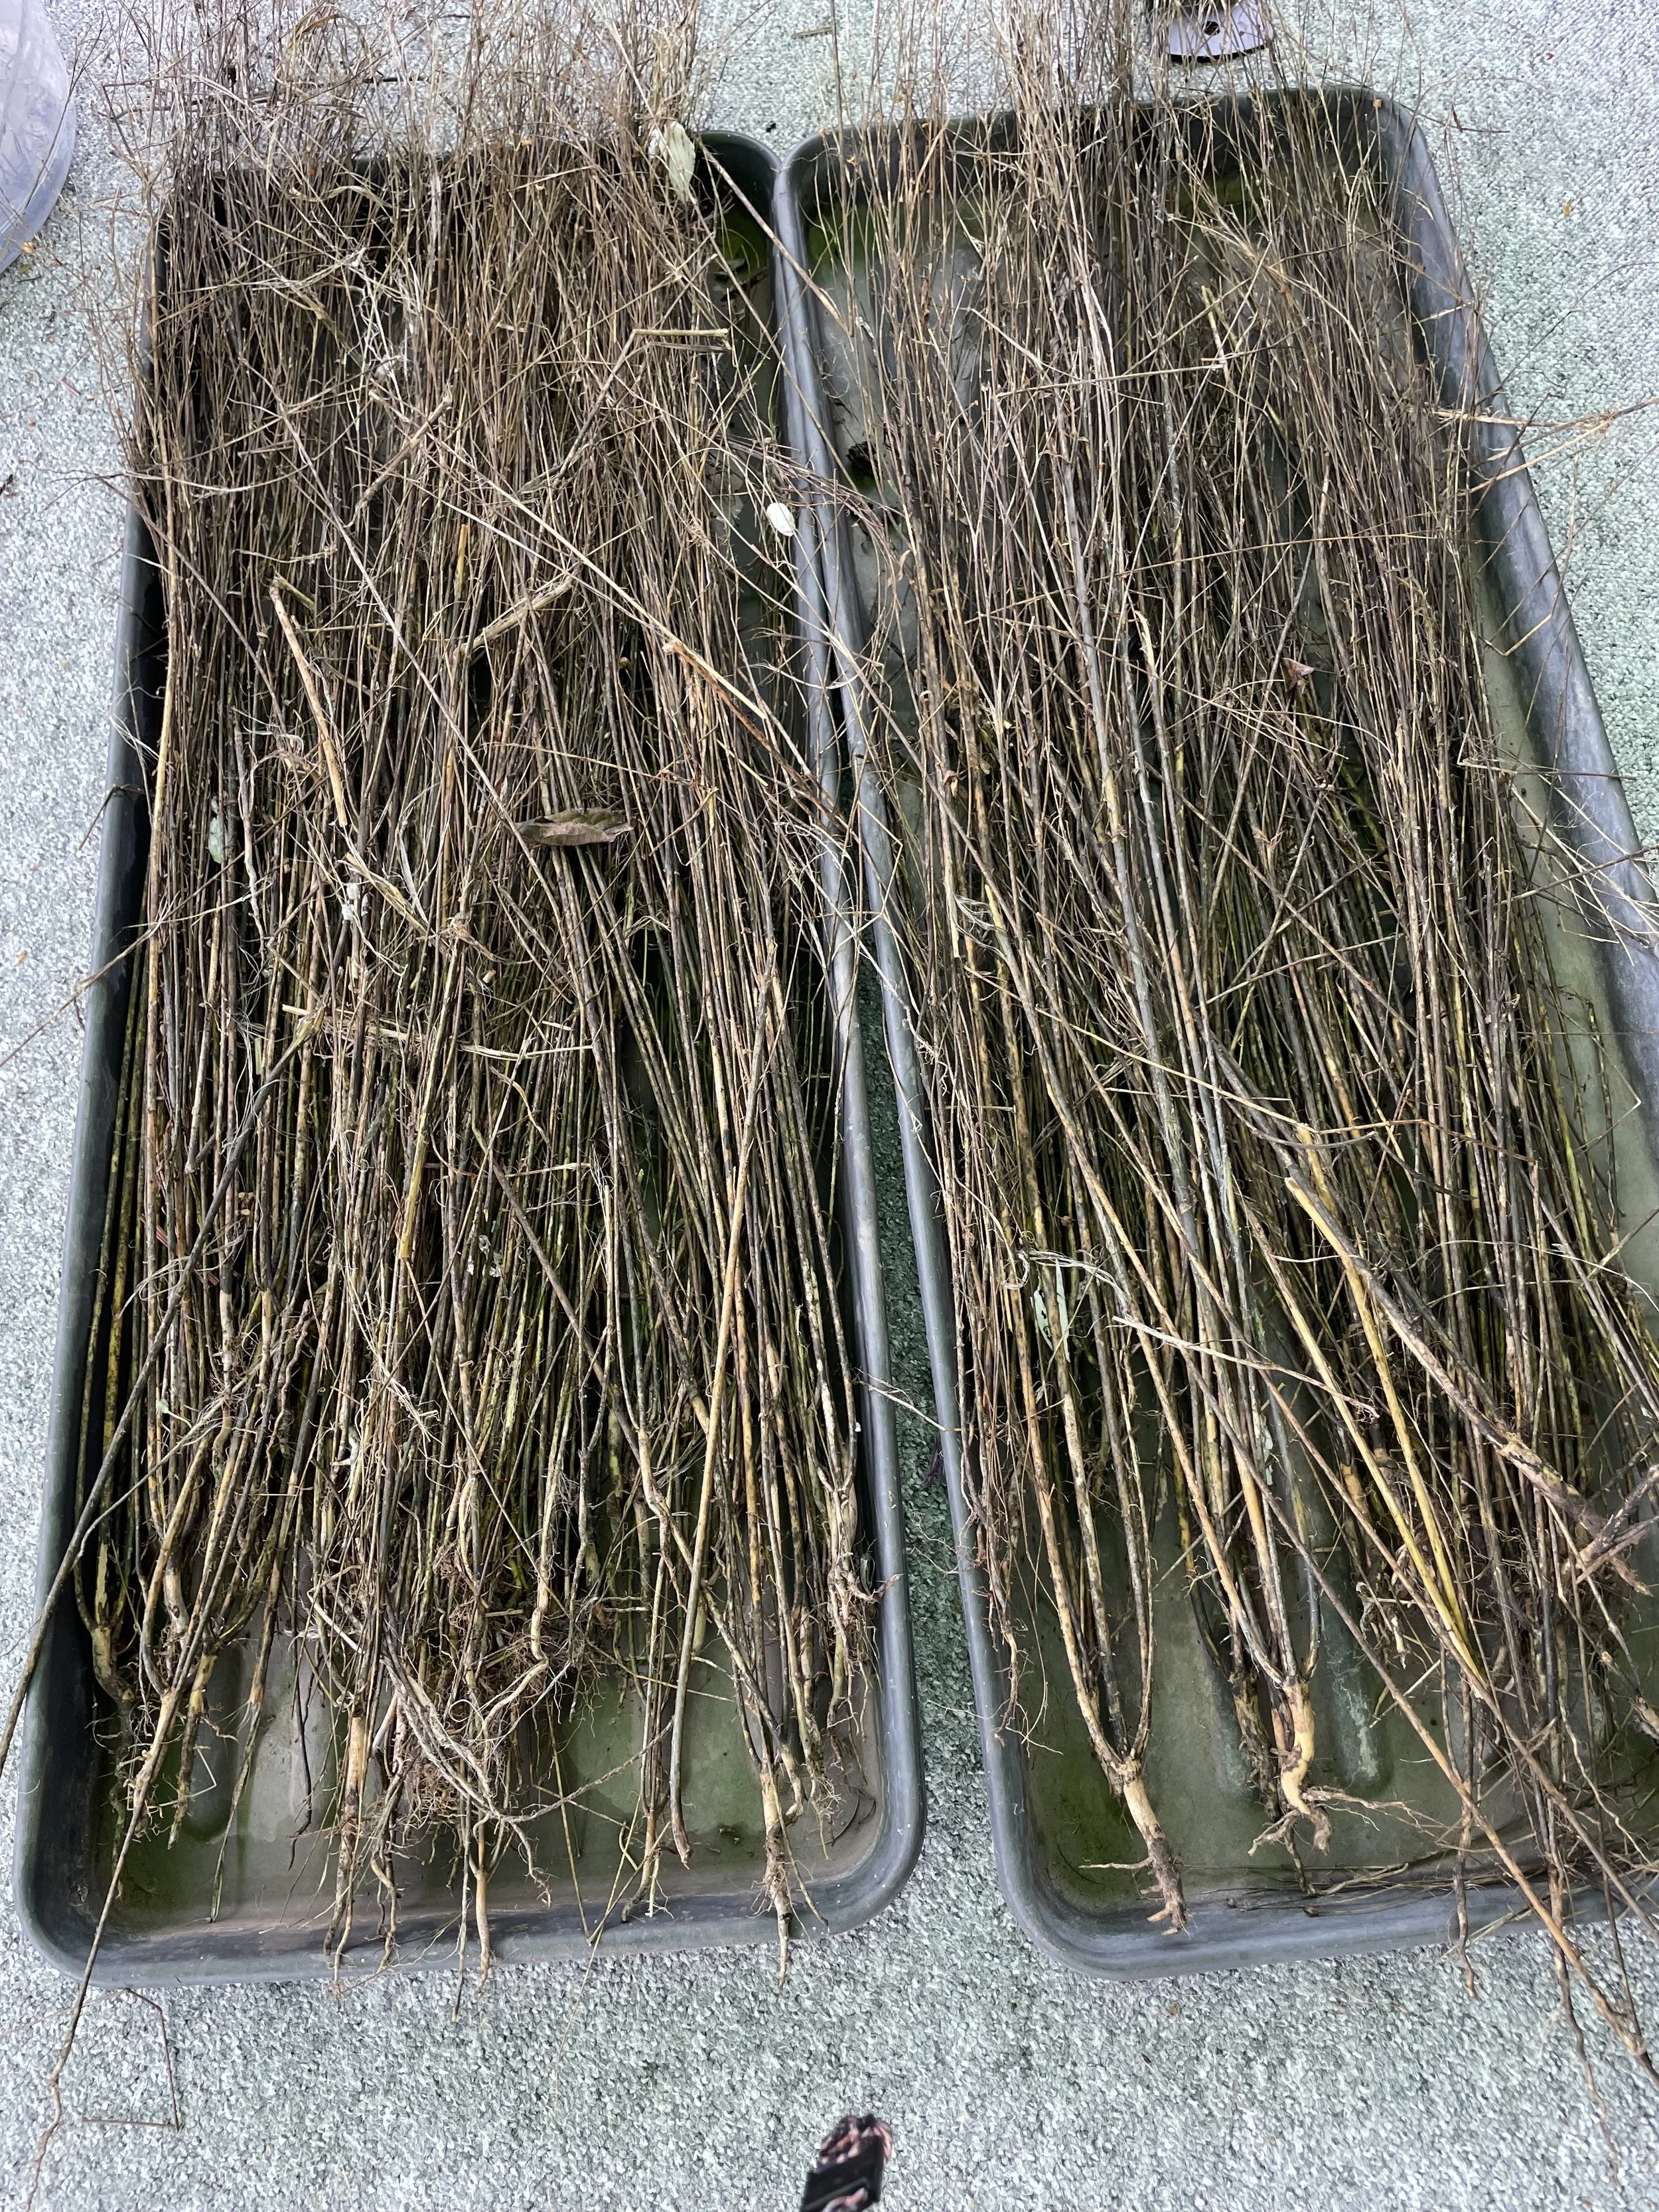
By mid August the flowers have gone to seed. Now it’s time to keep an eye on them as there’s a point after a week or two when they are ready to harvest, usually when they beginning to dry and yellow. To harvest, the plants are pulled up roots and all to keep the fibres as long as possible. I was pretty pleased with my crop as a first go.
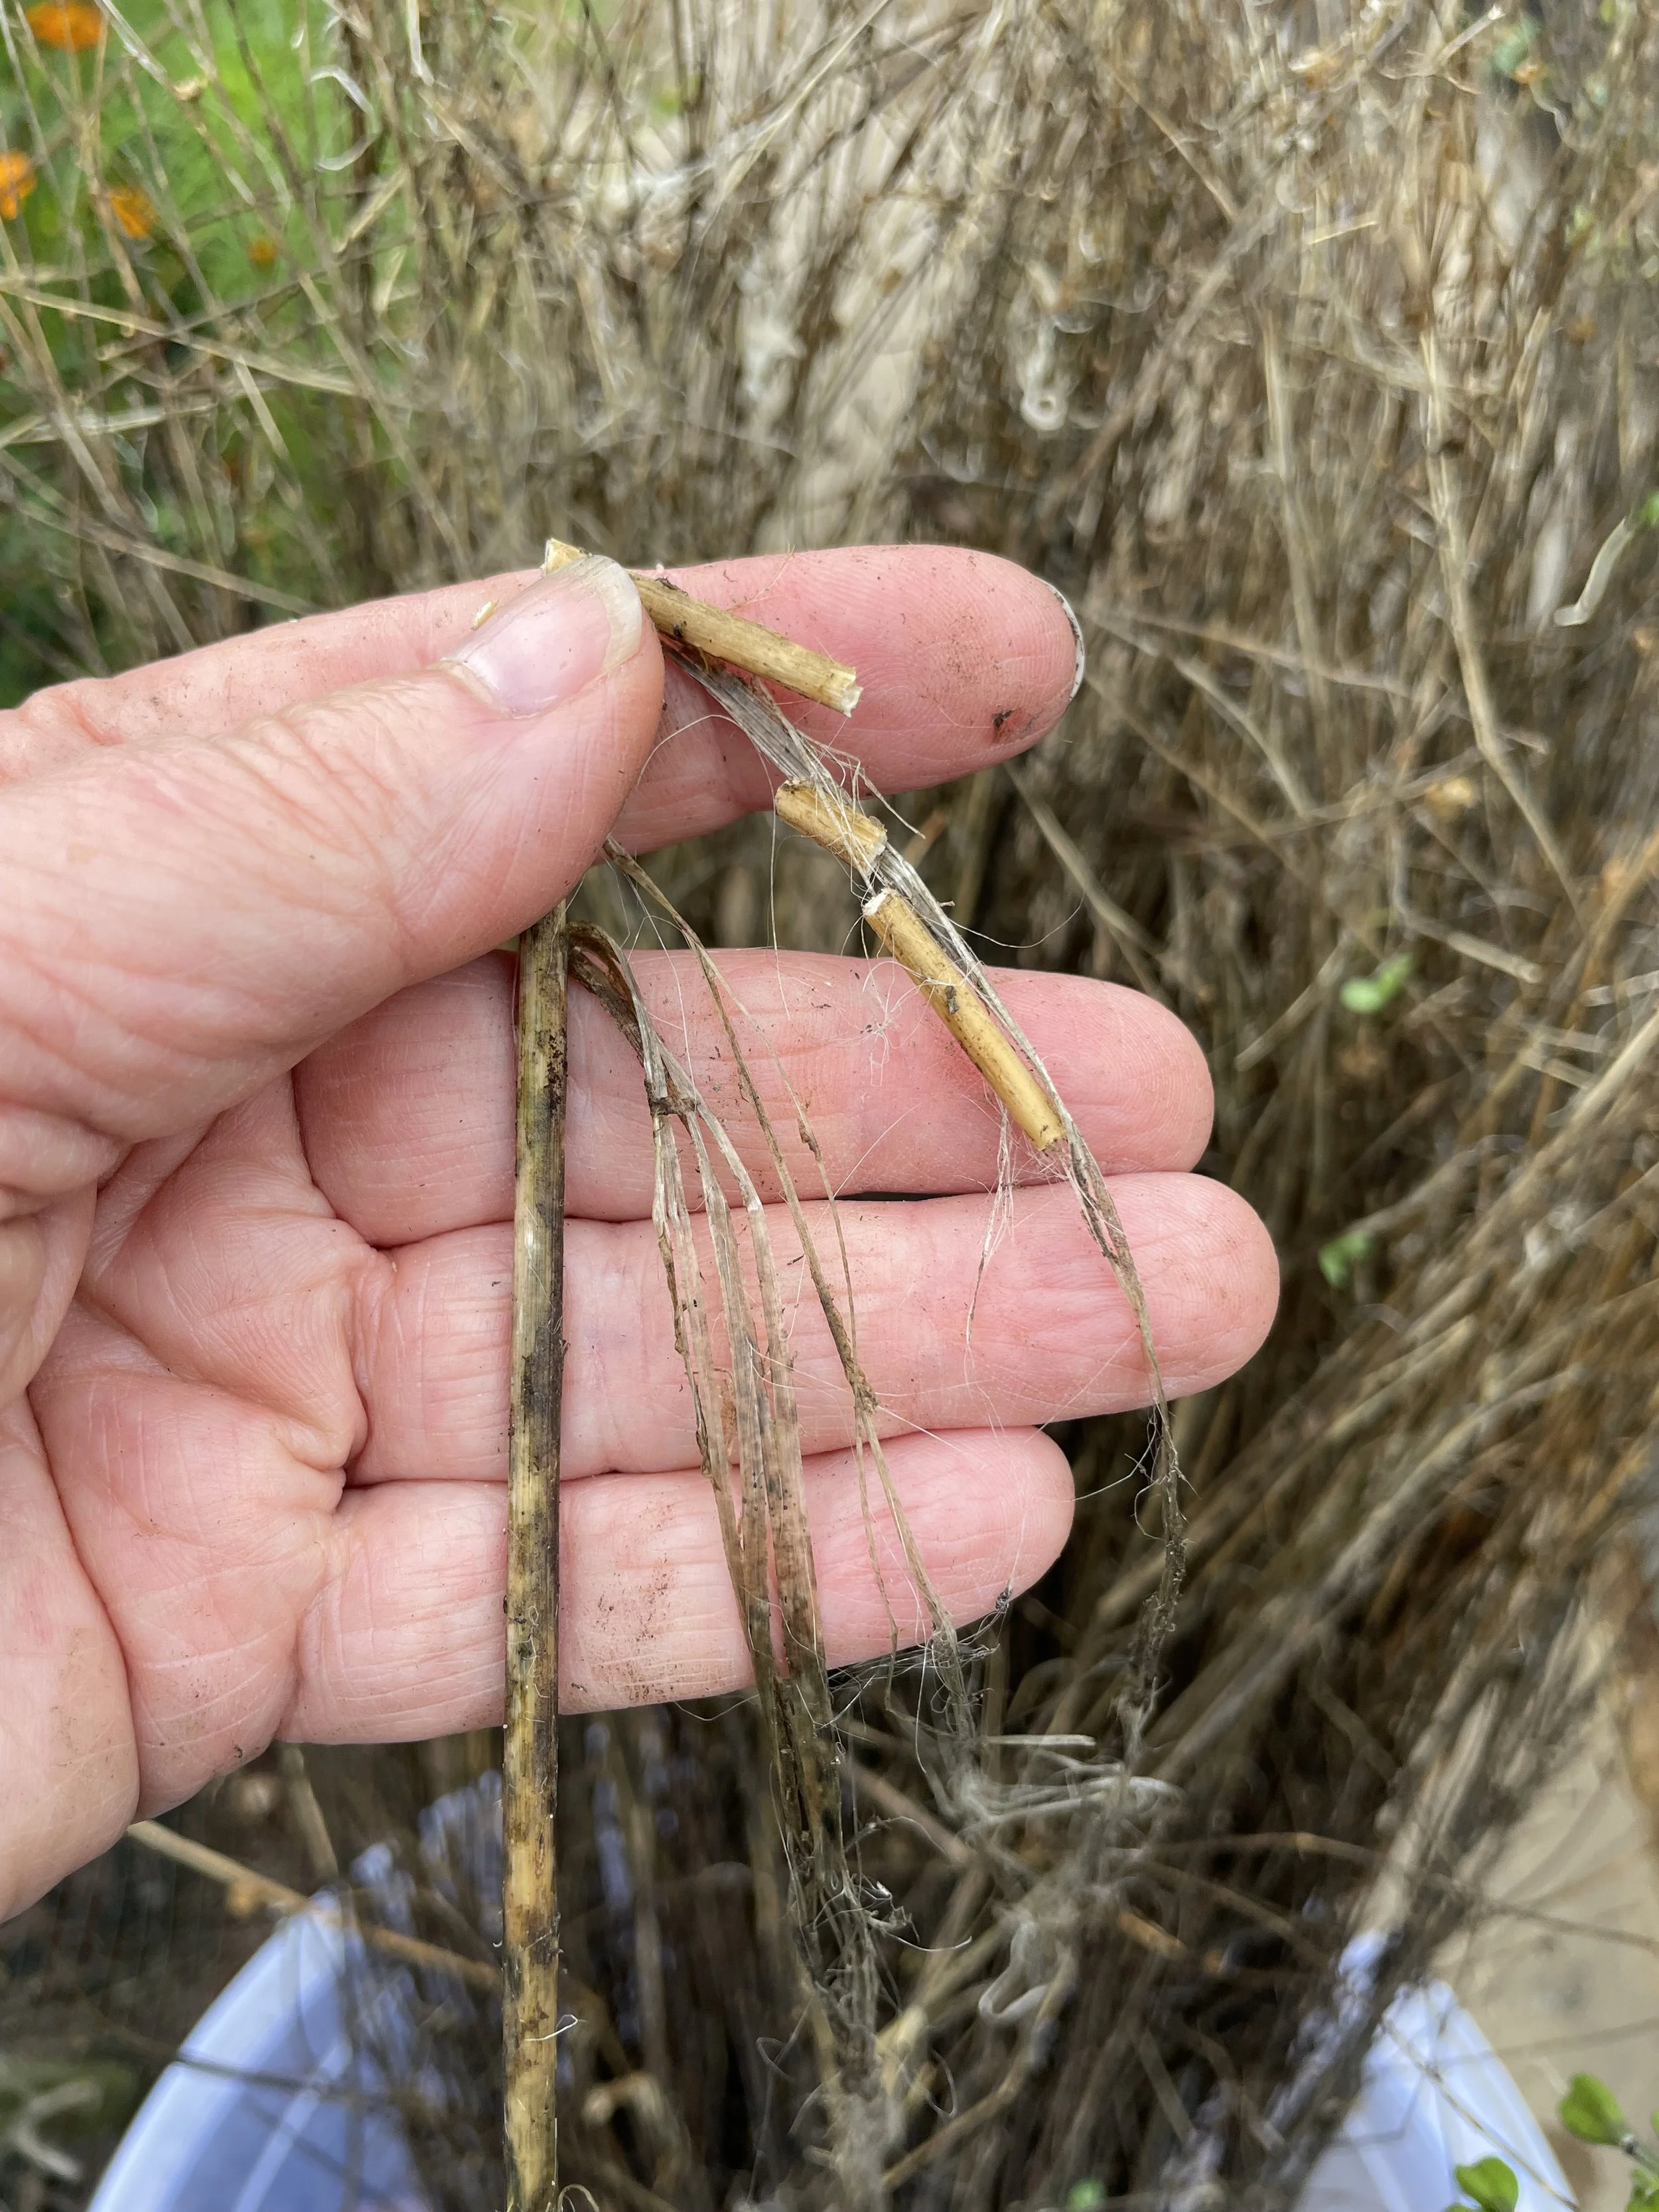
Now begins the first part of the processing to extract useable fibres from the plant material. It can be dried at this point and the seed heads removed for future crops or for pressing into linseed oil. I collected up some seed for the next crop, known as ‘rippling’. Next it must be ‘retted’, which is basically allowing the stems to rot slightly so the fibres can more easily be removed. This can be done by soaking in a tank /pond or by dew retting, which is laying the stems down on the ground or on wet grass. I decided to lay mine down on the ground for a couple of weeks. I did find it quite tricky to judge when they were done - I checked every few days to see how easily they split, but if I’m honest I think I left them a few days too long- life gets in the way sometimes!


Processing the Fibres
So this is where the improvisation began! Processing flax would usually be done using certain tools and equipment- albeit simple and non mechanised. Not having such equipment it was a case of raiding the shed and my studio to see what I had that could be pulled into use. I first let the stems dry out a bit in the greenhouse until I had time to get to them. The first stages of freeing the fibres are known as ‘breaking’ and ‘scutching’. There really are some great words involved in linen production. Breaking is just as you might think, snapping the stems and bending them back against a piece of wood. Scutching is then removing the small broken pieces of ‘shive’ by generally bashing the stems and drawing the wooden block along them. This was fairly successful but did make an almighty mess and was a pretty slow process. I can see how you would want some basic machinery for doing this on a larger scale.
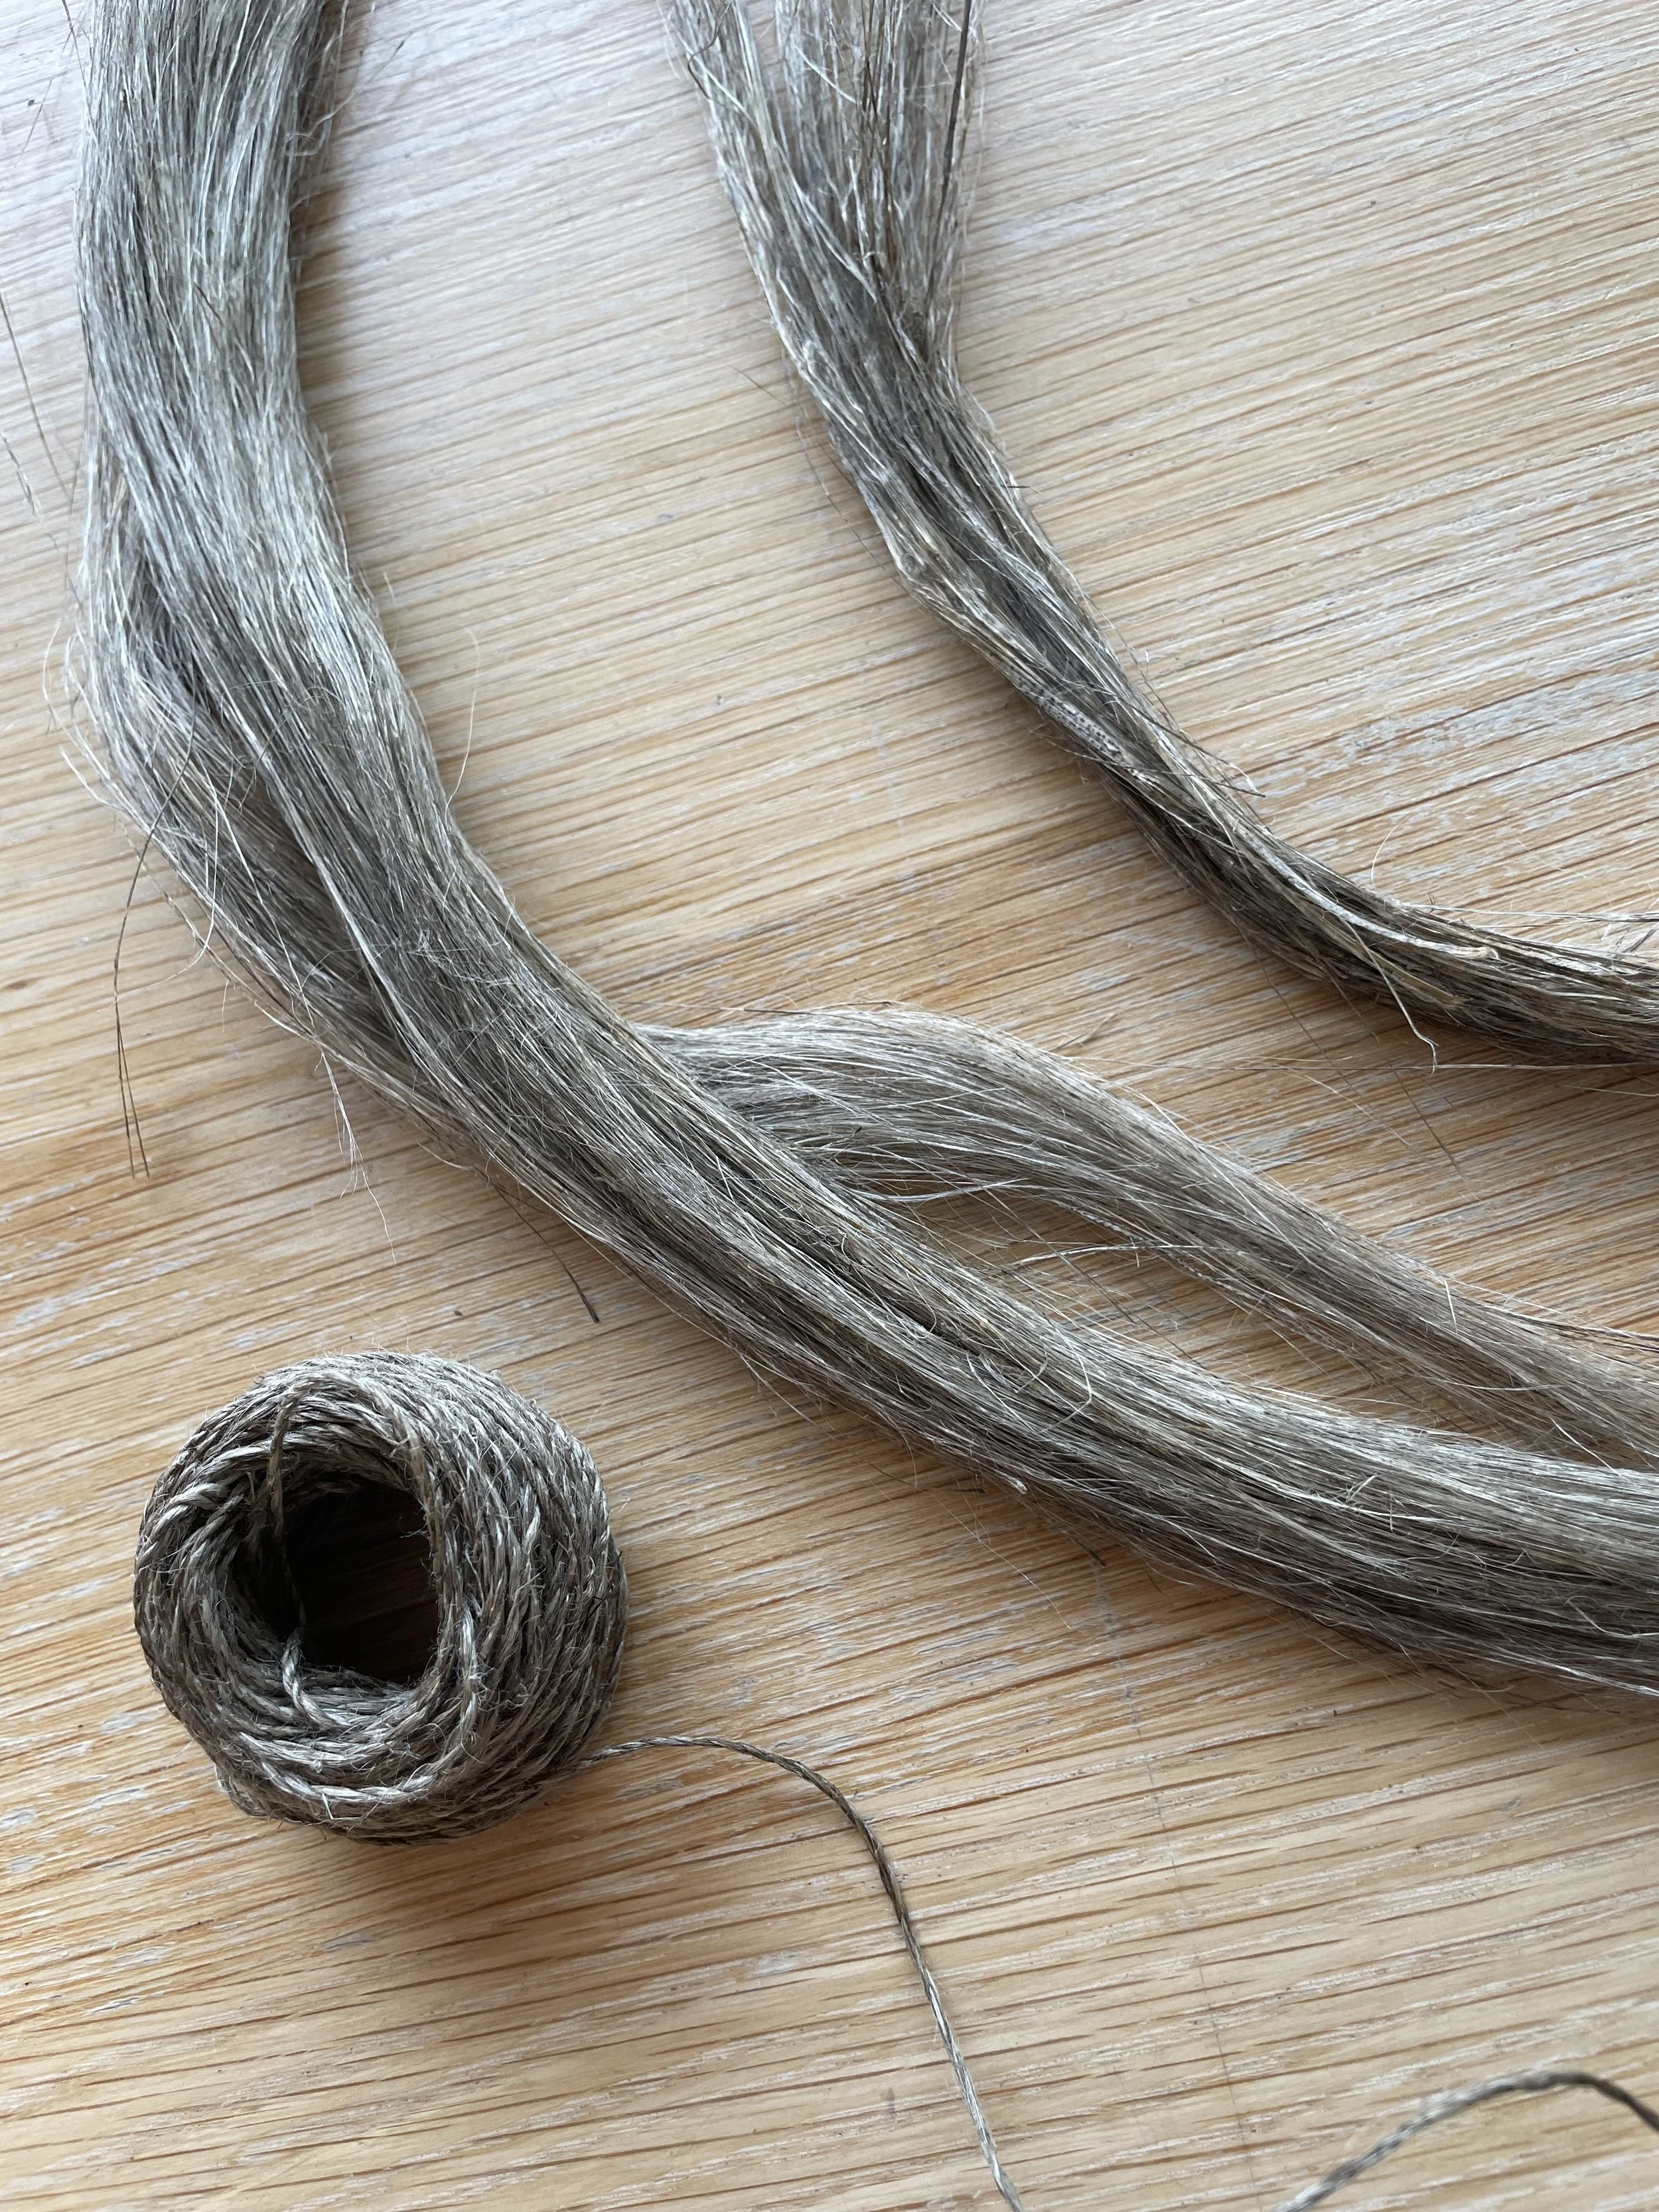
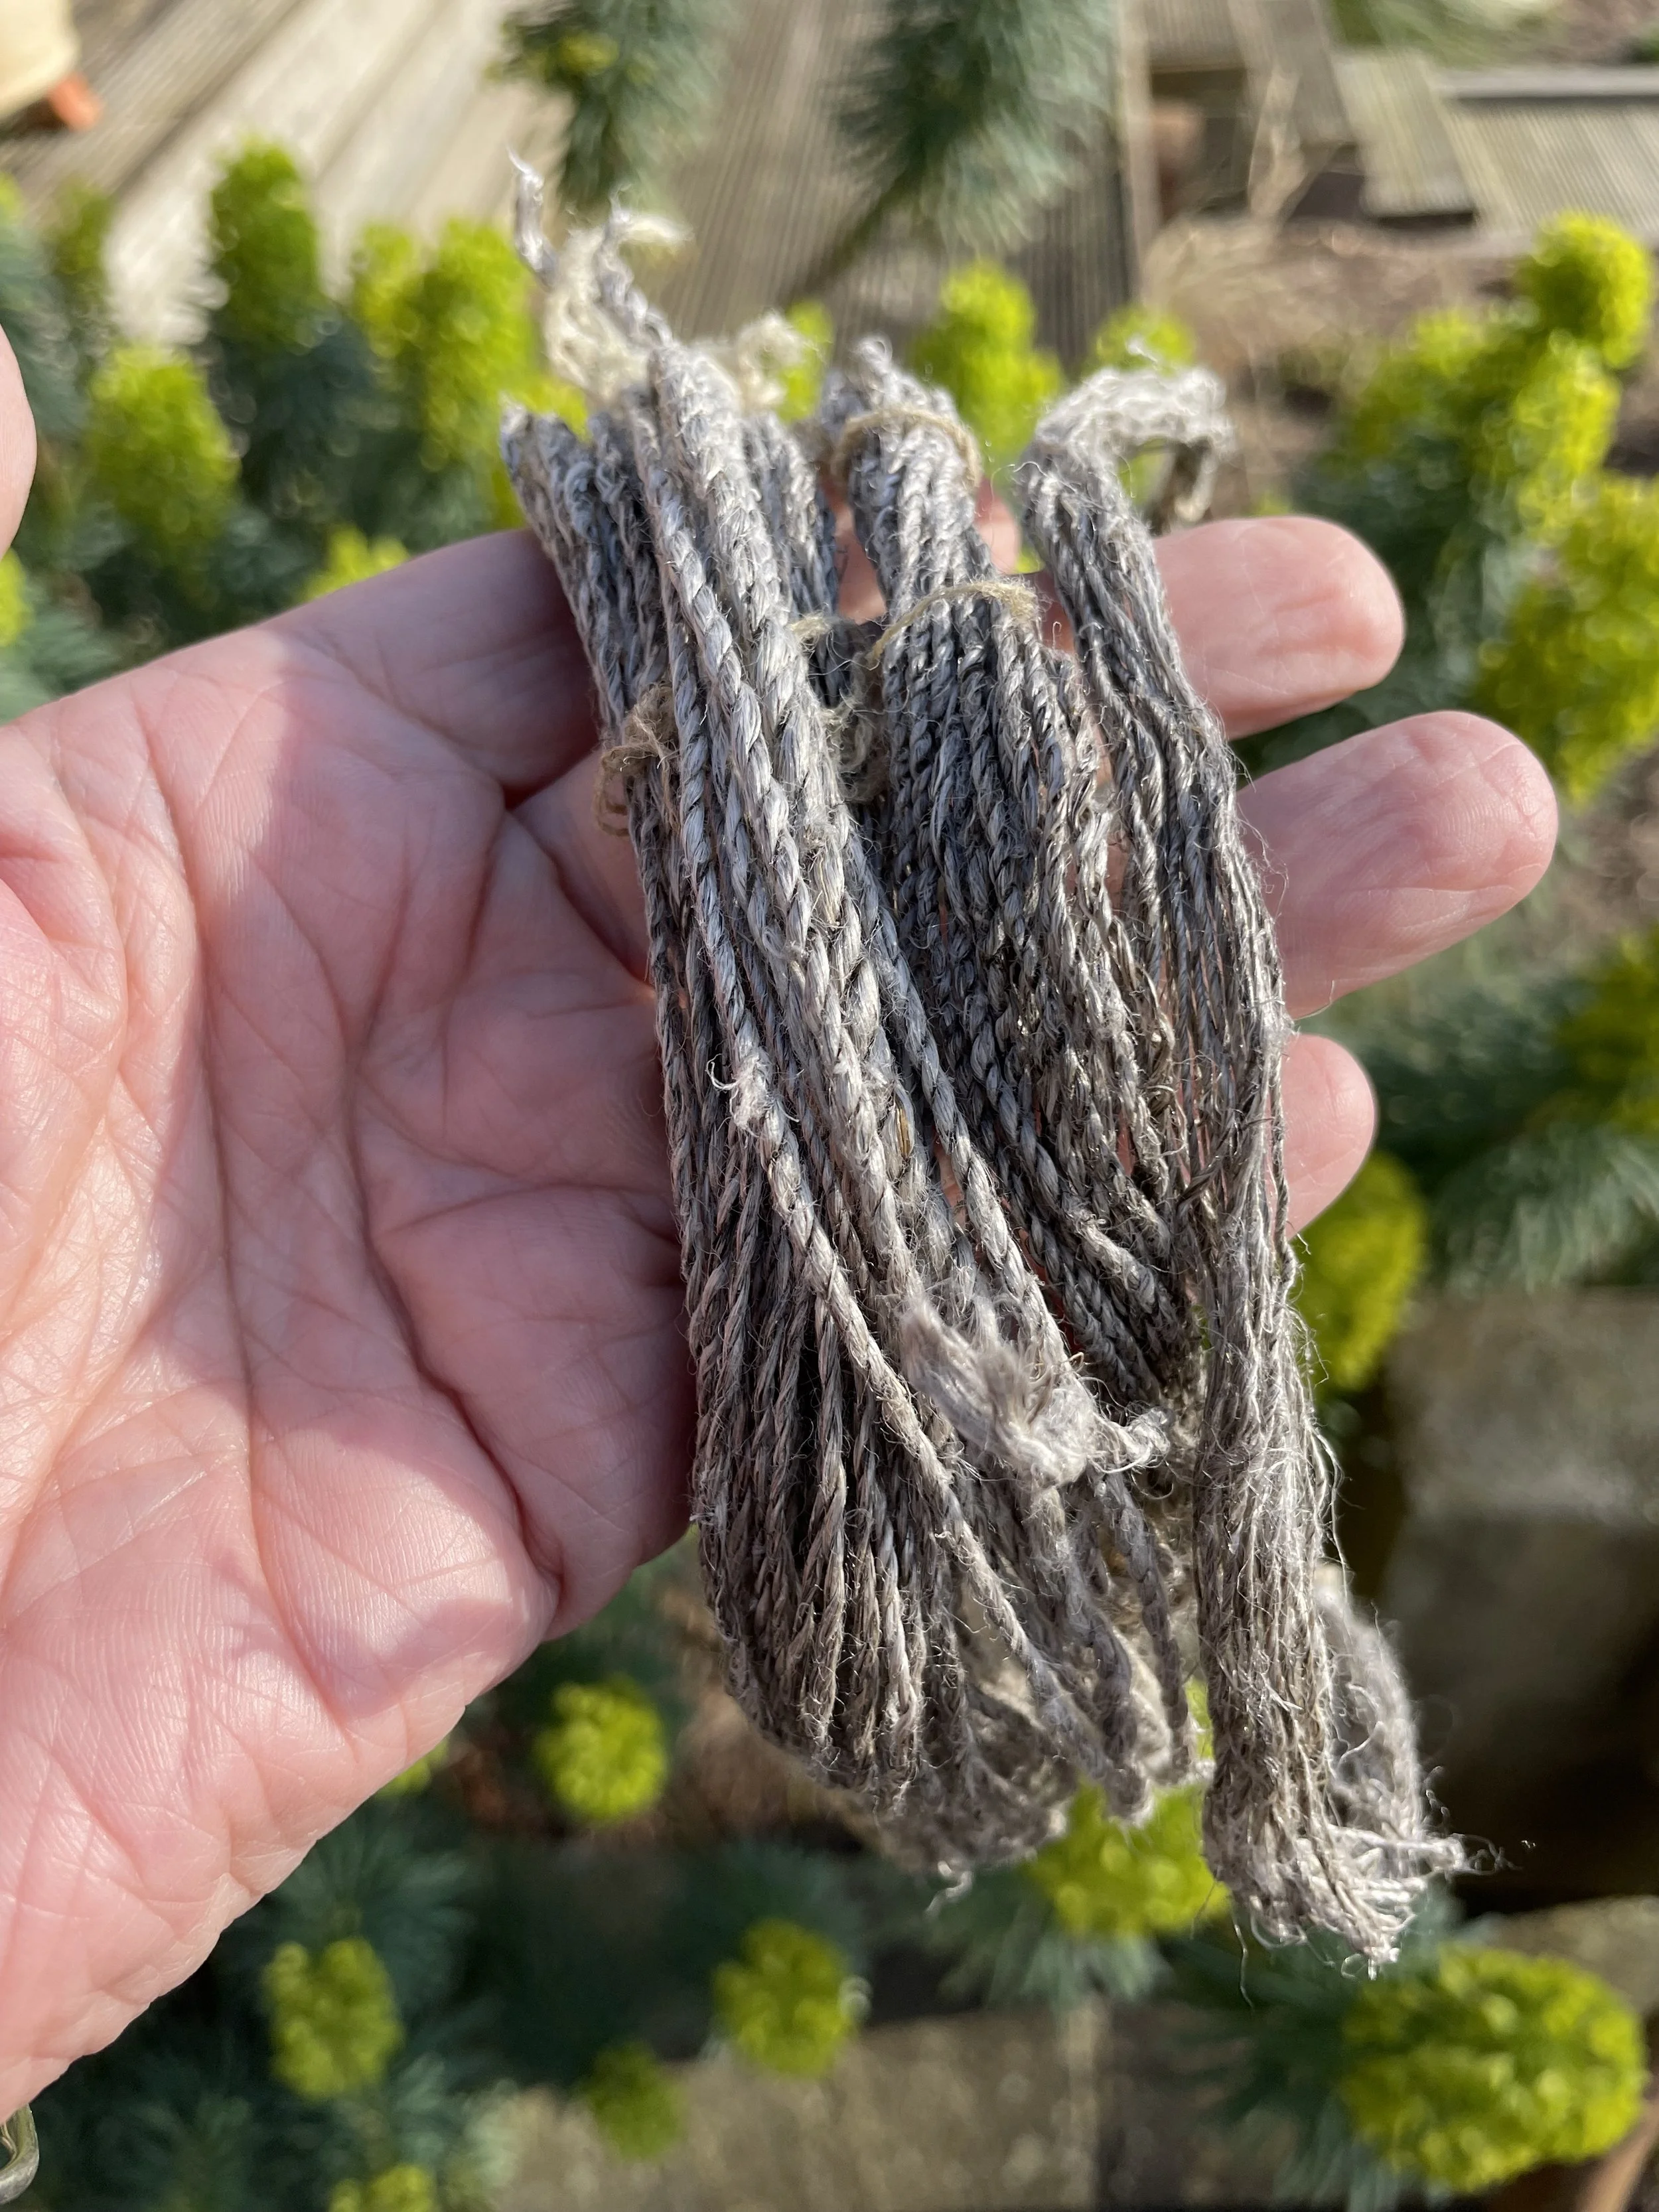
Next comes the ‘hackling’ which is basically combing the fibres. Traditionally this was done by pulling the fibres through a bed of sharp nails called hackels, which separated the long fibres or ‘strick’ and the shorter fluffy fibres or ‘tow’. I used various carding combs and even a dog brush for this. I did eventually see results as I began to get some ‘flaxen’ strands, although I think as I over retted they were slightly grey, more like the colour of my own hair these days!


Indigo Extraction
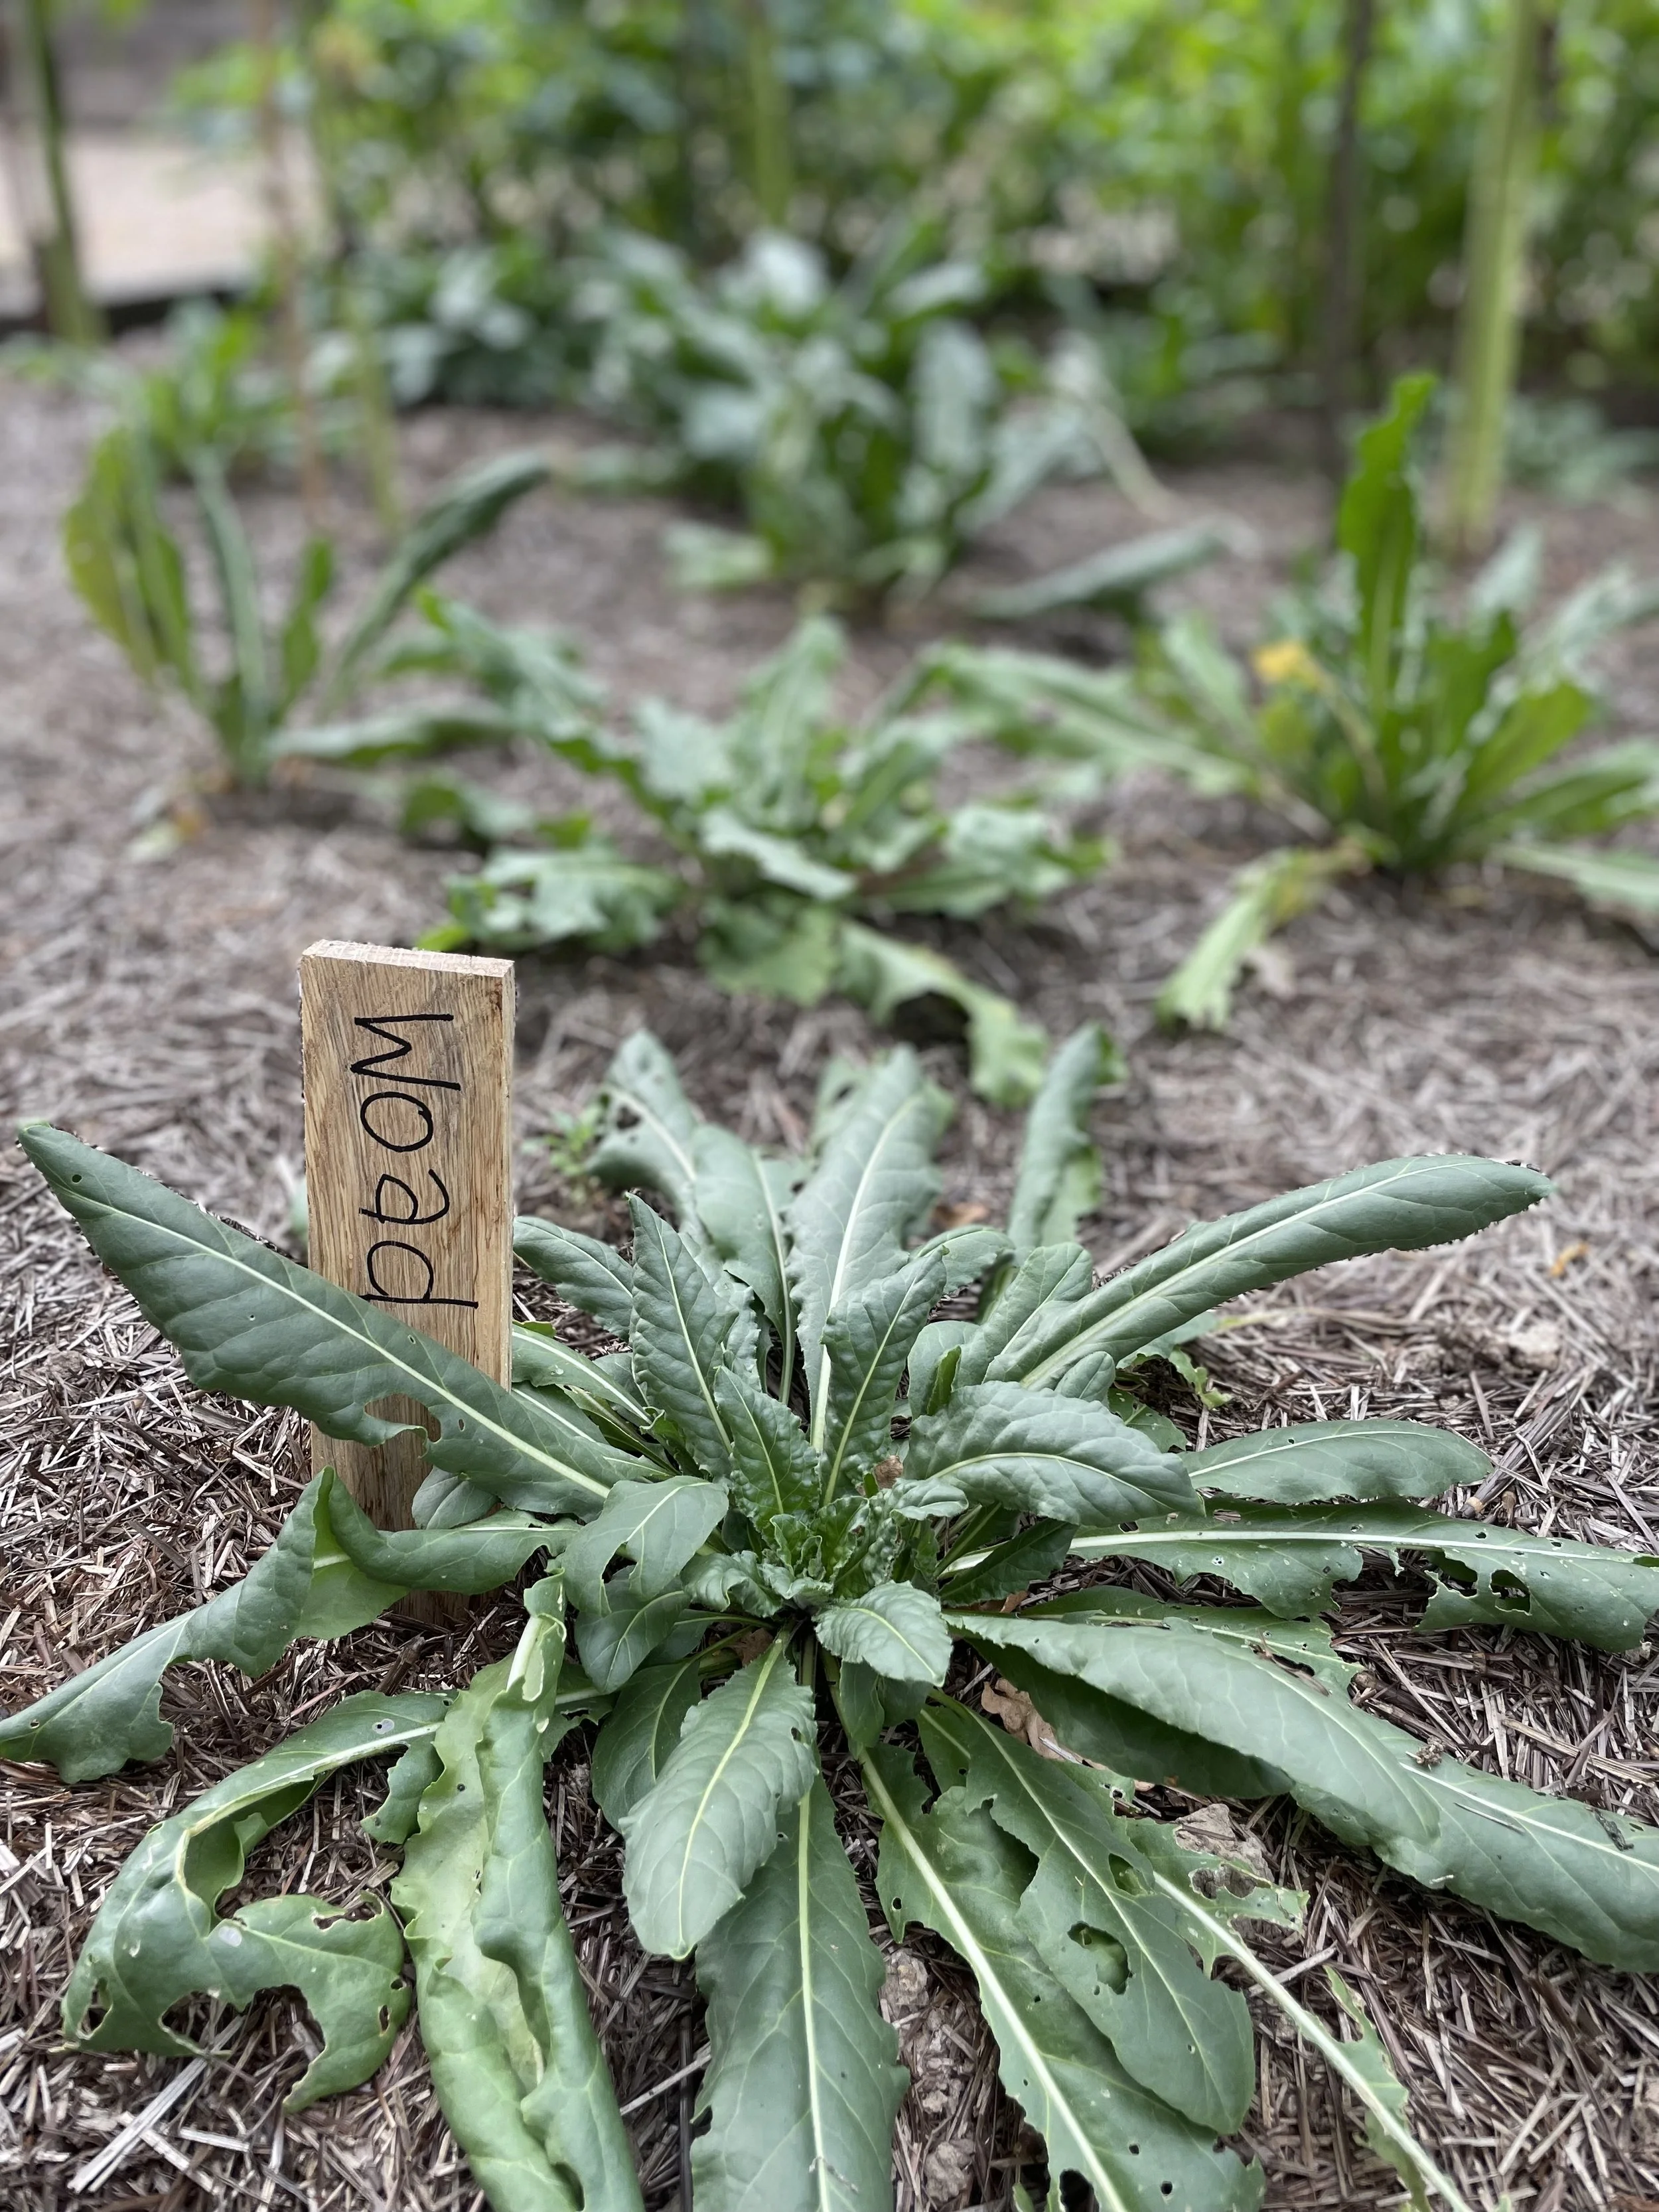
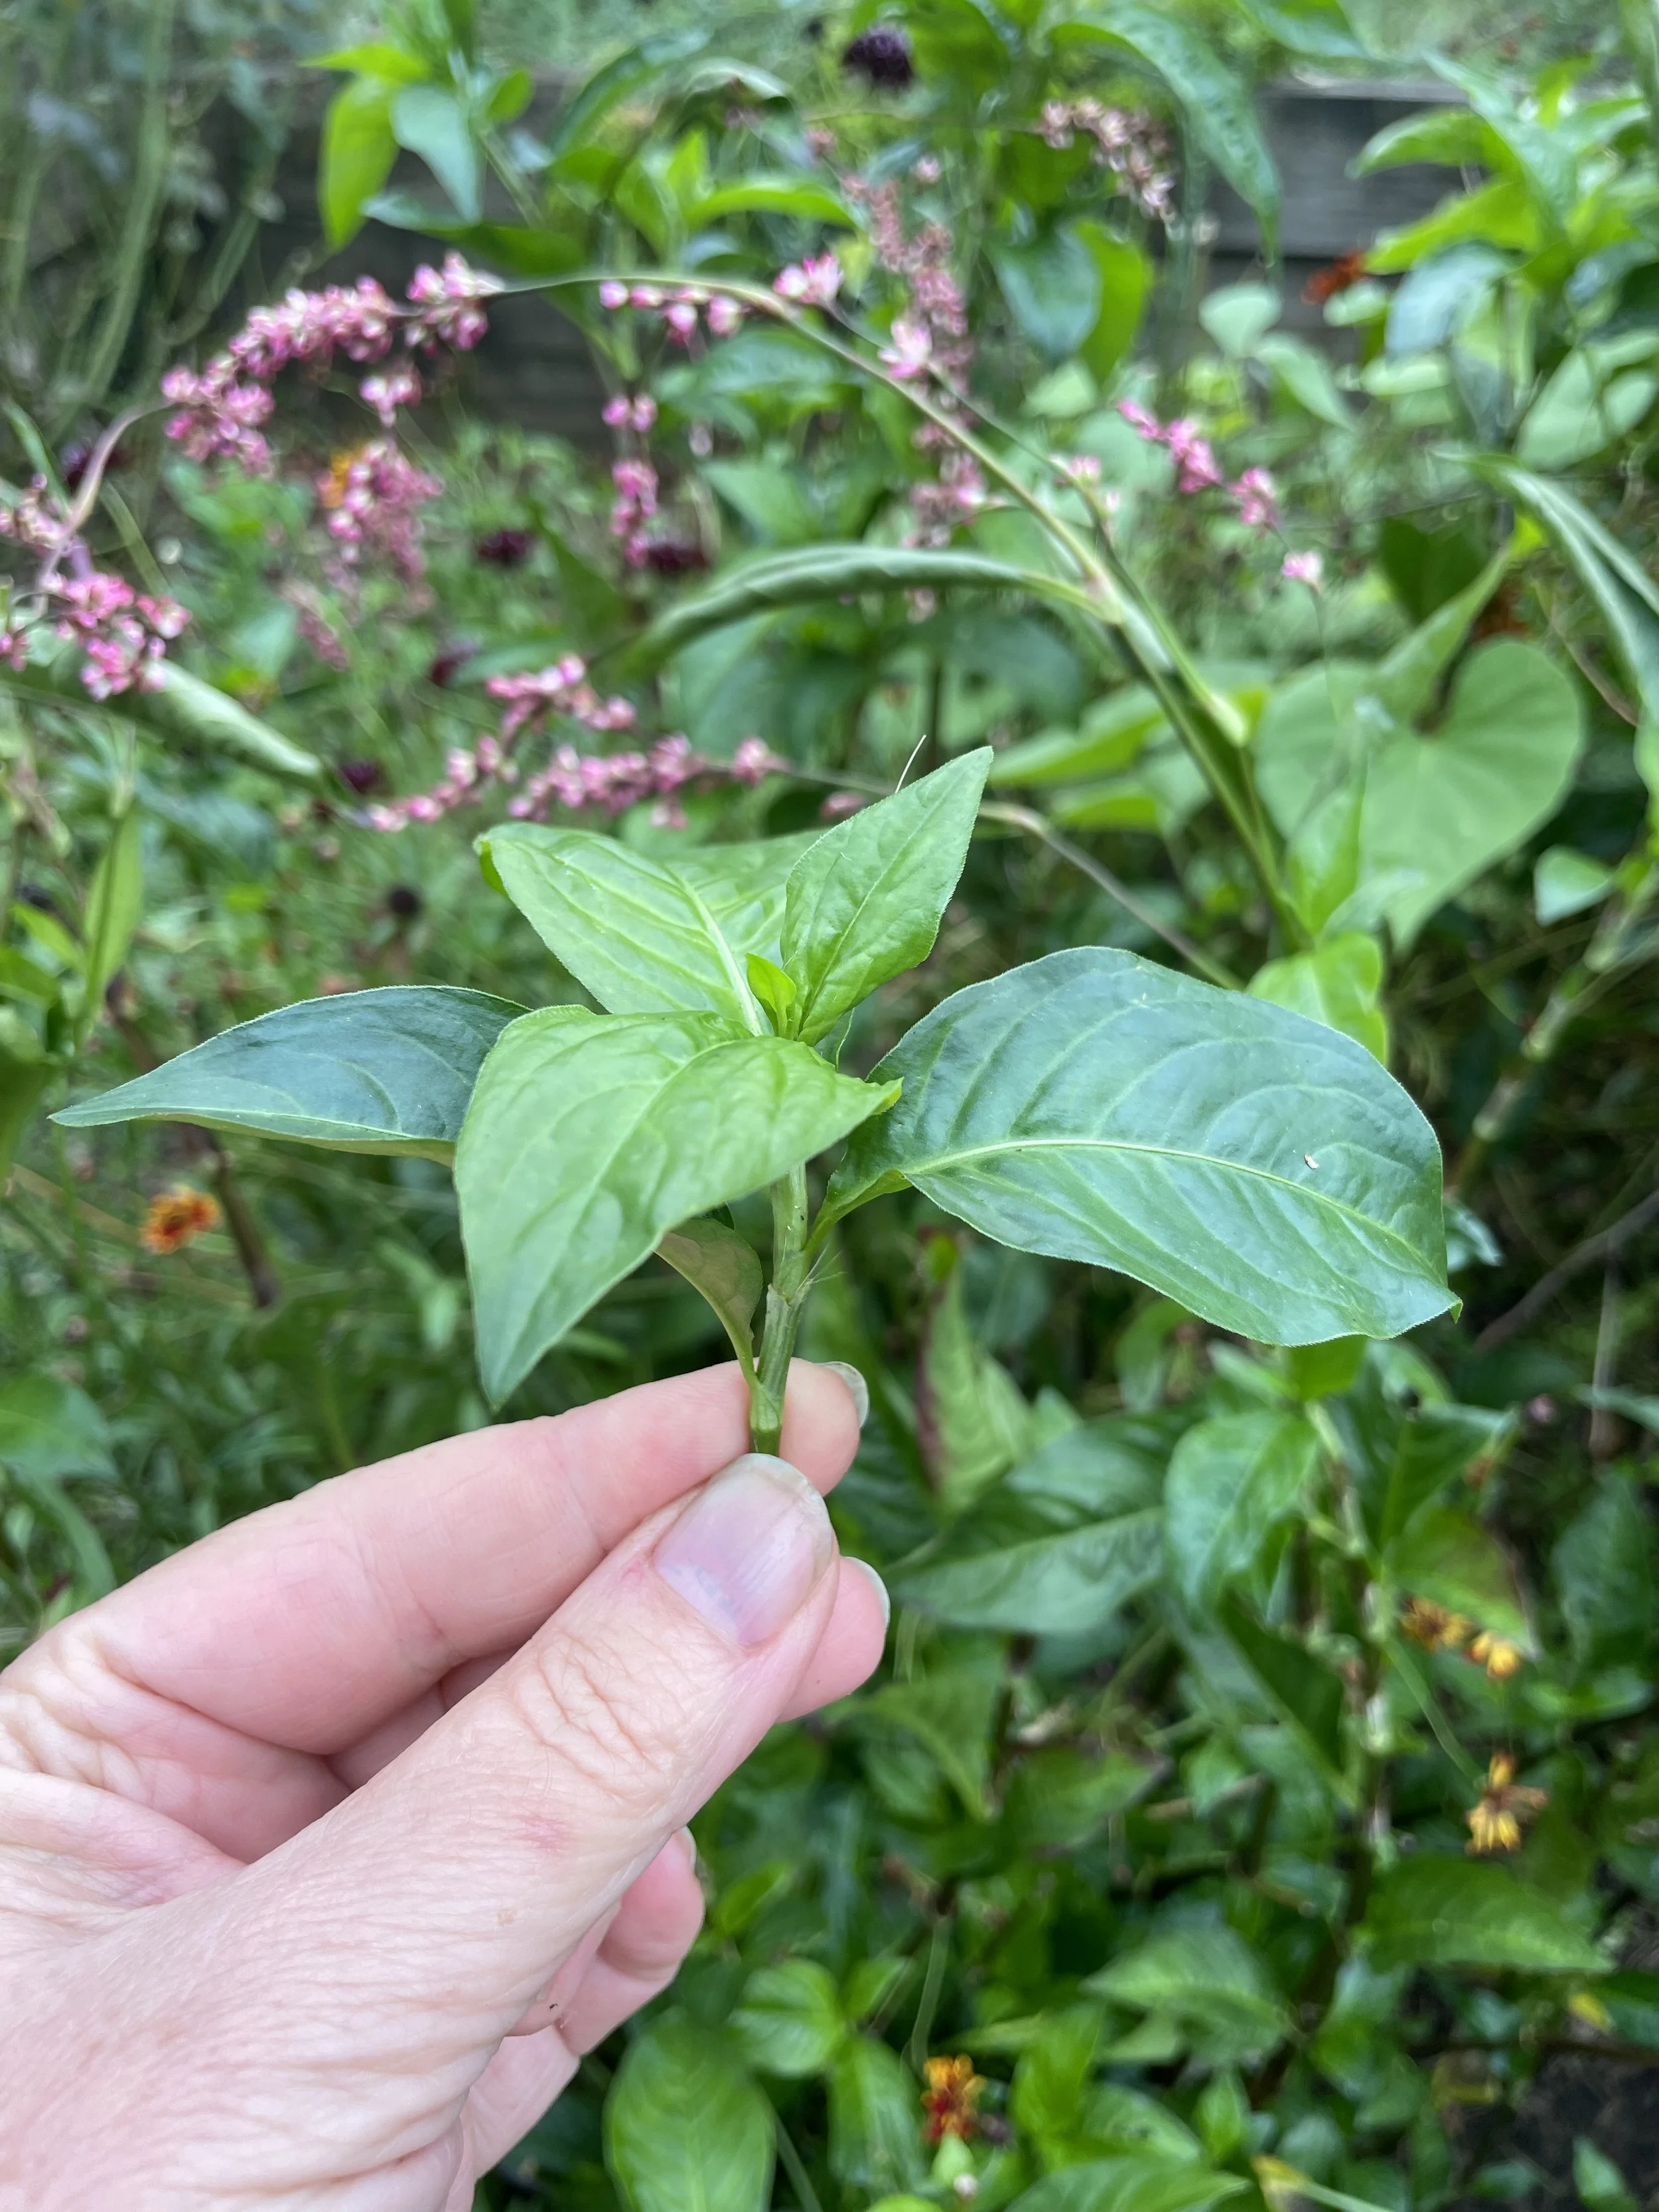
While all this was going on I also grew crops of Japanese Indigo and Woad for dyeing my fibre. Both these dyes are known for their blue pigments and have been used for centuries to dye cloth.
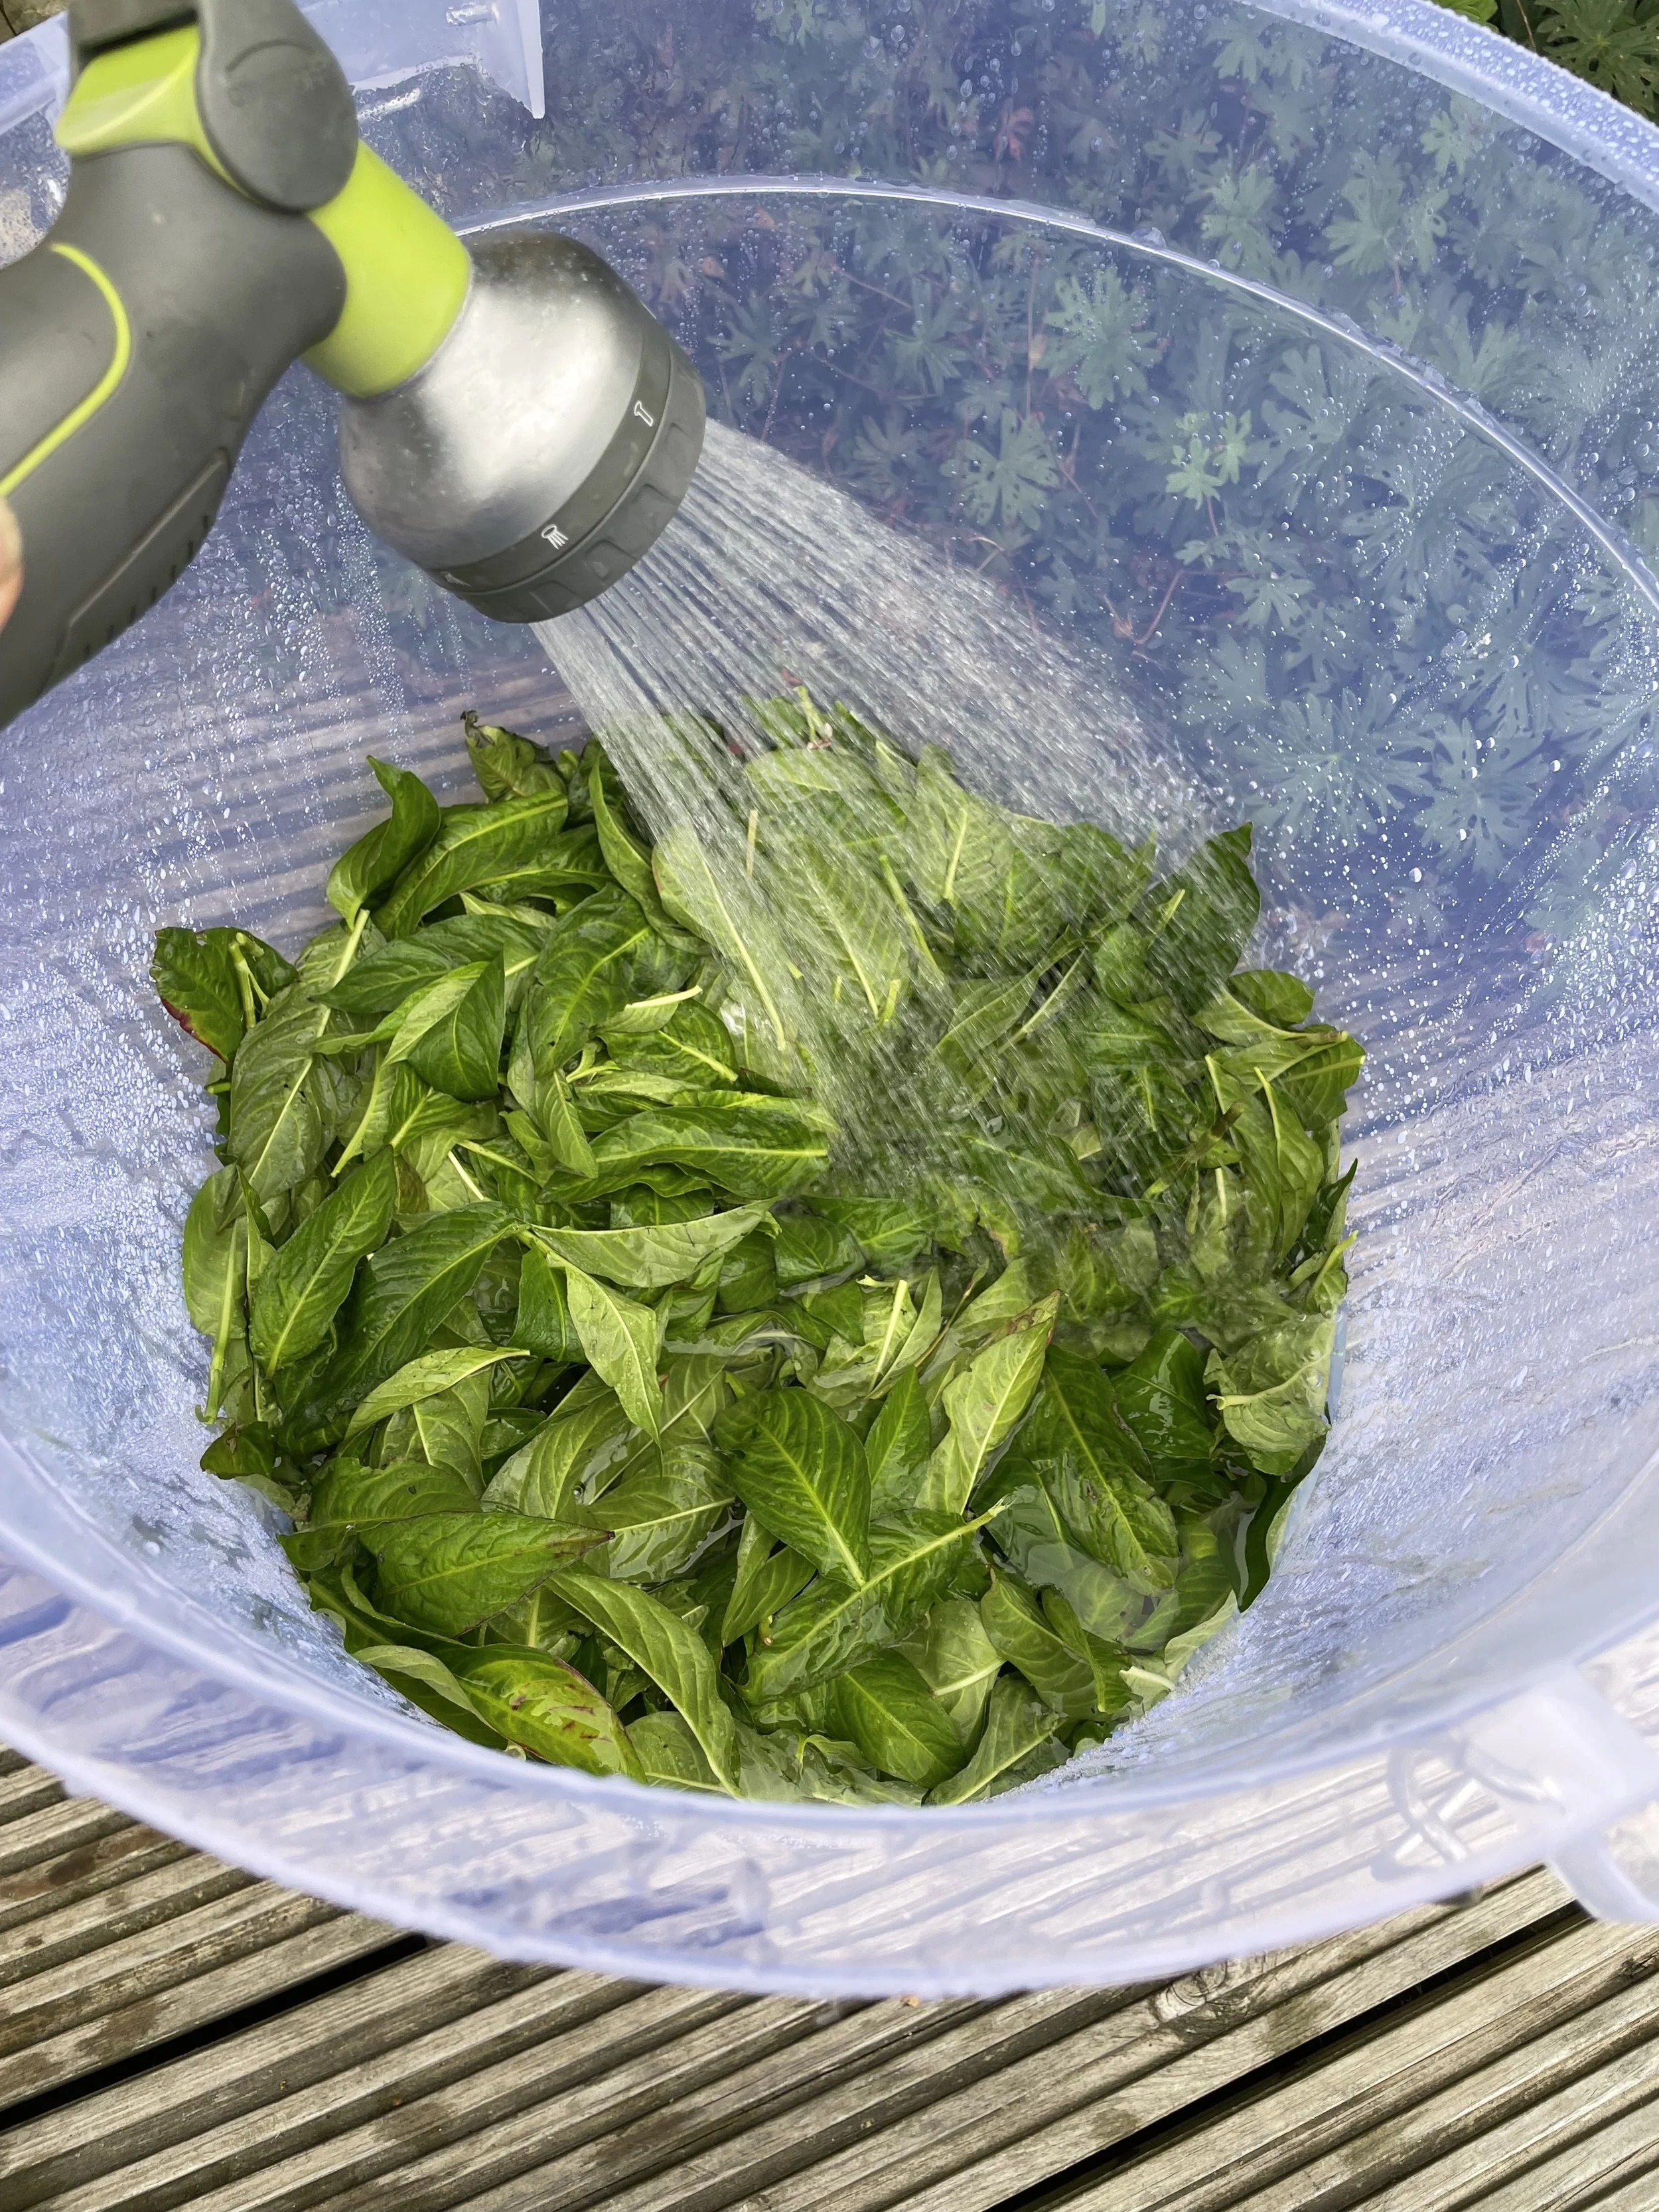
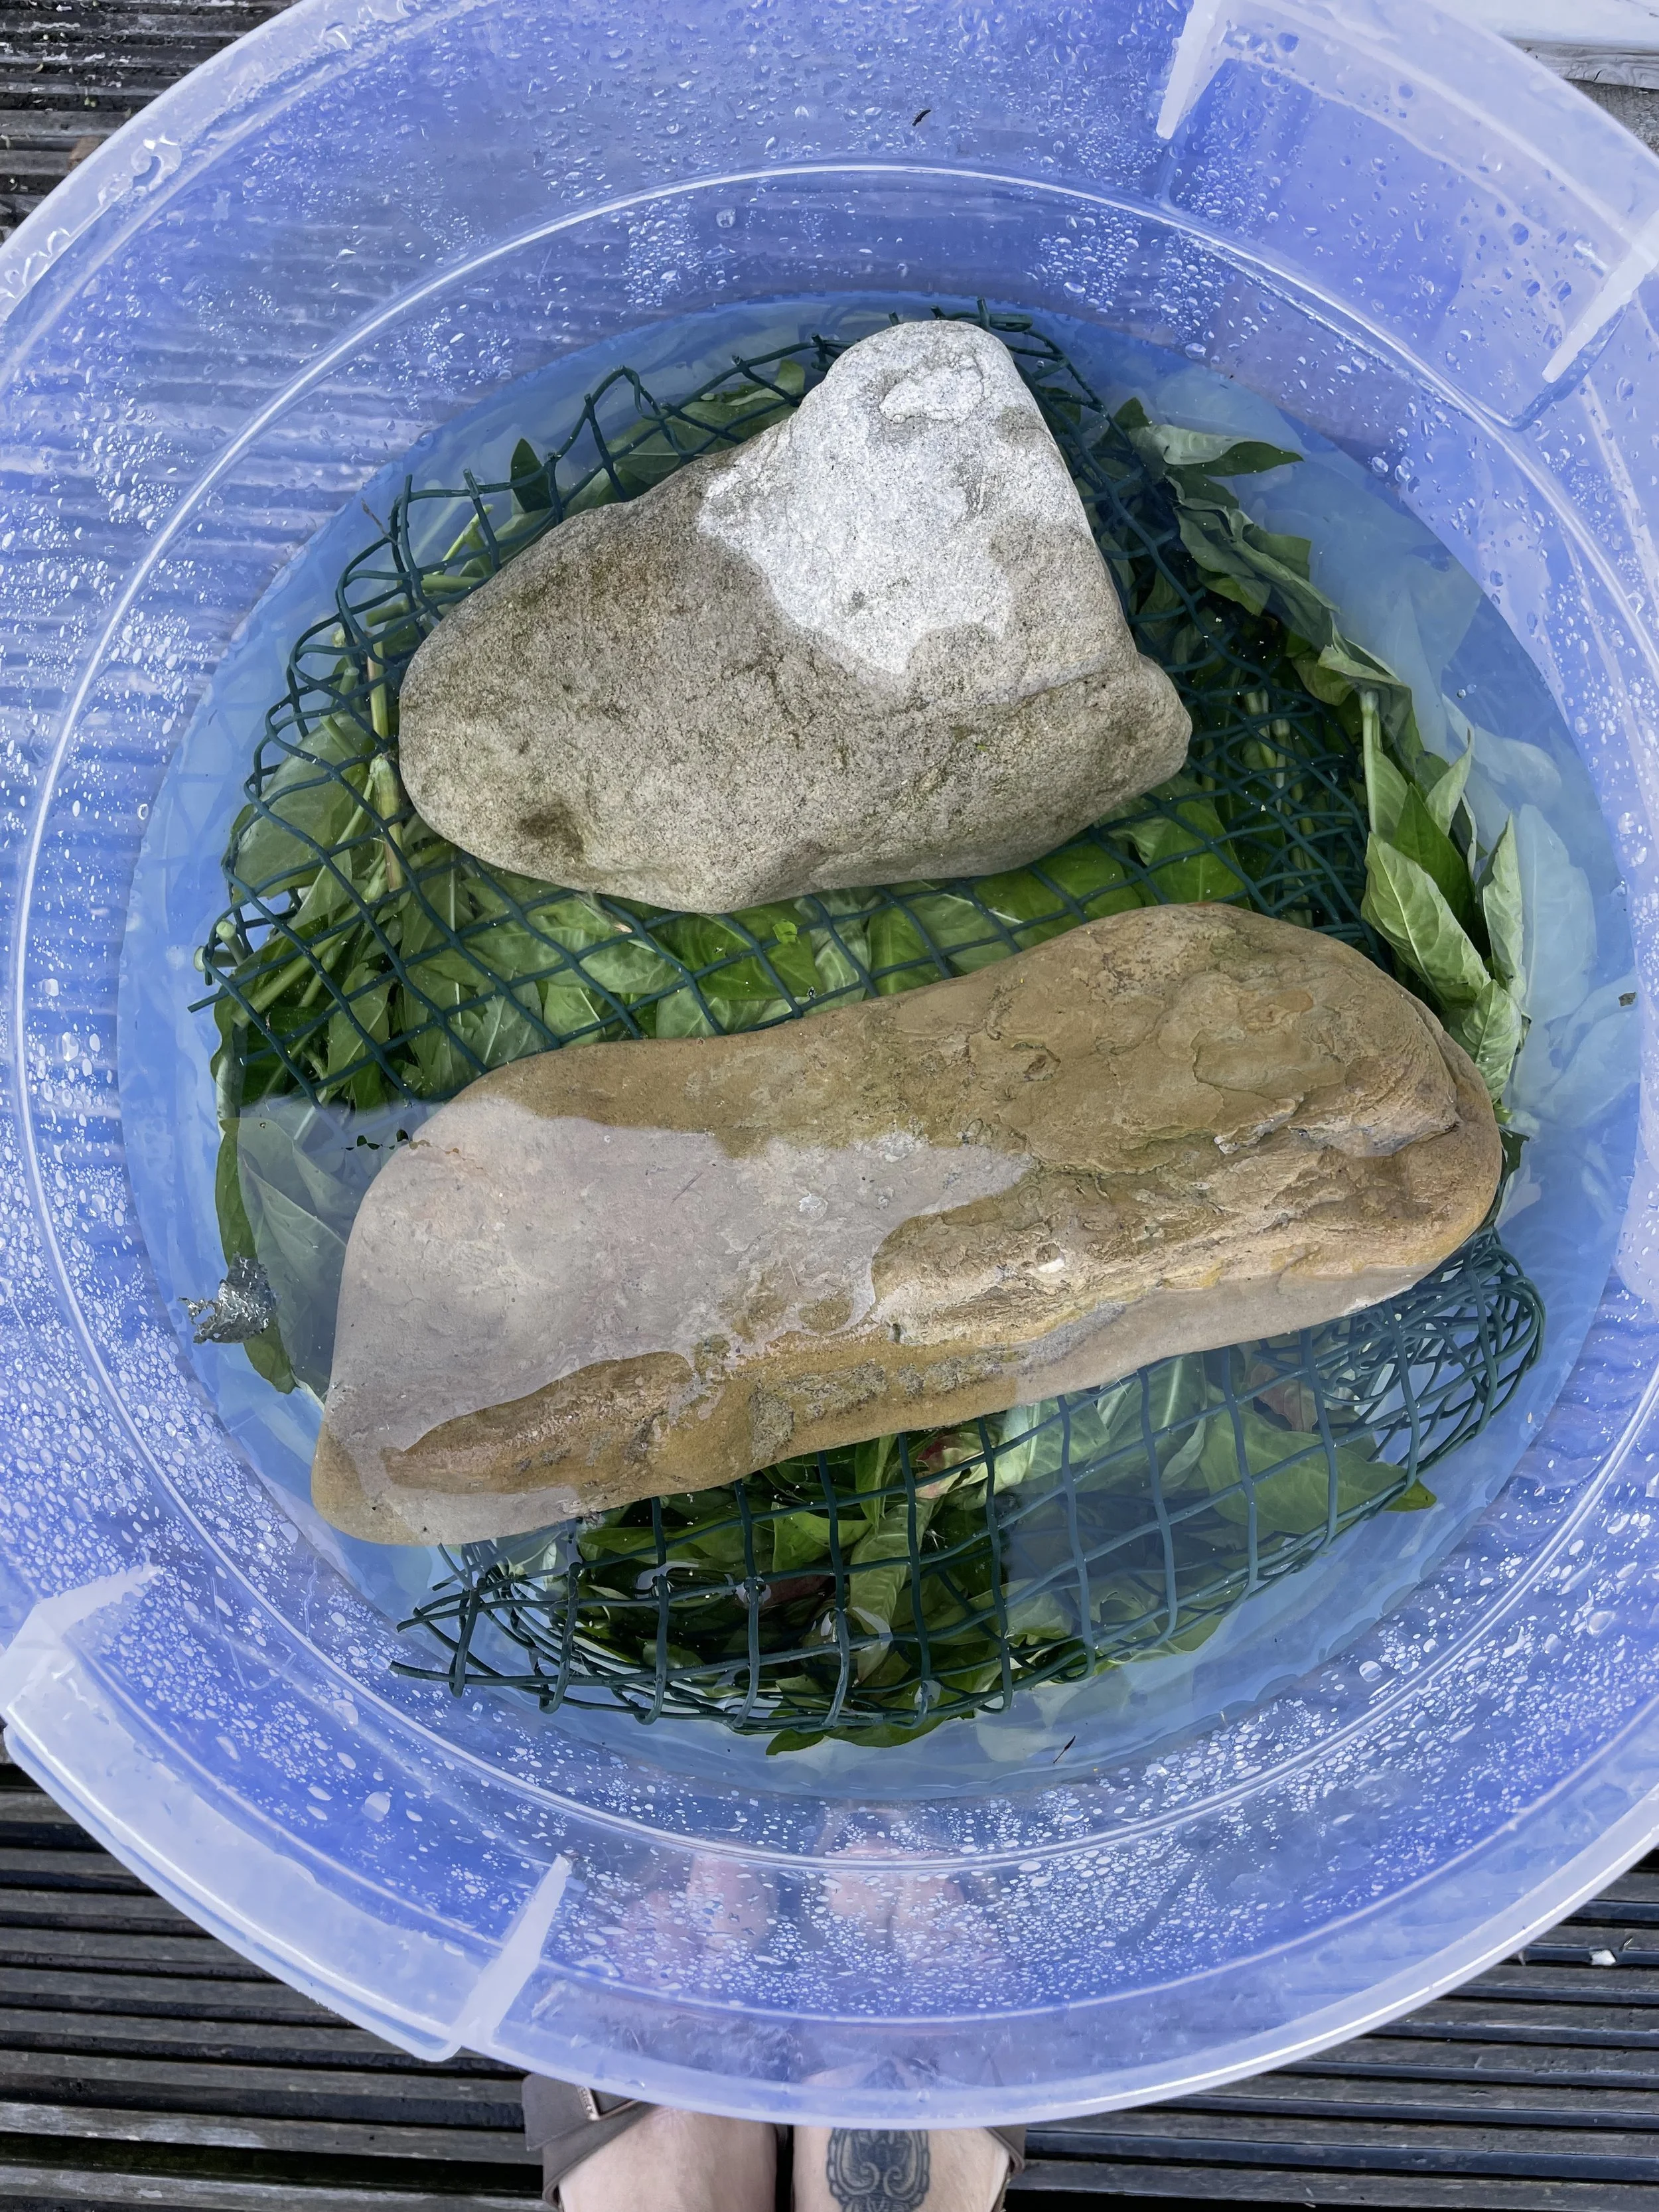
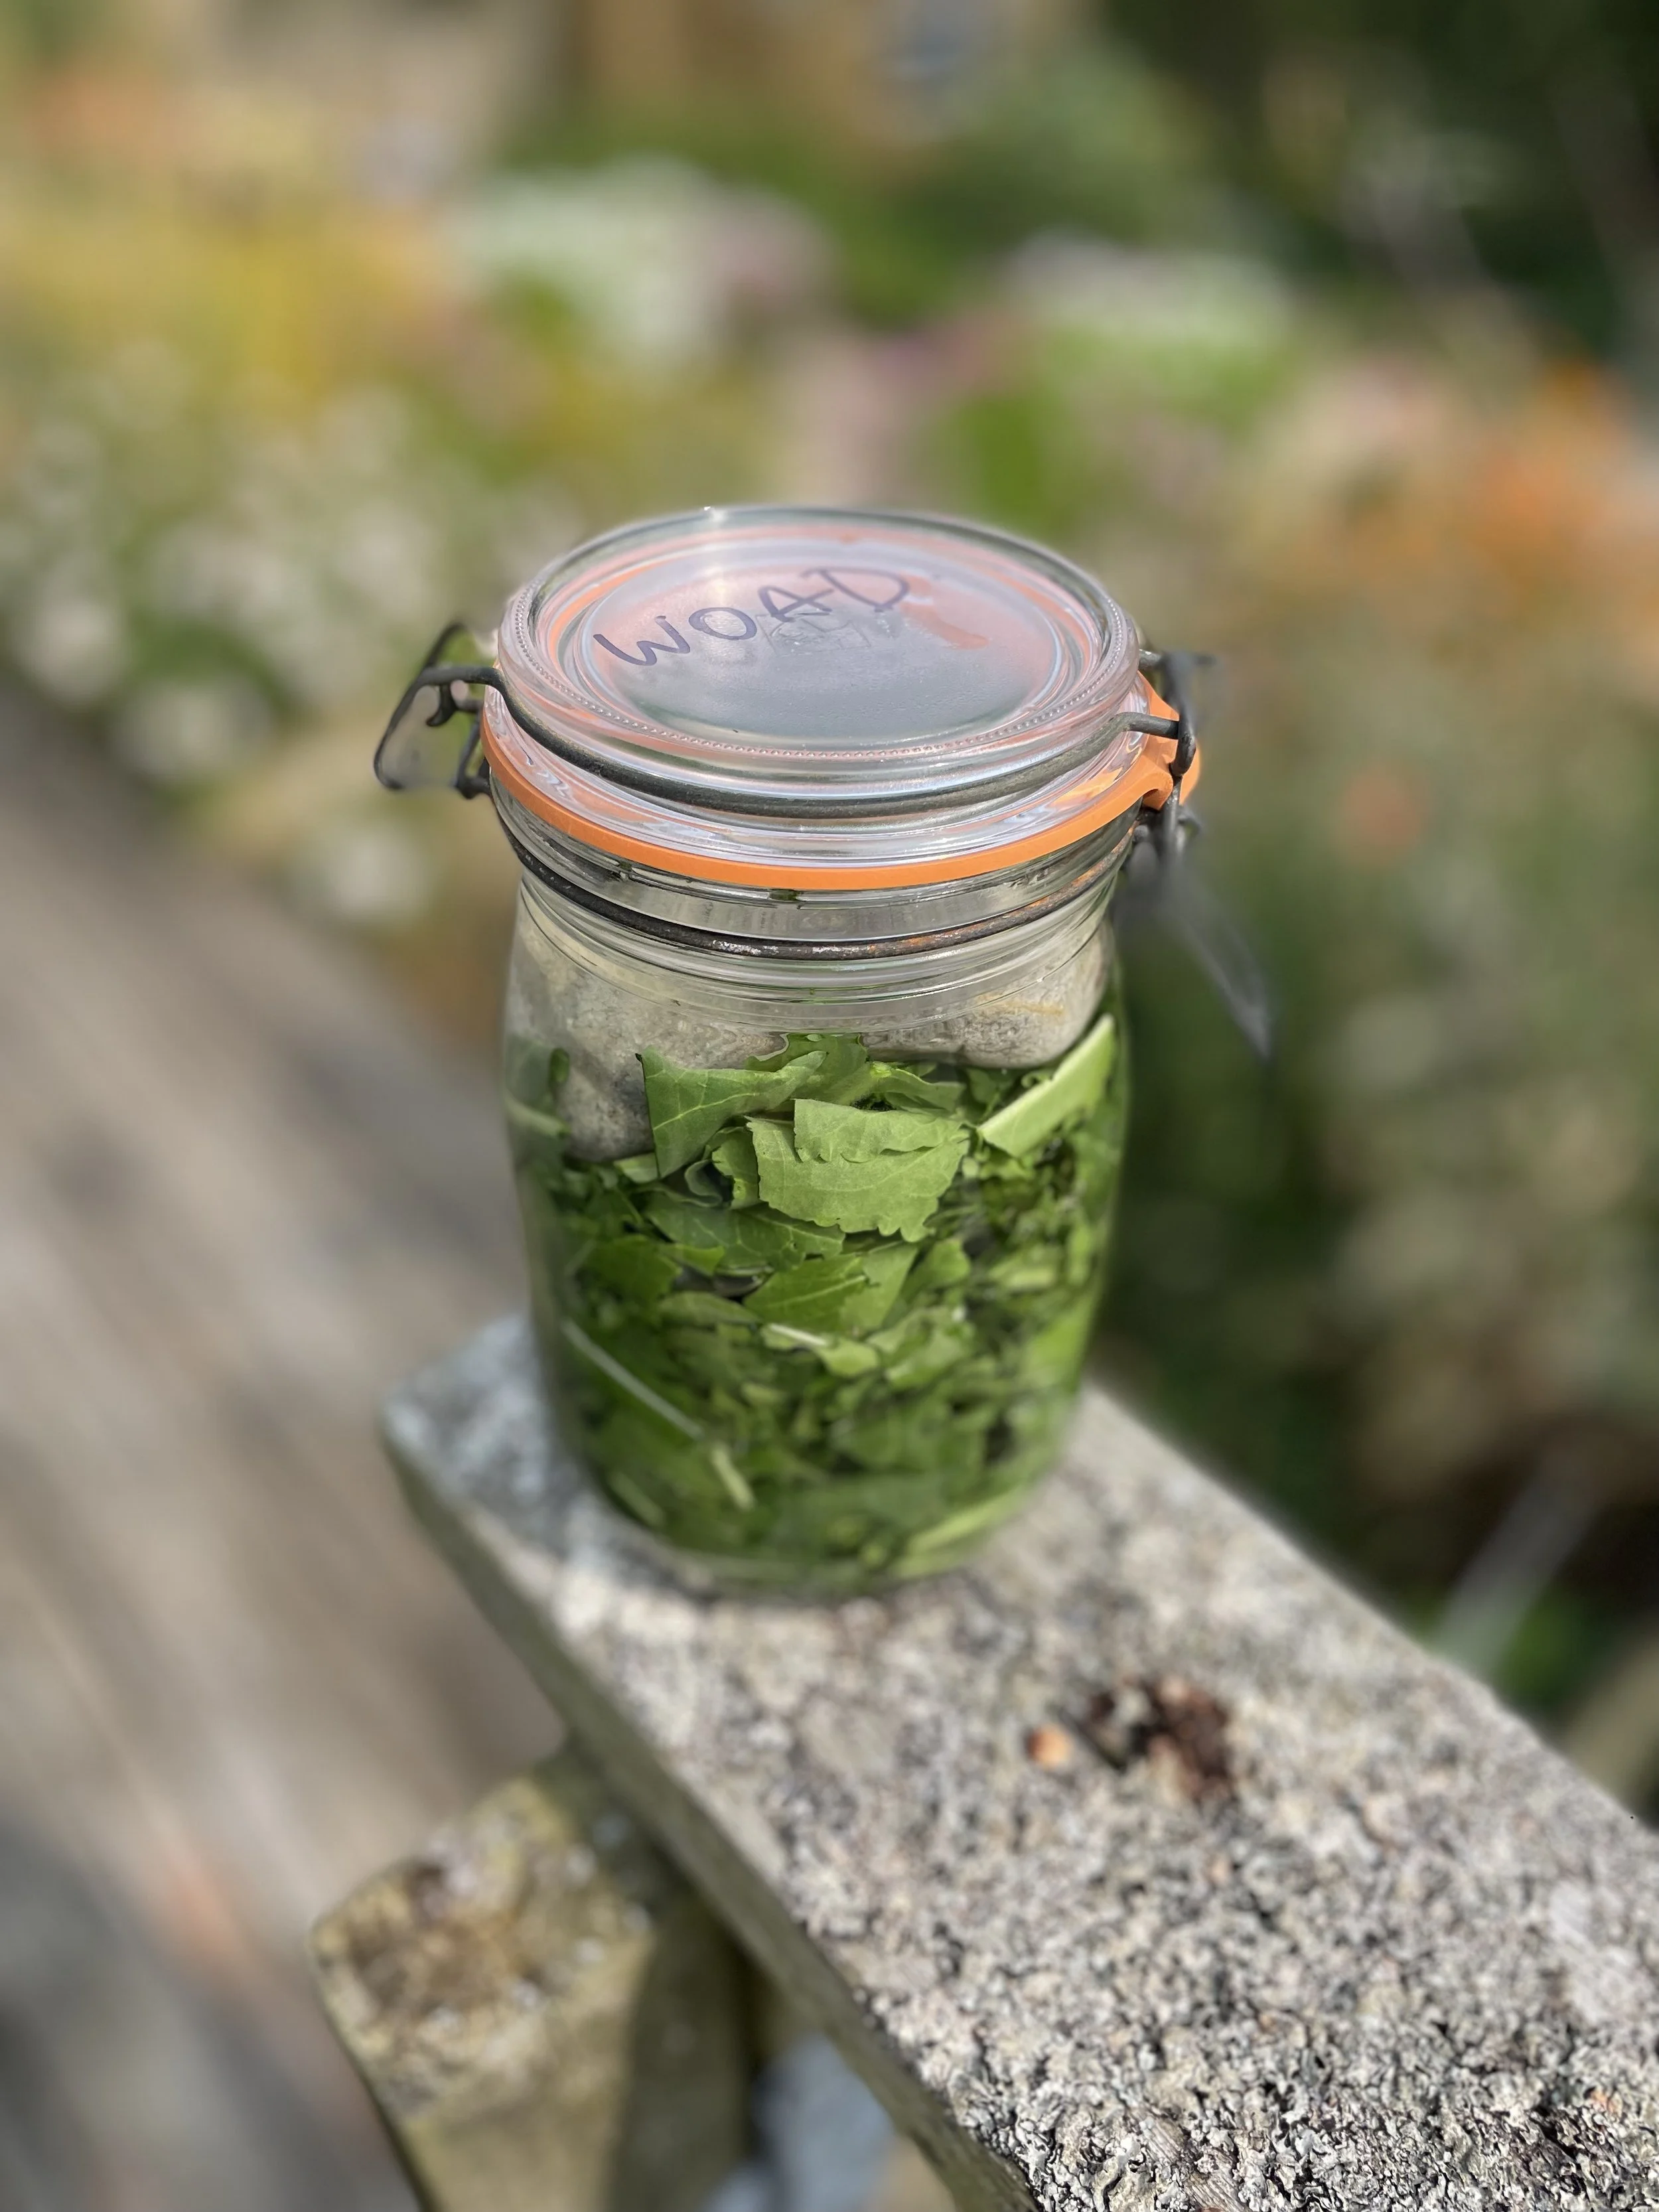
Woad or Isatis tinctoria is a biennial plant and was cultivated across Europe and in the UK as a dye plant. I grew the plants from seed and collected the leaves in the first year to extract the pigment. Japanese Indigo or Persicaria tinctoria is grown from seed as an annual and the pigment is again in the leaves. This plant originates in SE Asia and China.
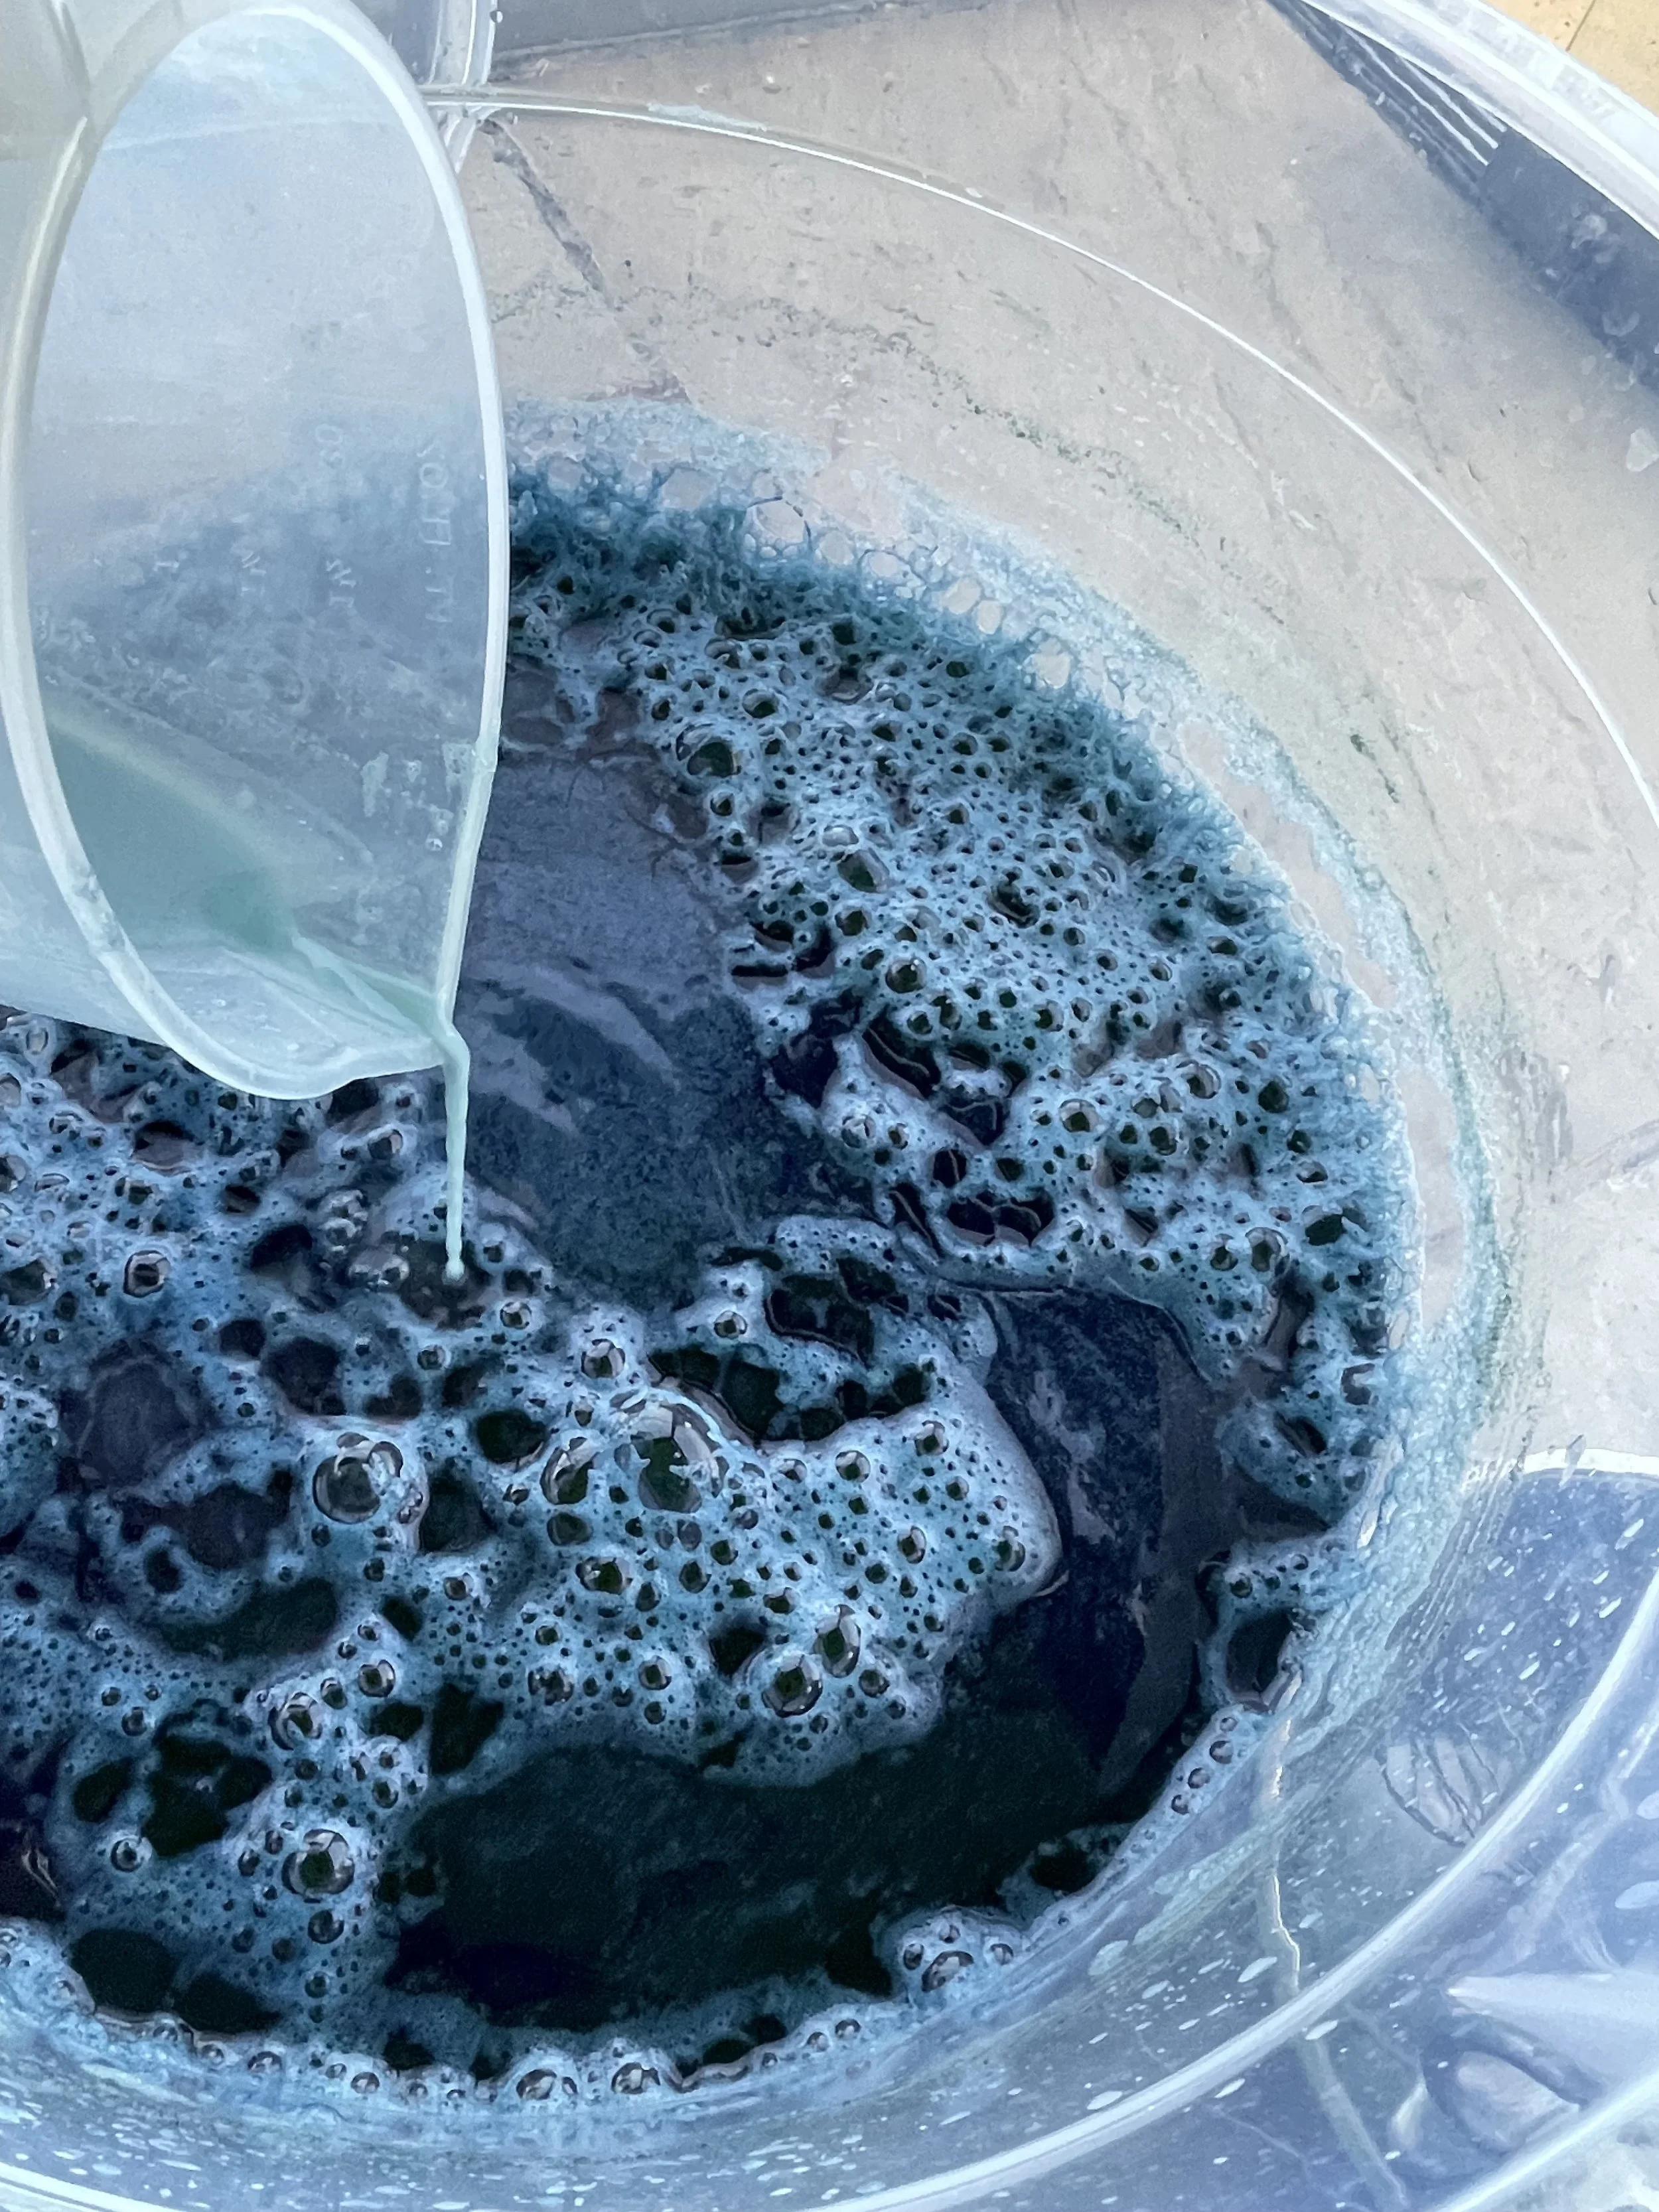
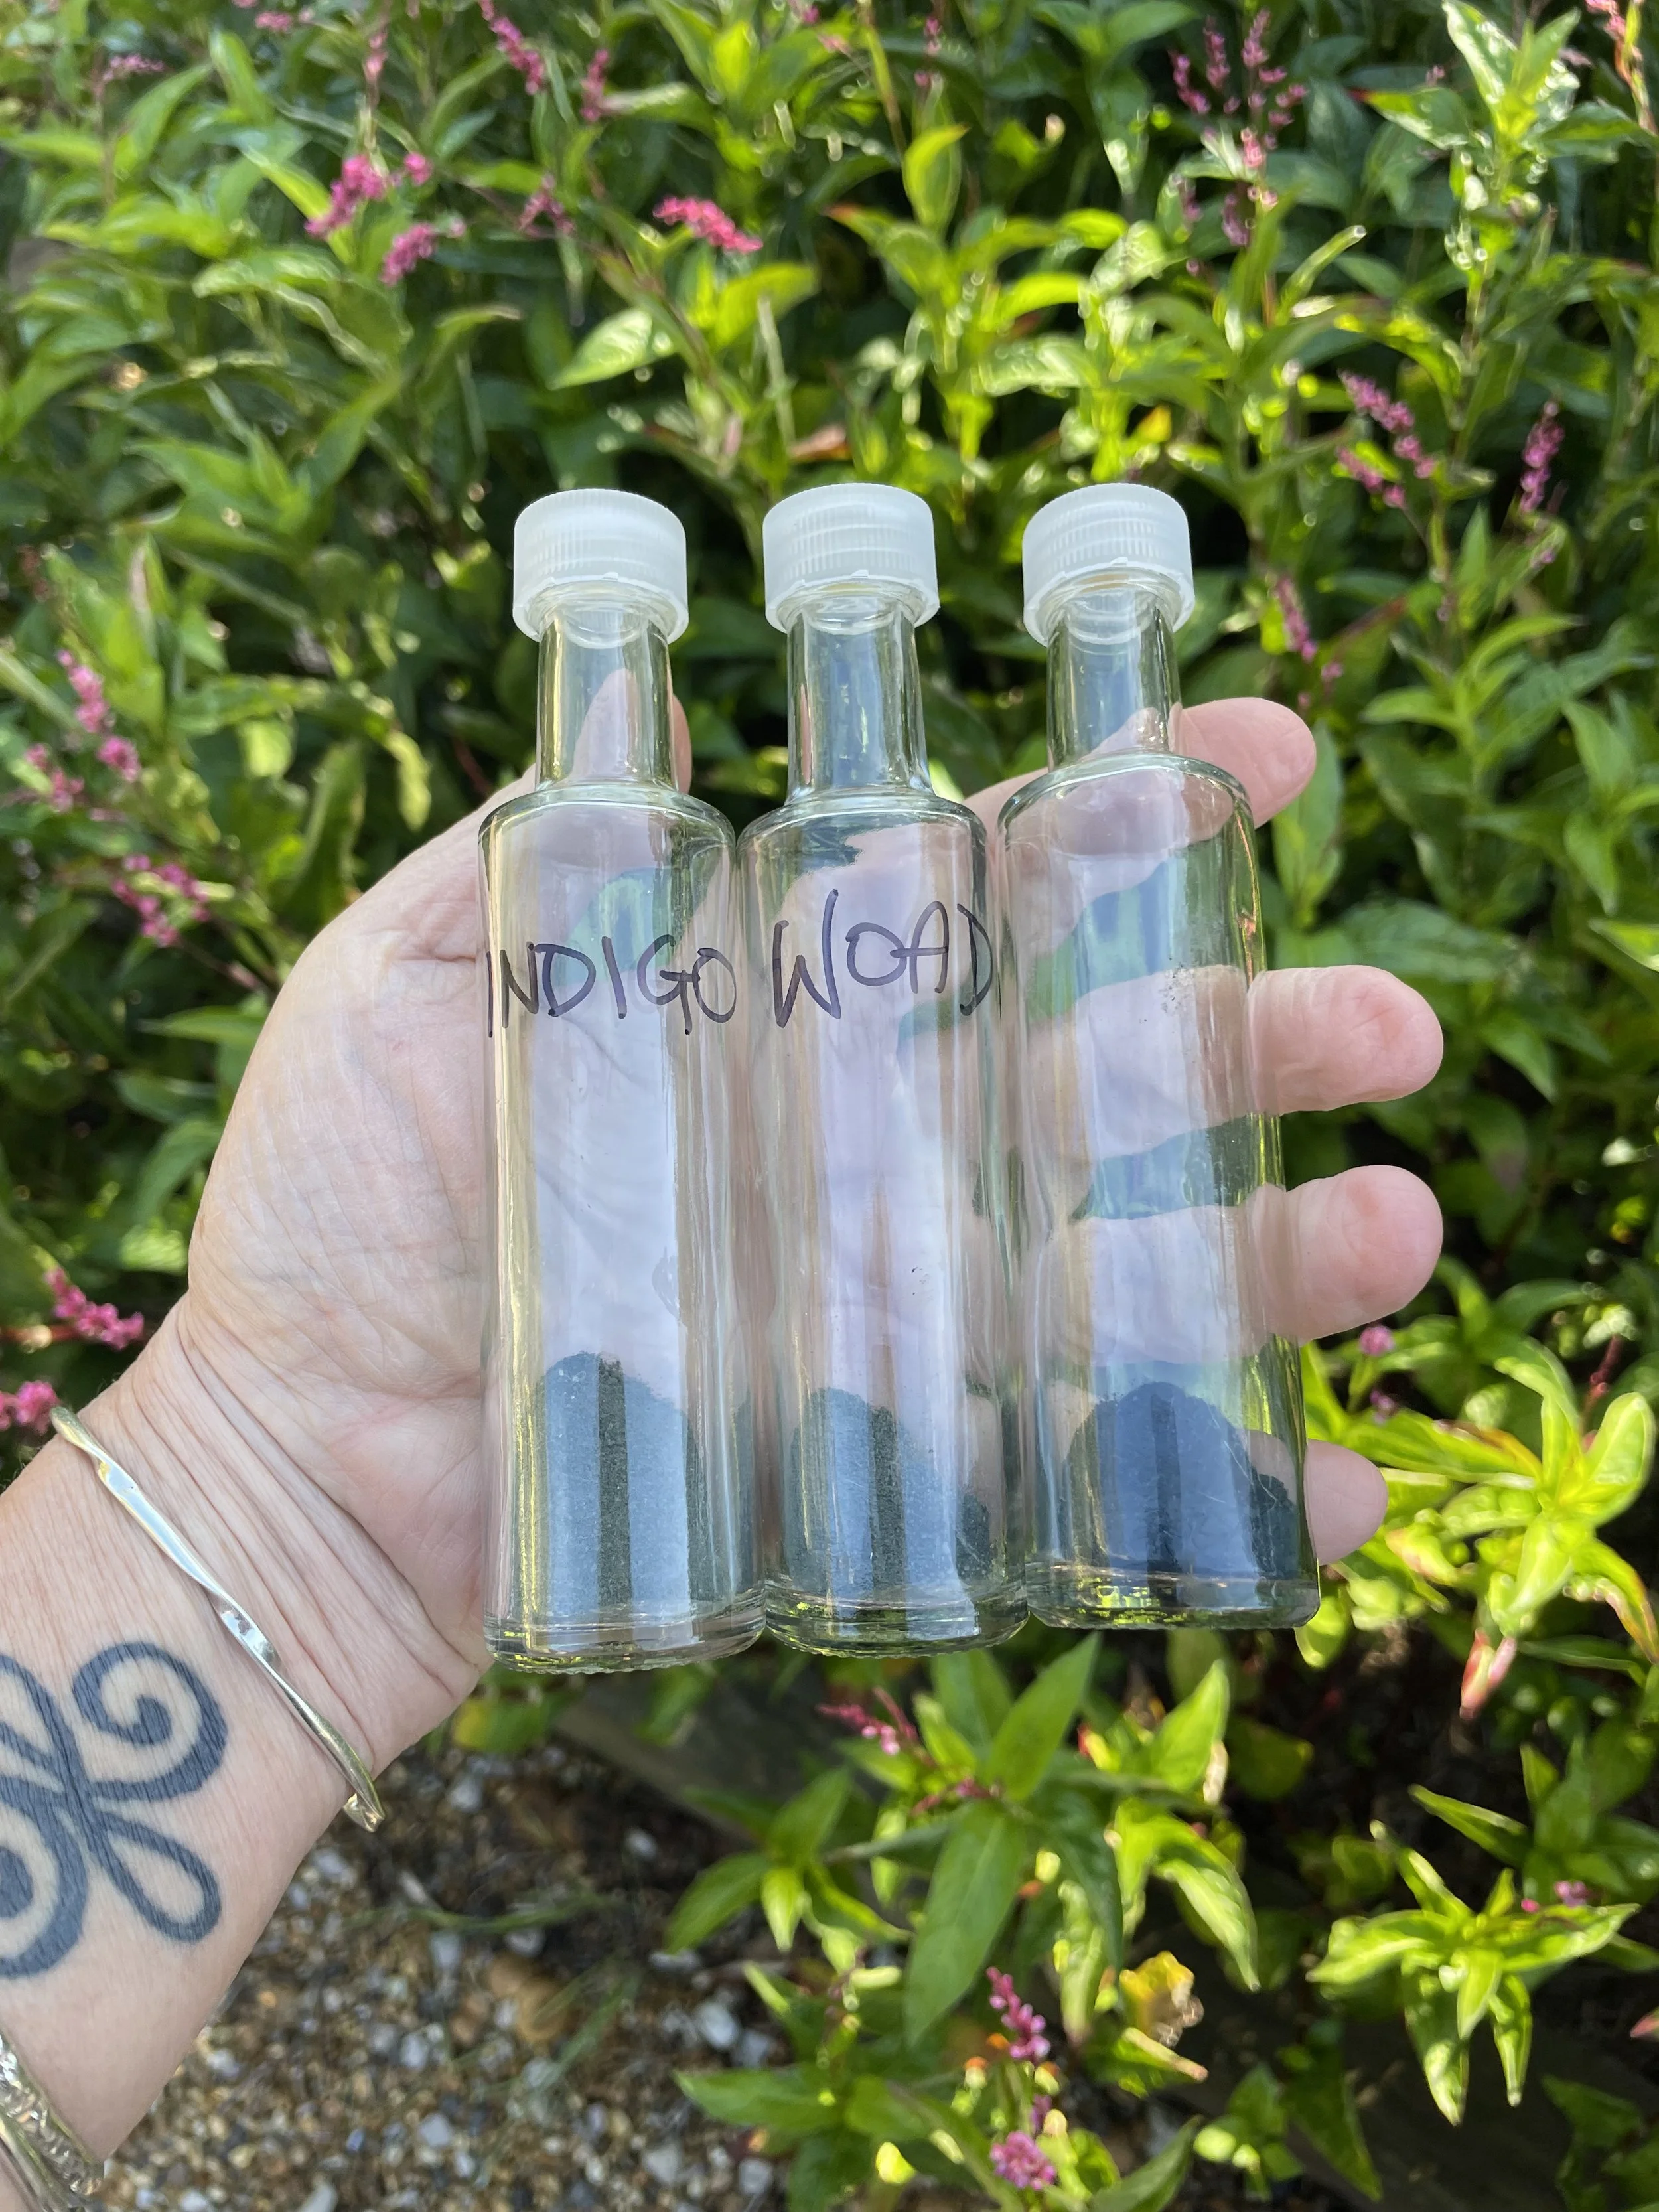
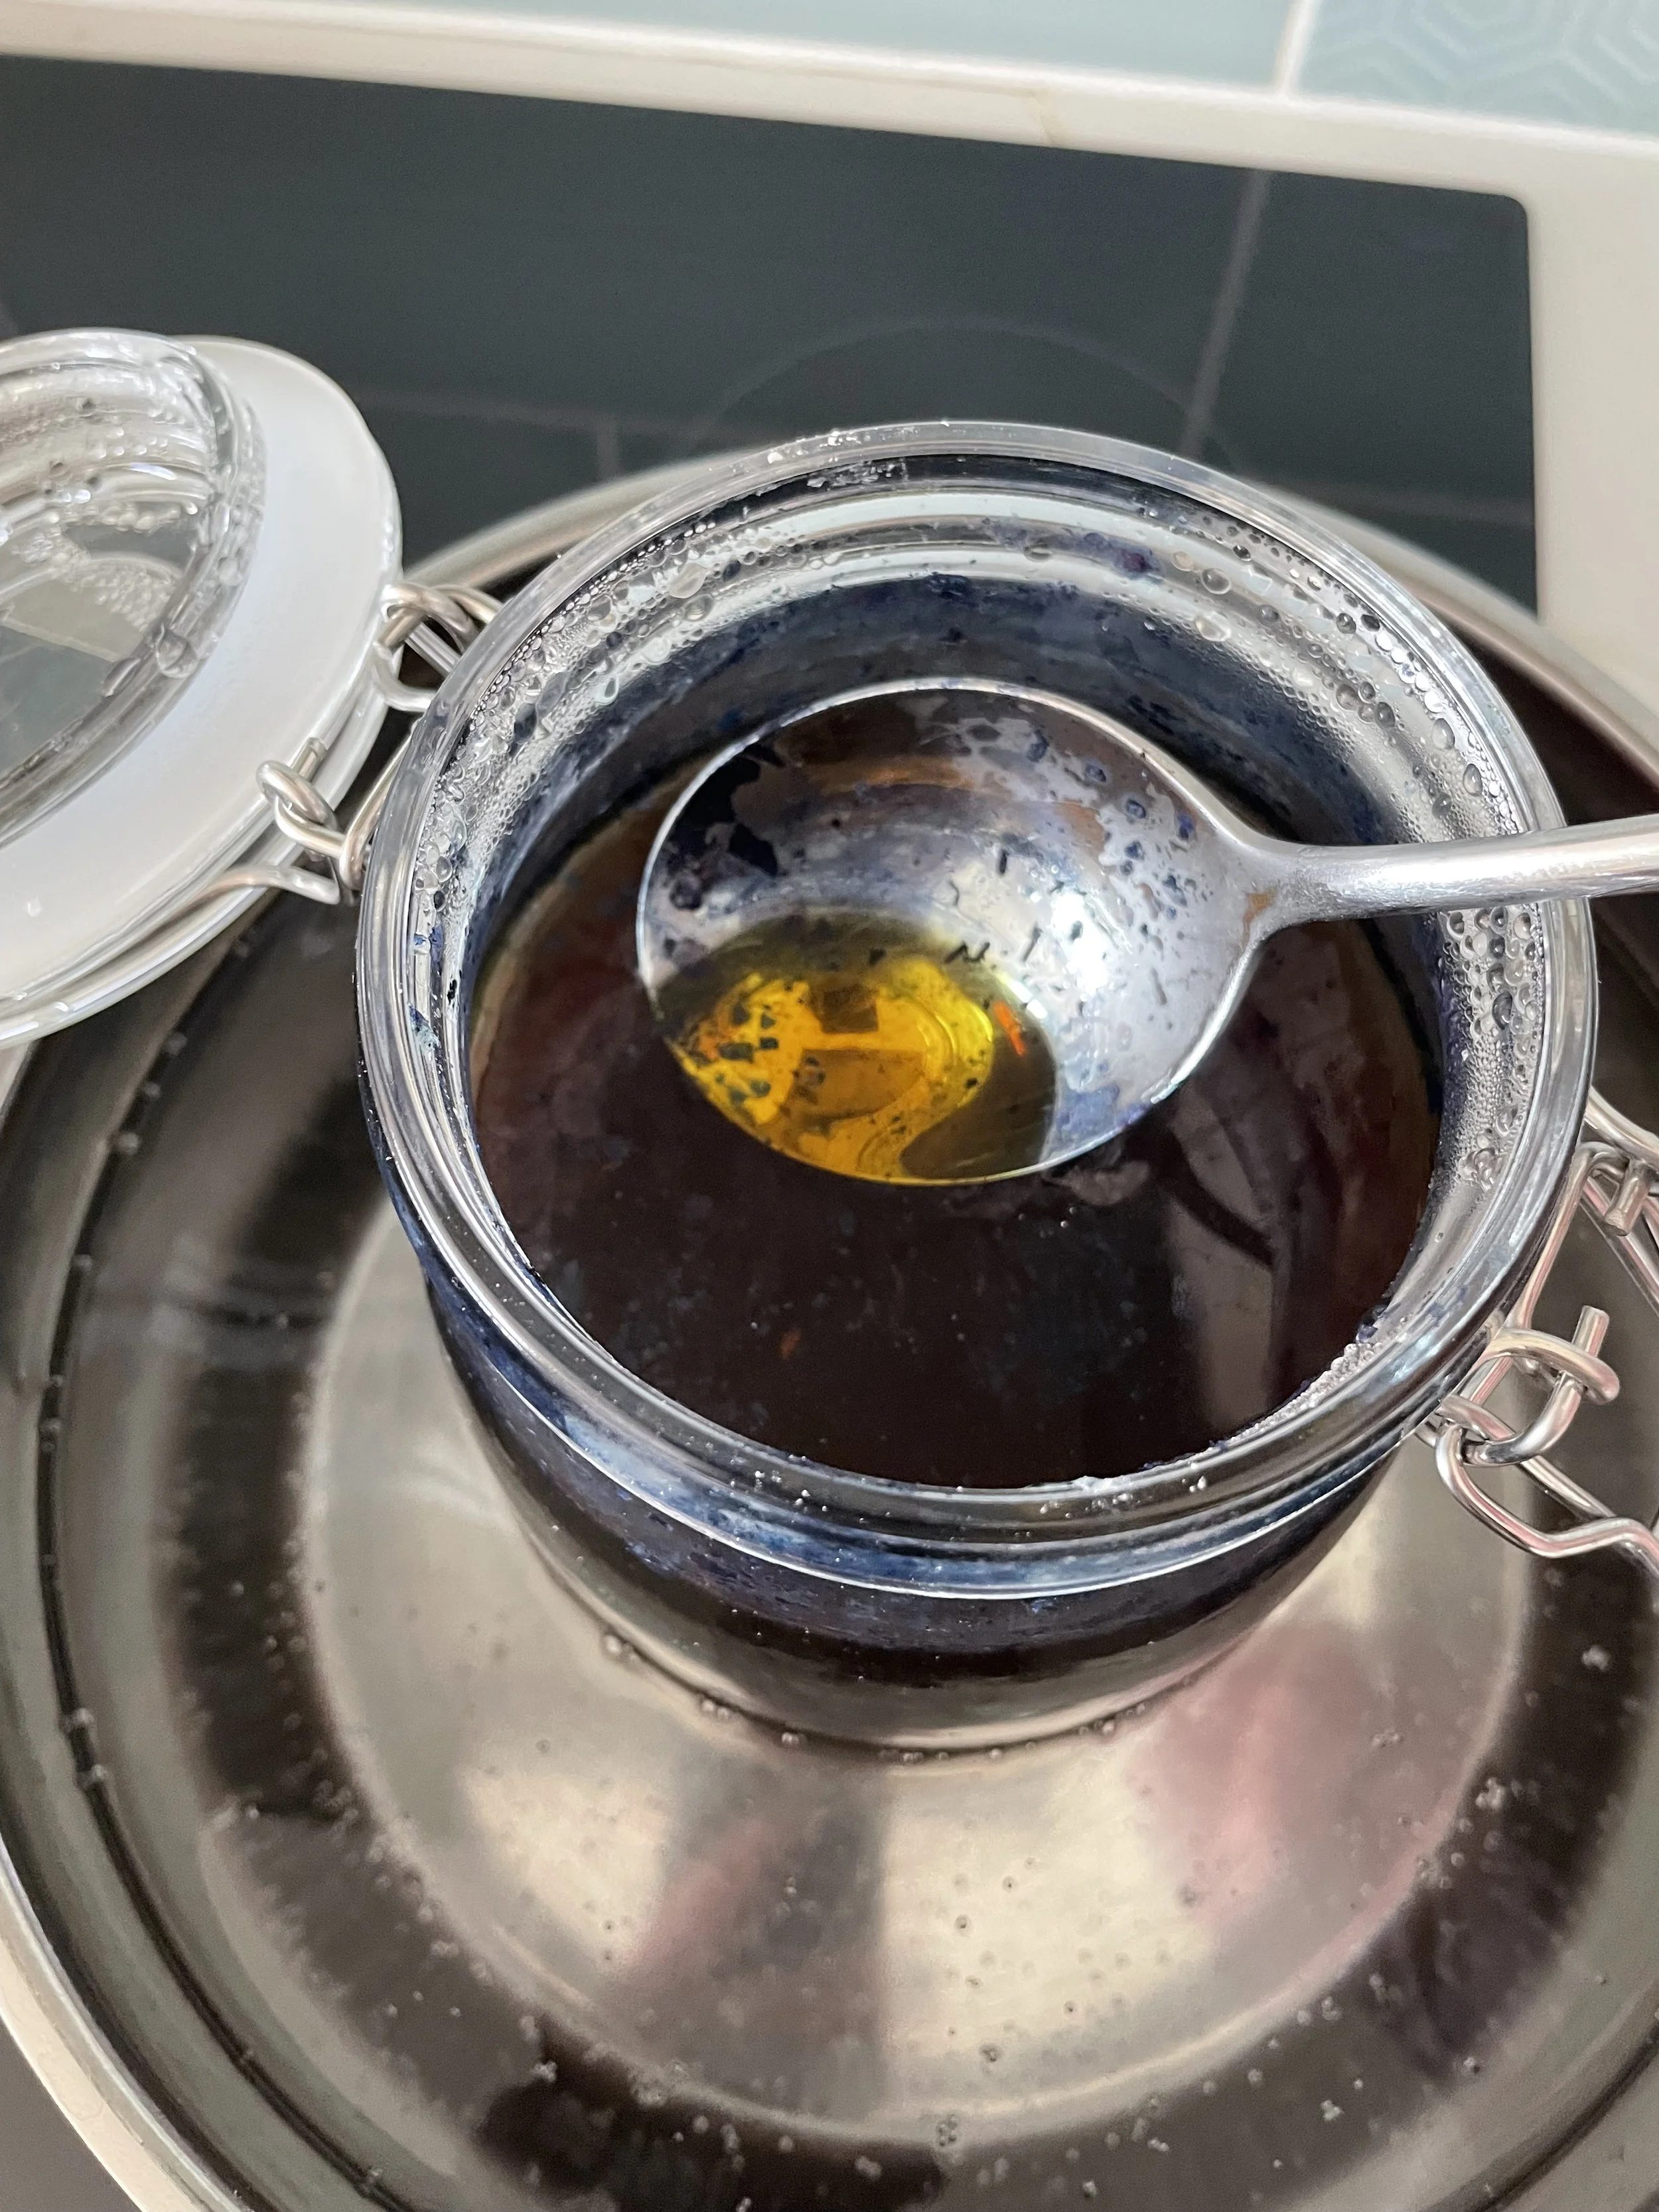
For both these plants the pigment must be extracted, precipitated out and then stored, ready for use in a dye vat. I’m not going to detail that whole process here, but the pictures give you an idea. I ended up with some little bottles of blue pigment from each- again very precious!


Spinning/Cording
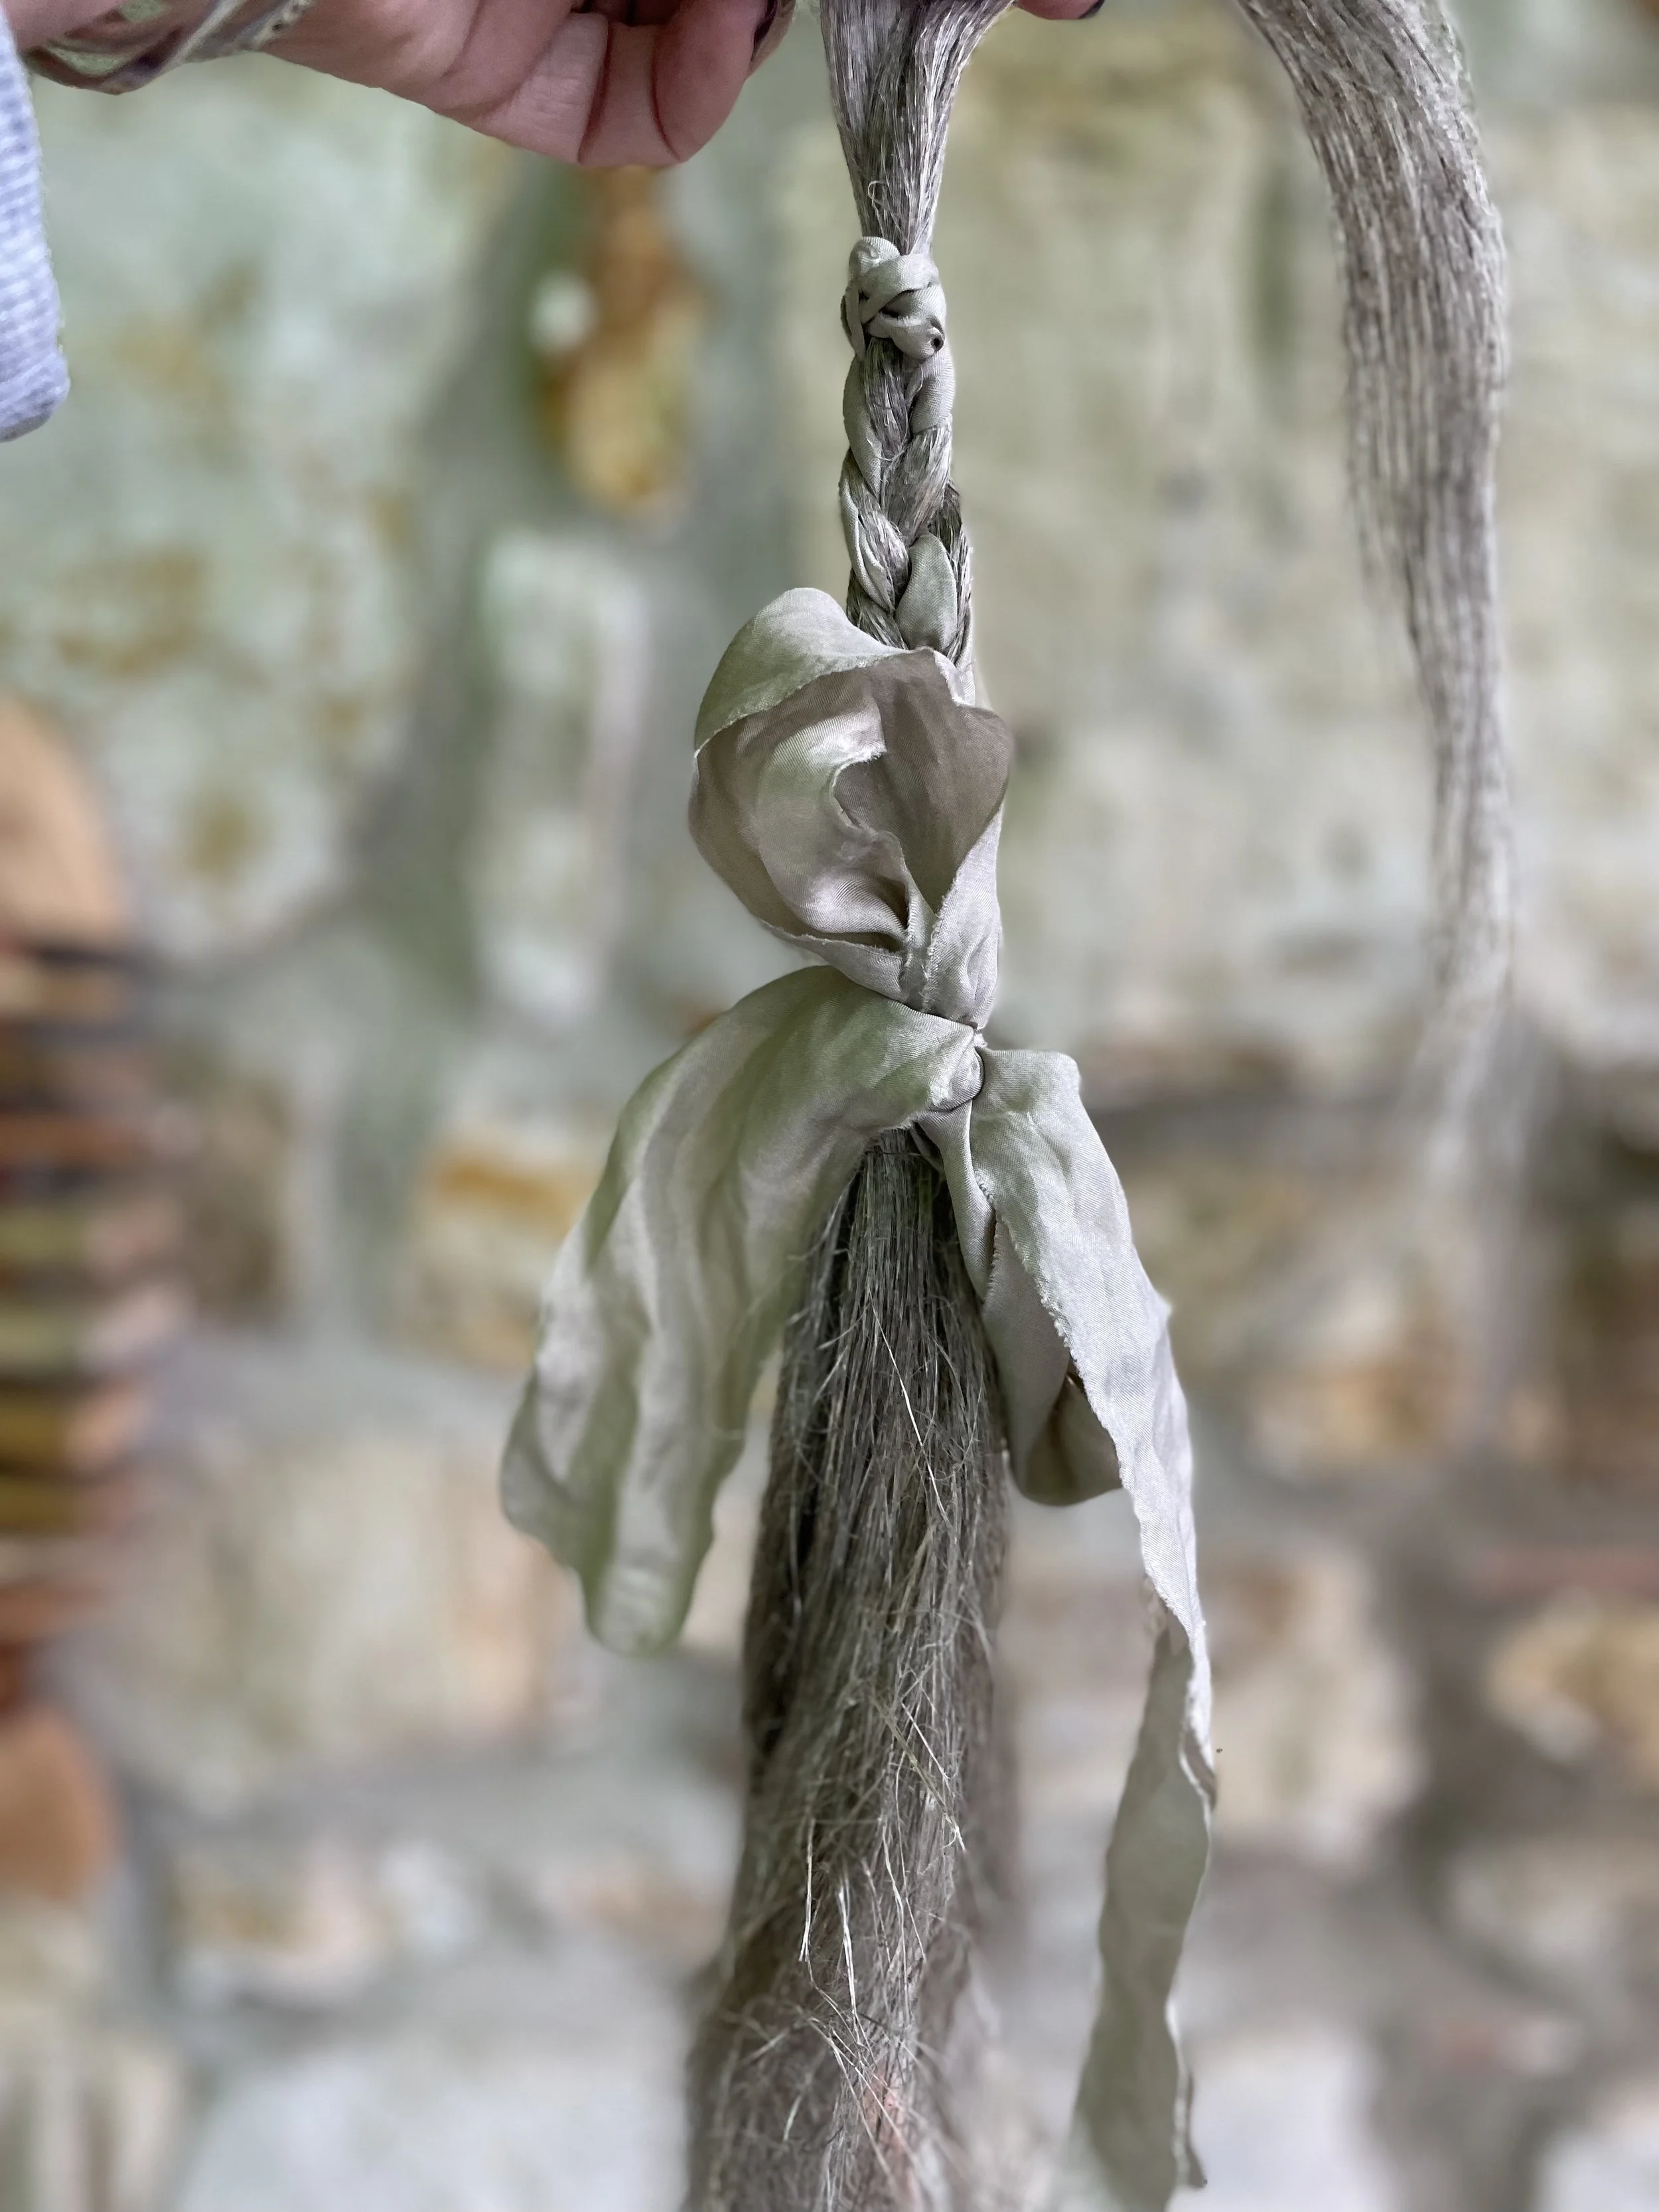
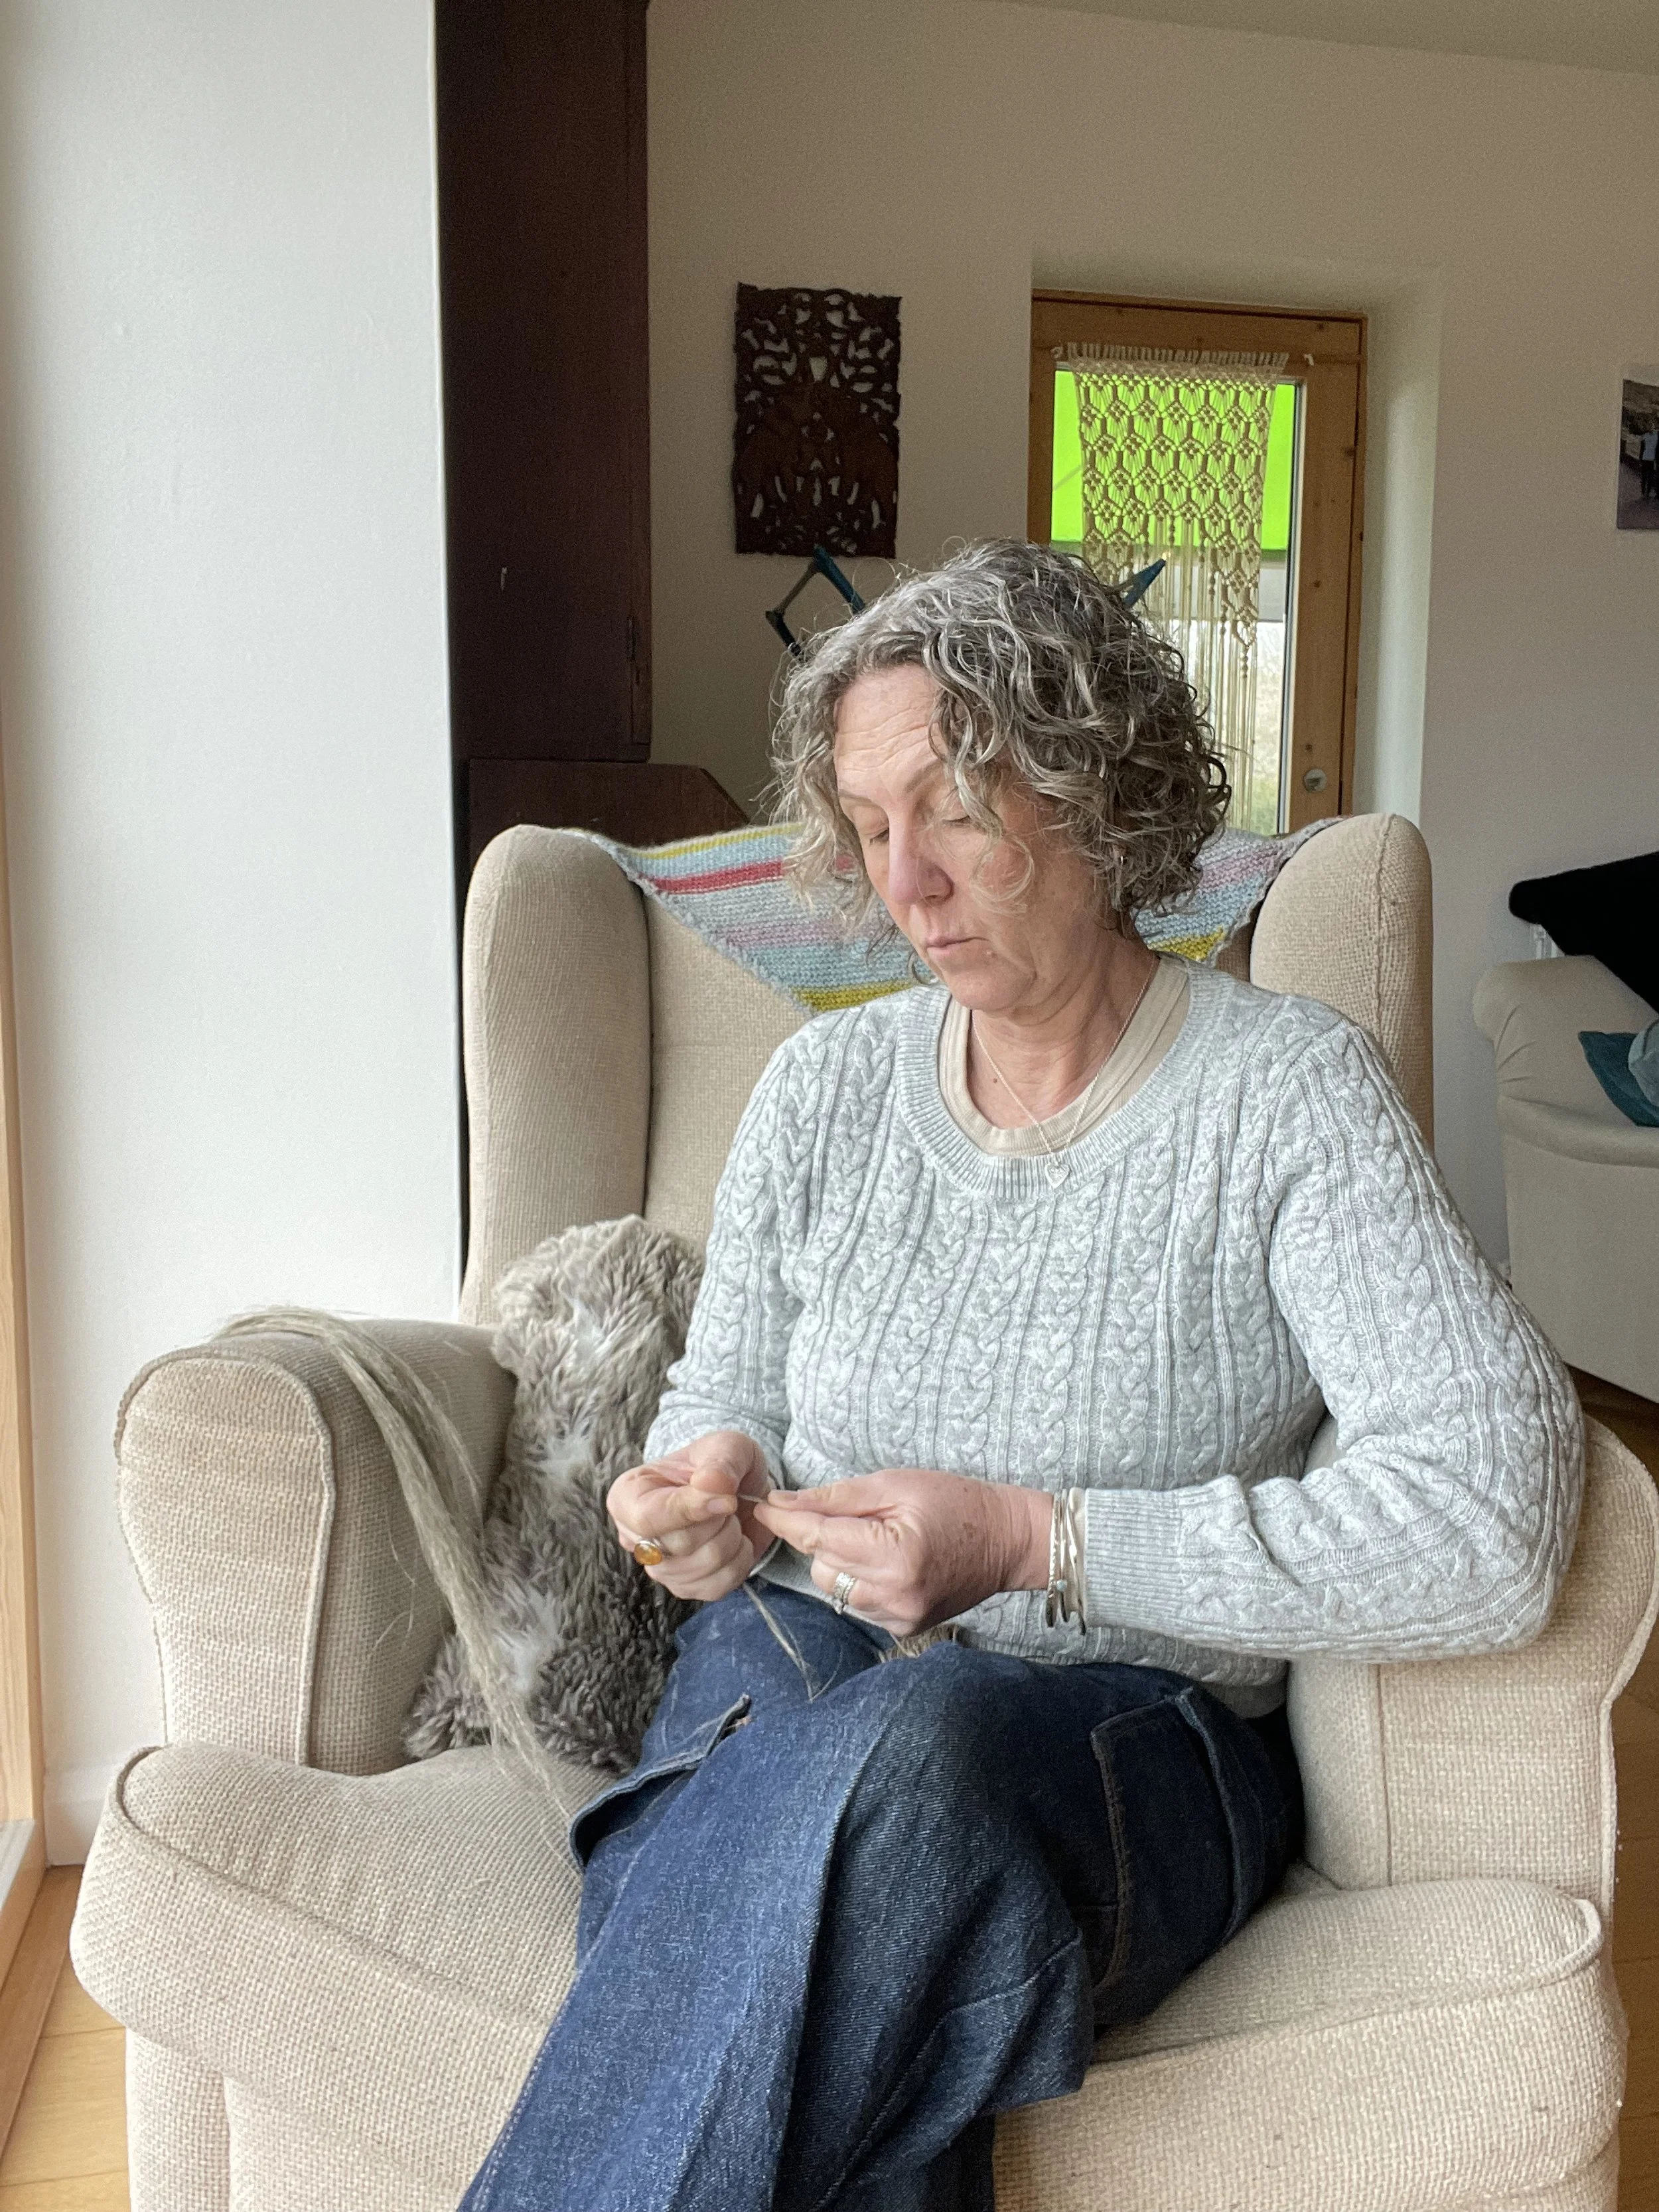
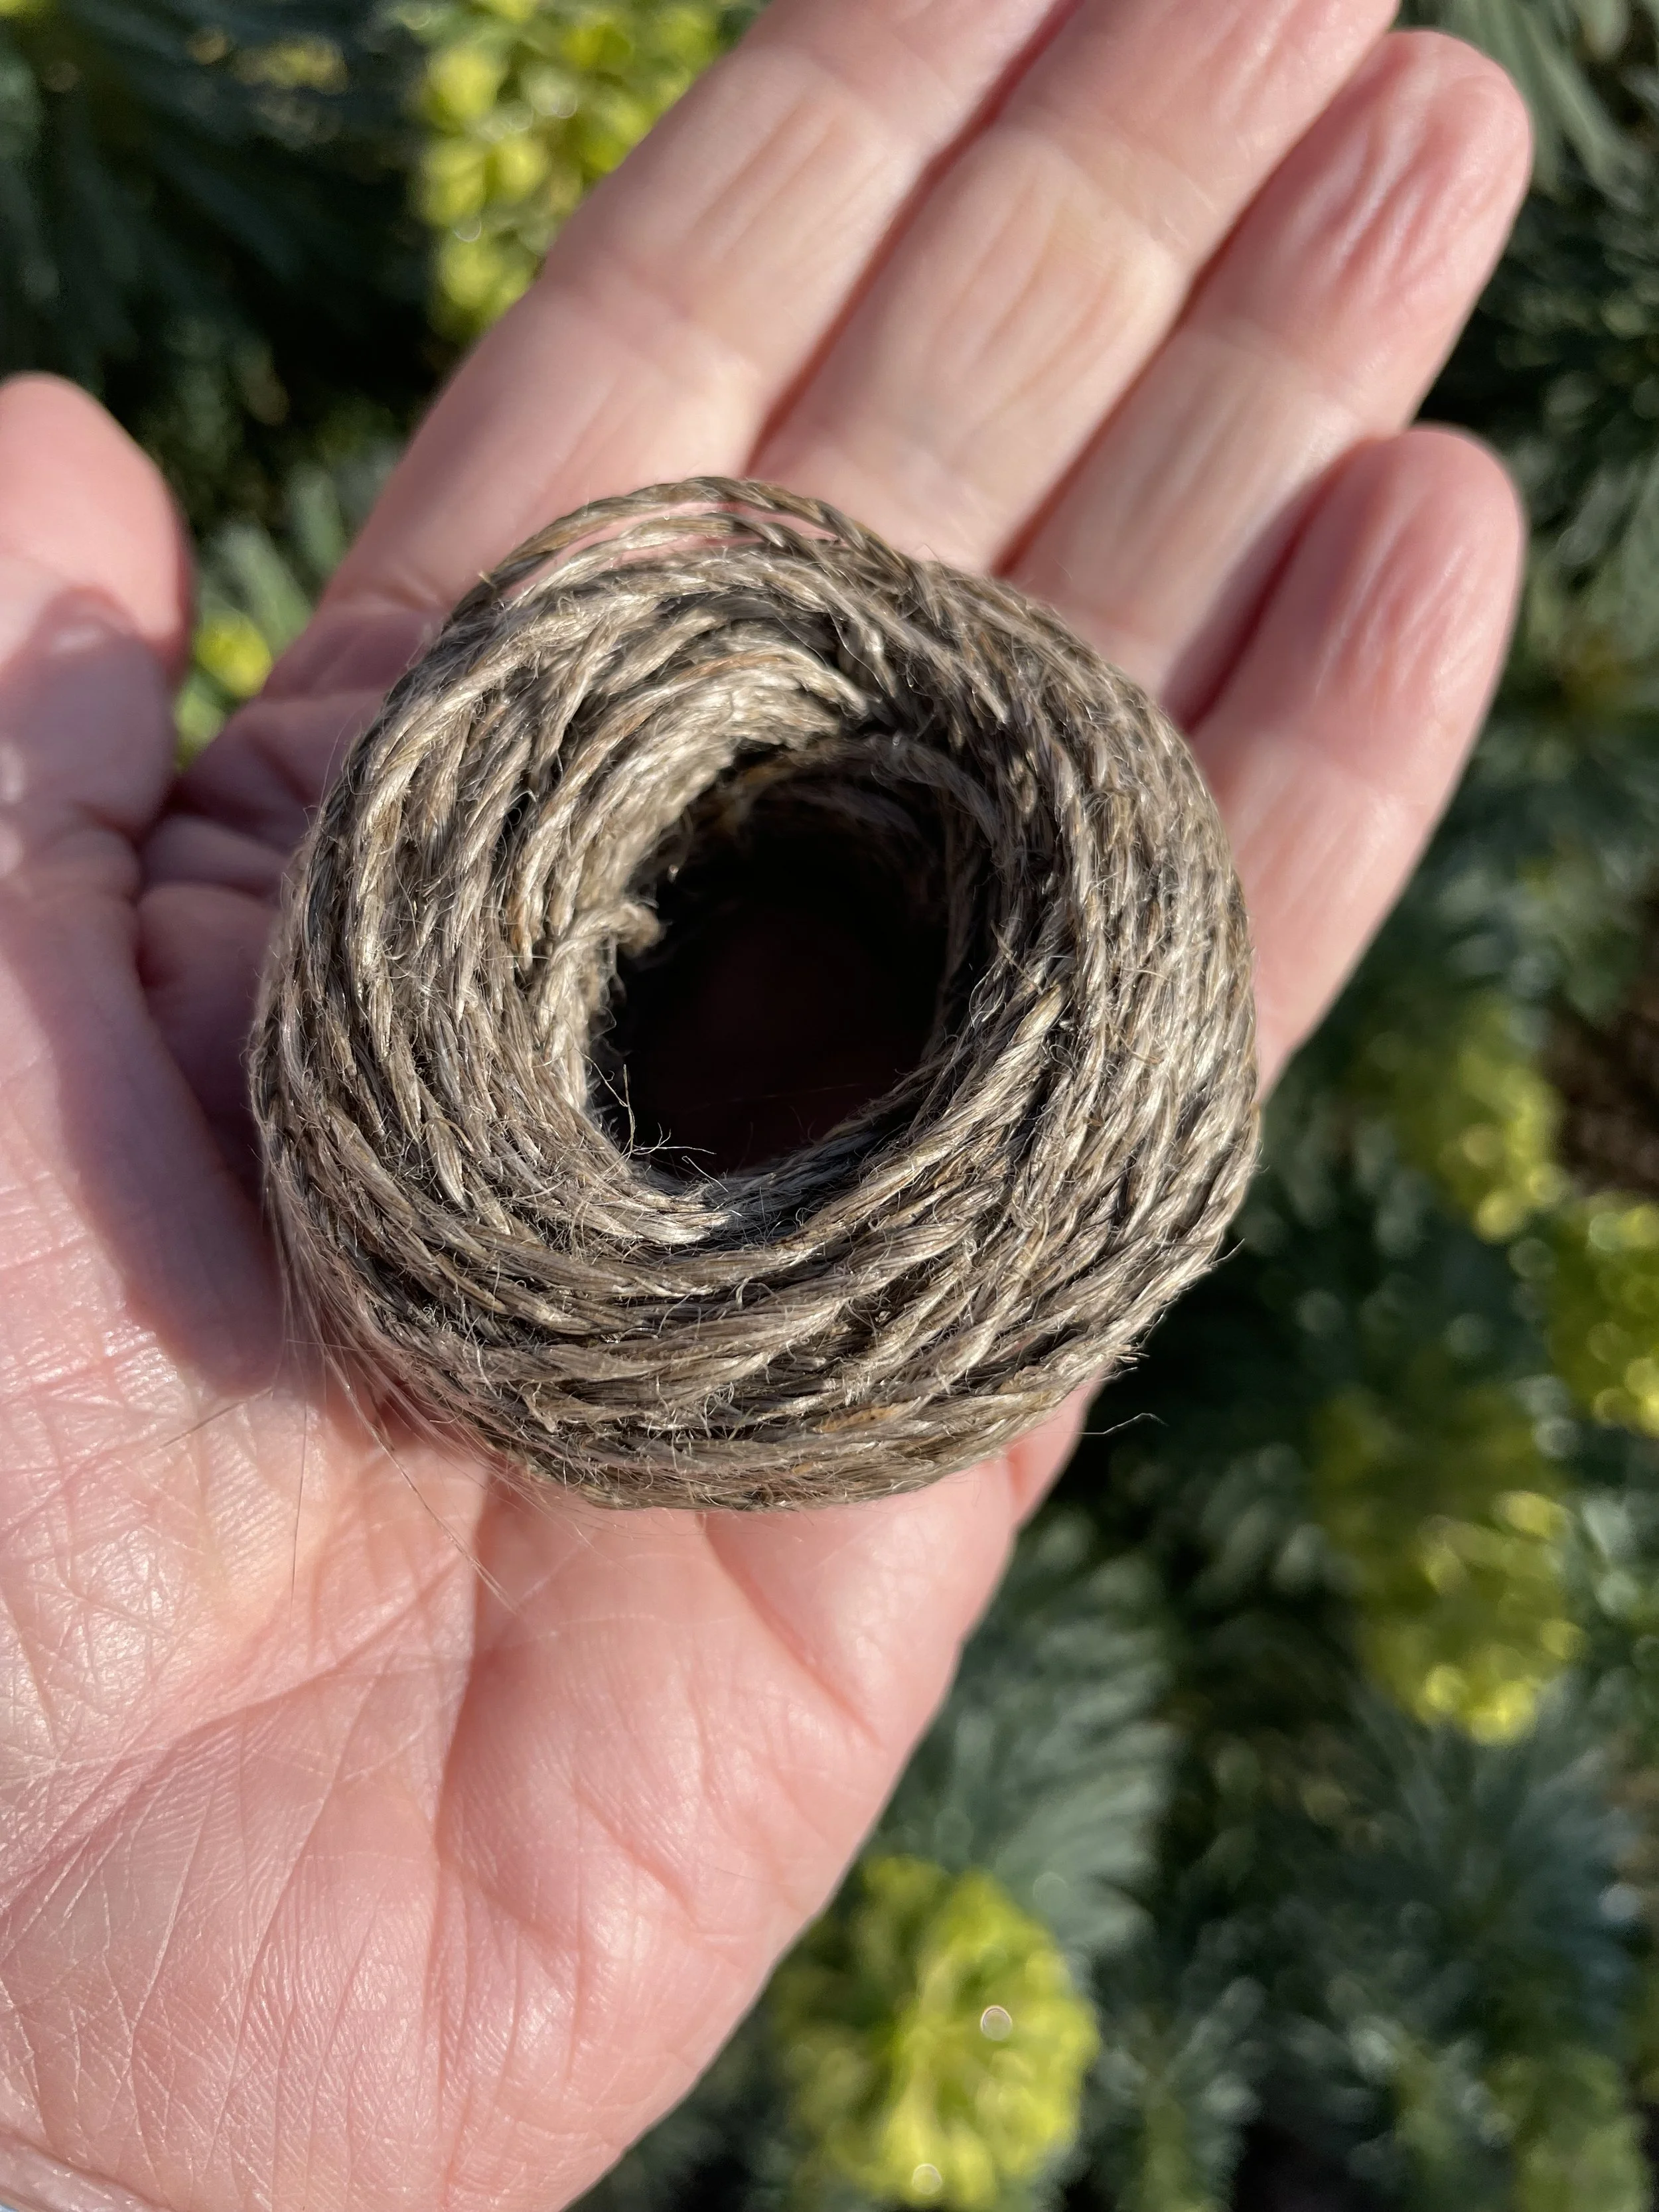
The next stage was to take these long strands of fibres and make them into some kind of useable thread. For this they needed to be spun. I’m a bit of a novice spinner, but I do have a wheel and drop spindles. This involved lots of experimentation on my part, trying out different methods, resulting in various yarns of various standards! It was certainly a lot trickier than the wool I was used to and my fibre was also pretty coarse. I by no means expected perfect fibres so was happy just to play around. In the end for me the most successful method was actually to make cordage. This involves taking two pieces of the fibres and basically twisting them together as you would to make a piece of string or rope. I’ve always enjoyed this method and can be very relaxing and satisfying as you see your cord taking shape.
For this stage I only really used the long fibres, keeping the ‘tow’ for another project…
Dyeing the Yarn
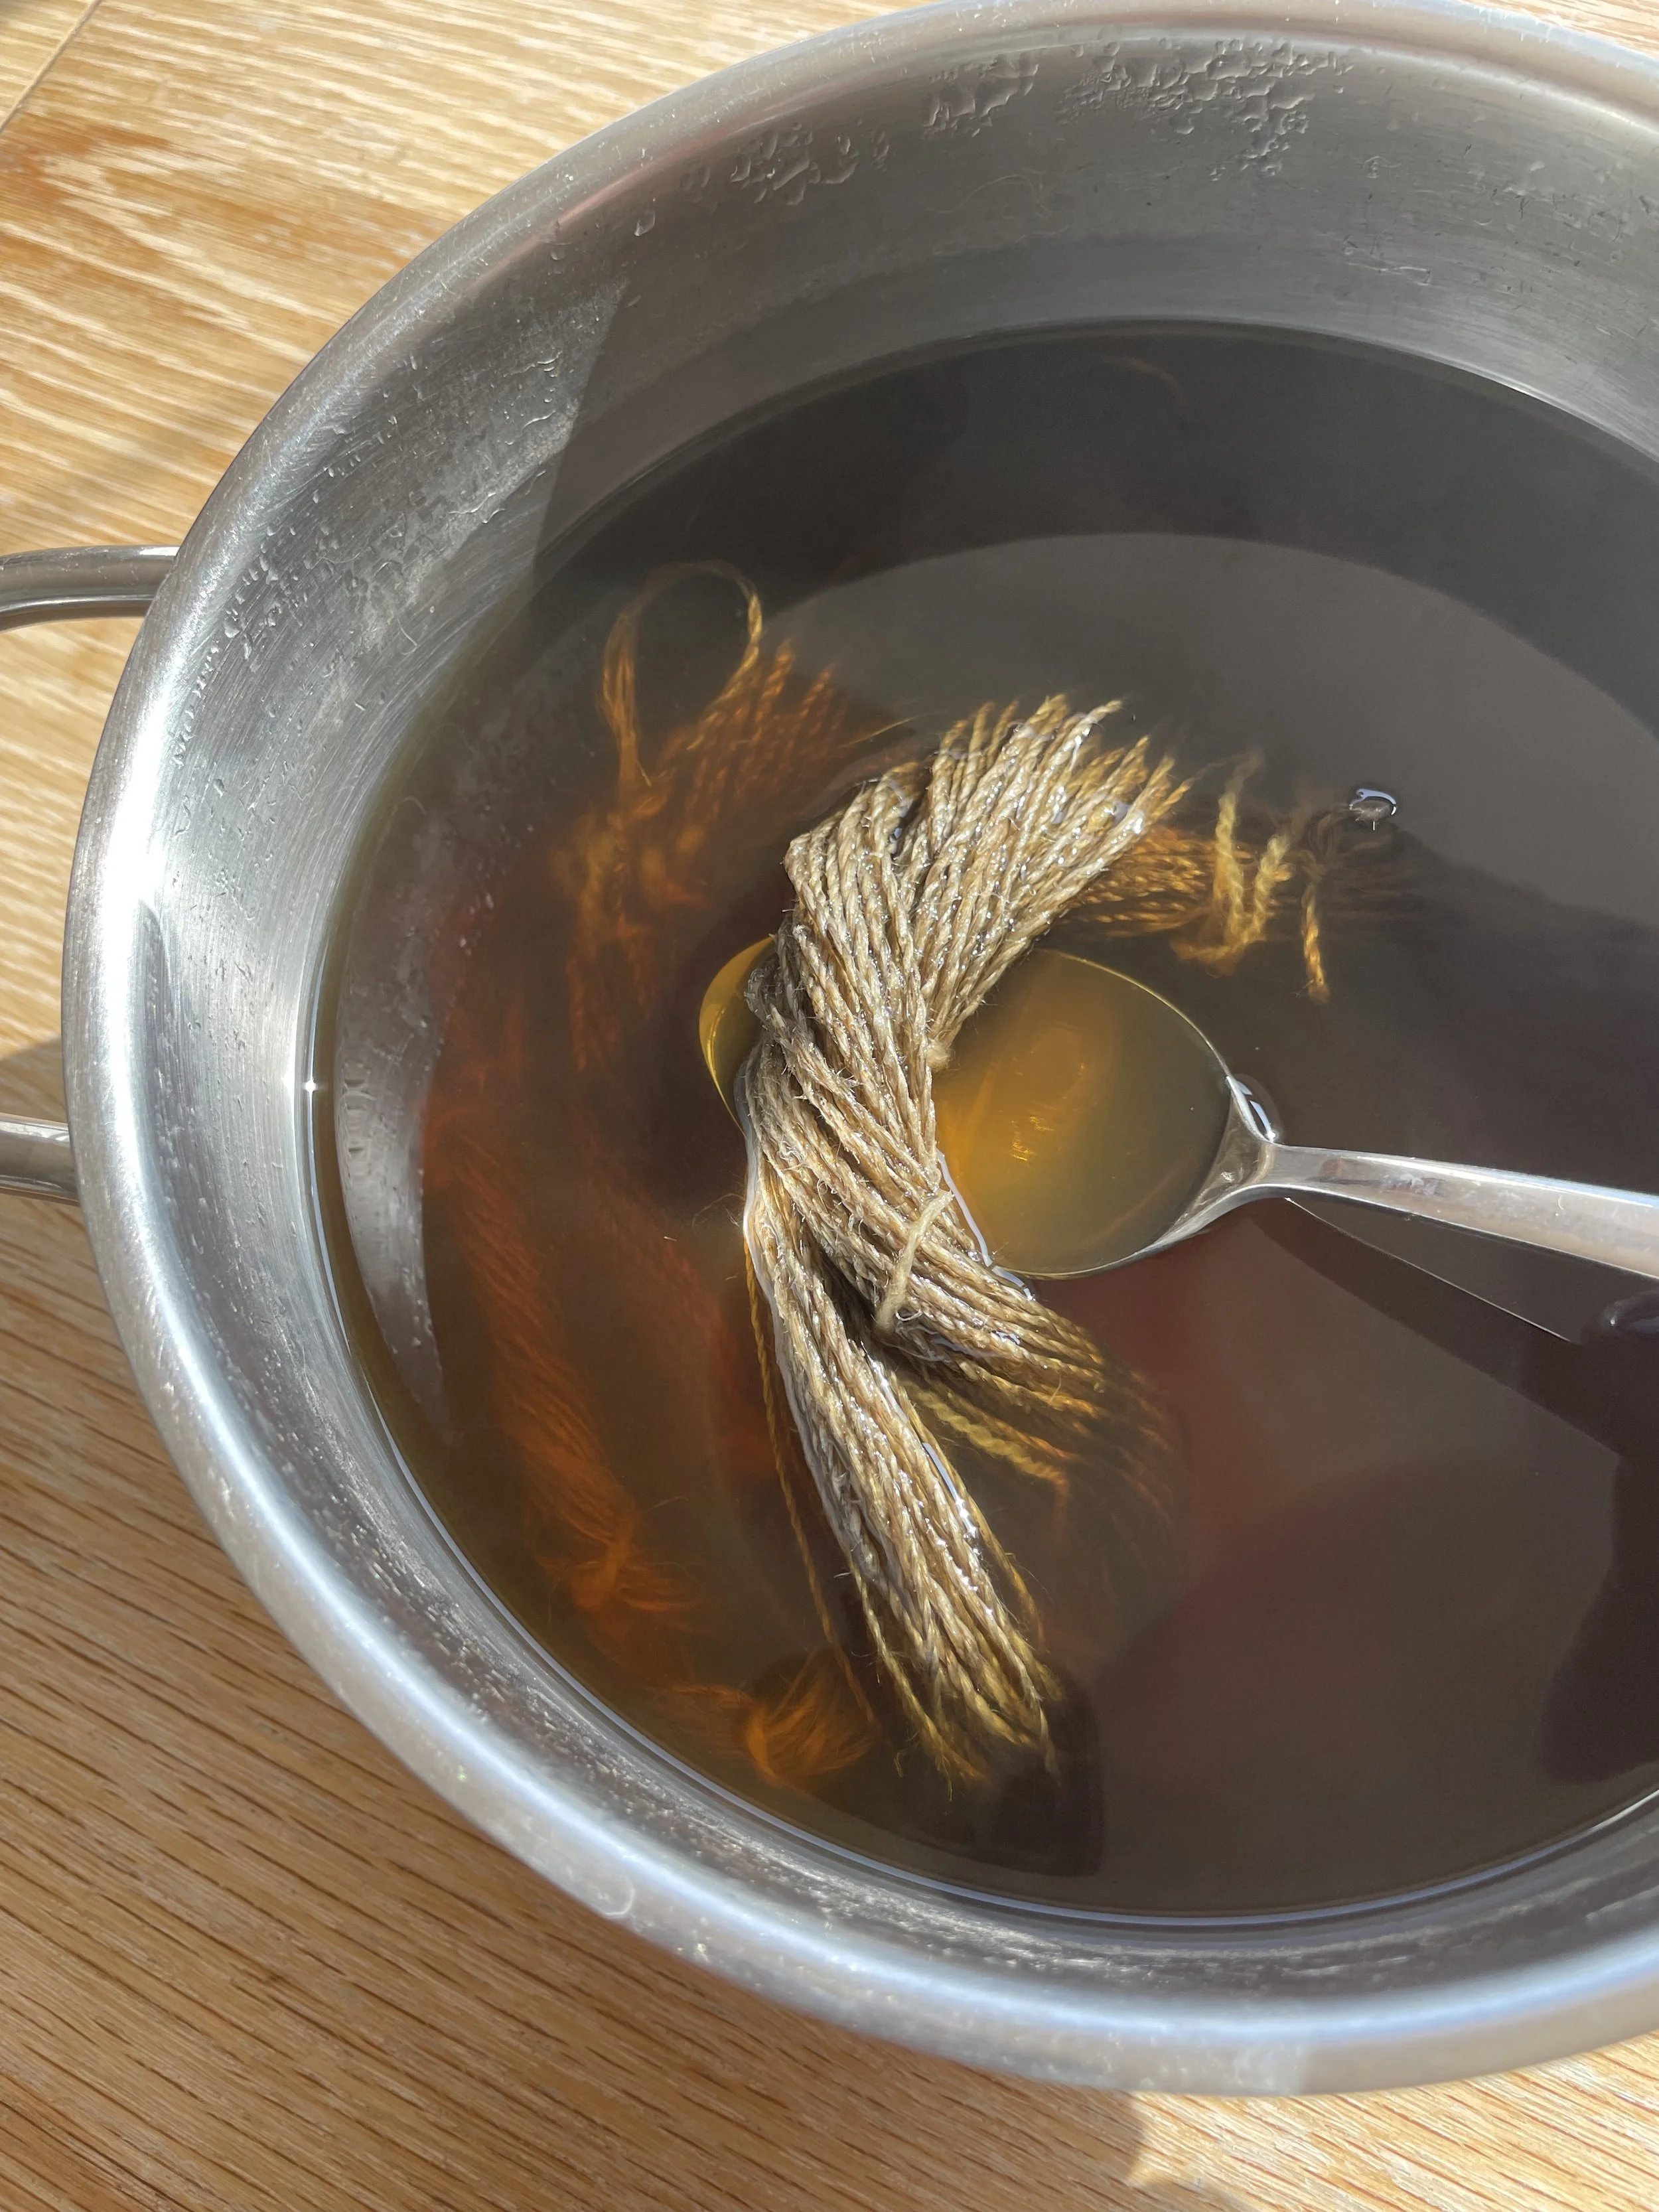
Dyeing the yarn with the homegrown Indigo and Woad pigments had me back in my comfort zone and I made a mini fructose vat, using both the pigments together. They both actually contain the same dye constituents so will work in the vat together. I wanted to make this totally homegrown so only wanted to use my own dyes. While that was reducing, I scoured or cleaned the flax by simmering it gently with some soda ash. I’m really glad I did as the water went pretty brown so there was a lot to come off it. Once that was rinsed it was ready to go in the vat. Again I’m not going to document the making of the vat here, but it involves both reduction and oxidation reactions to release the blue onto the fibre and feels a bit like magic! The linen actually dyed beautifully and gave a lovely soft silvery blue.


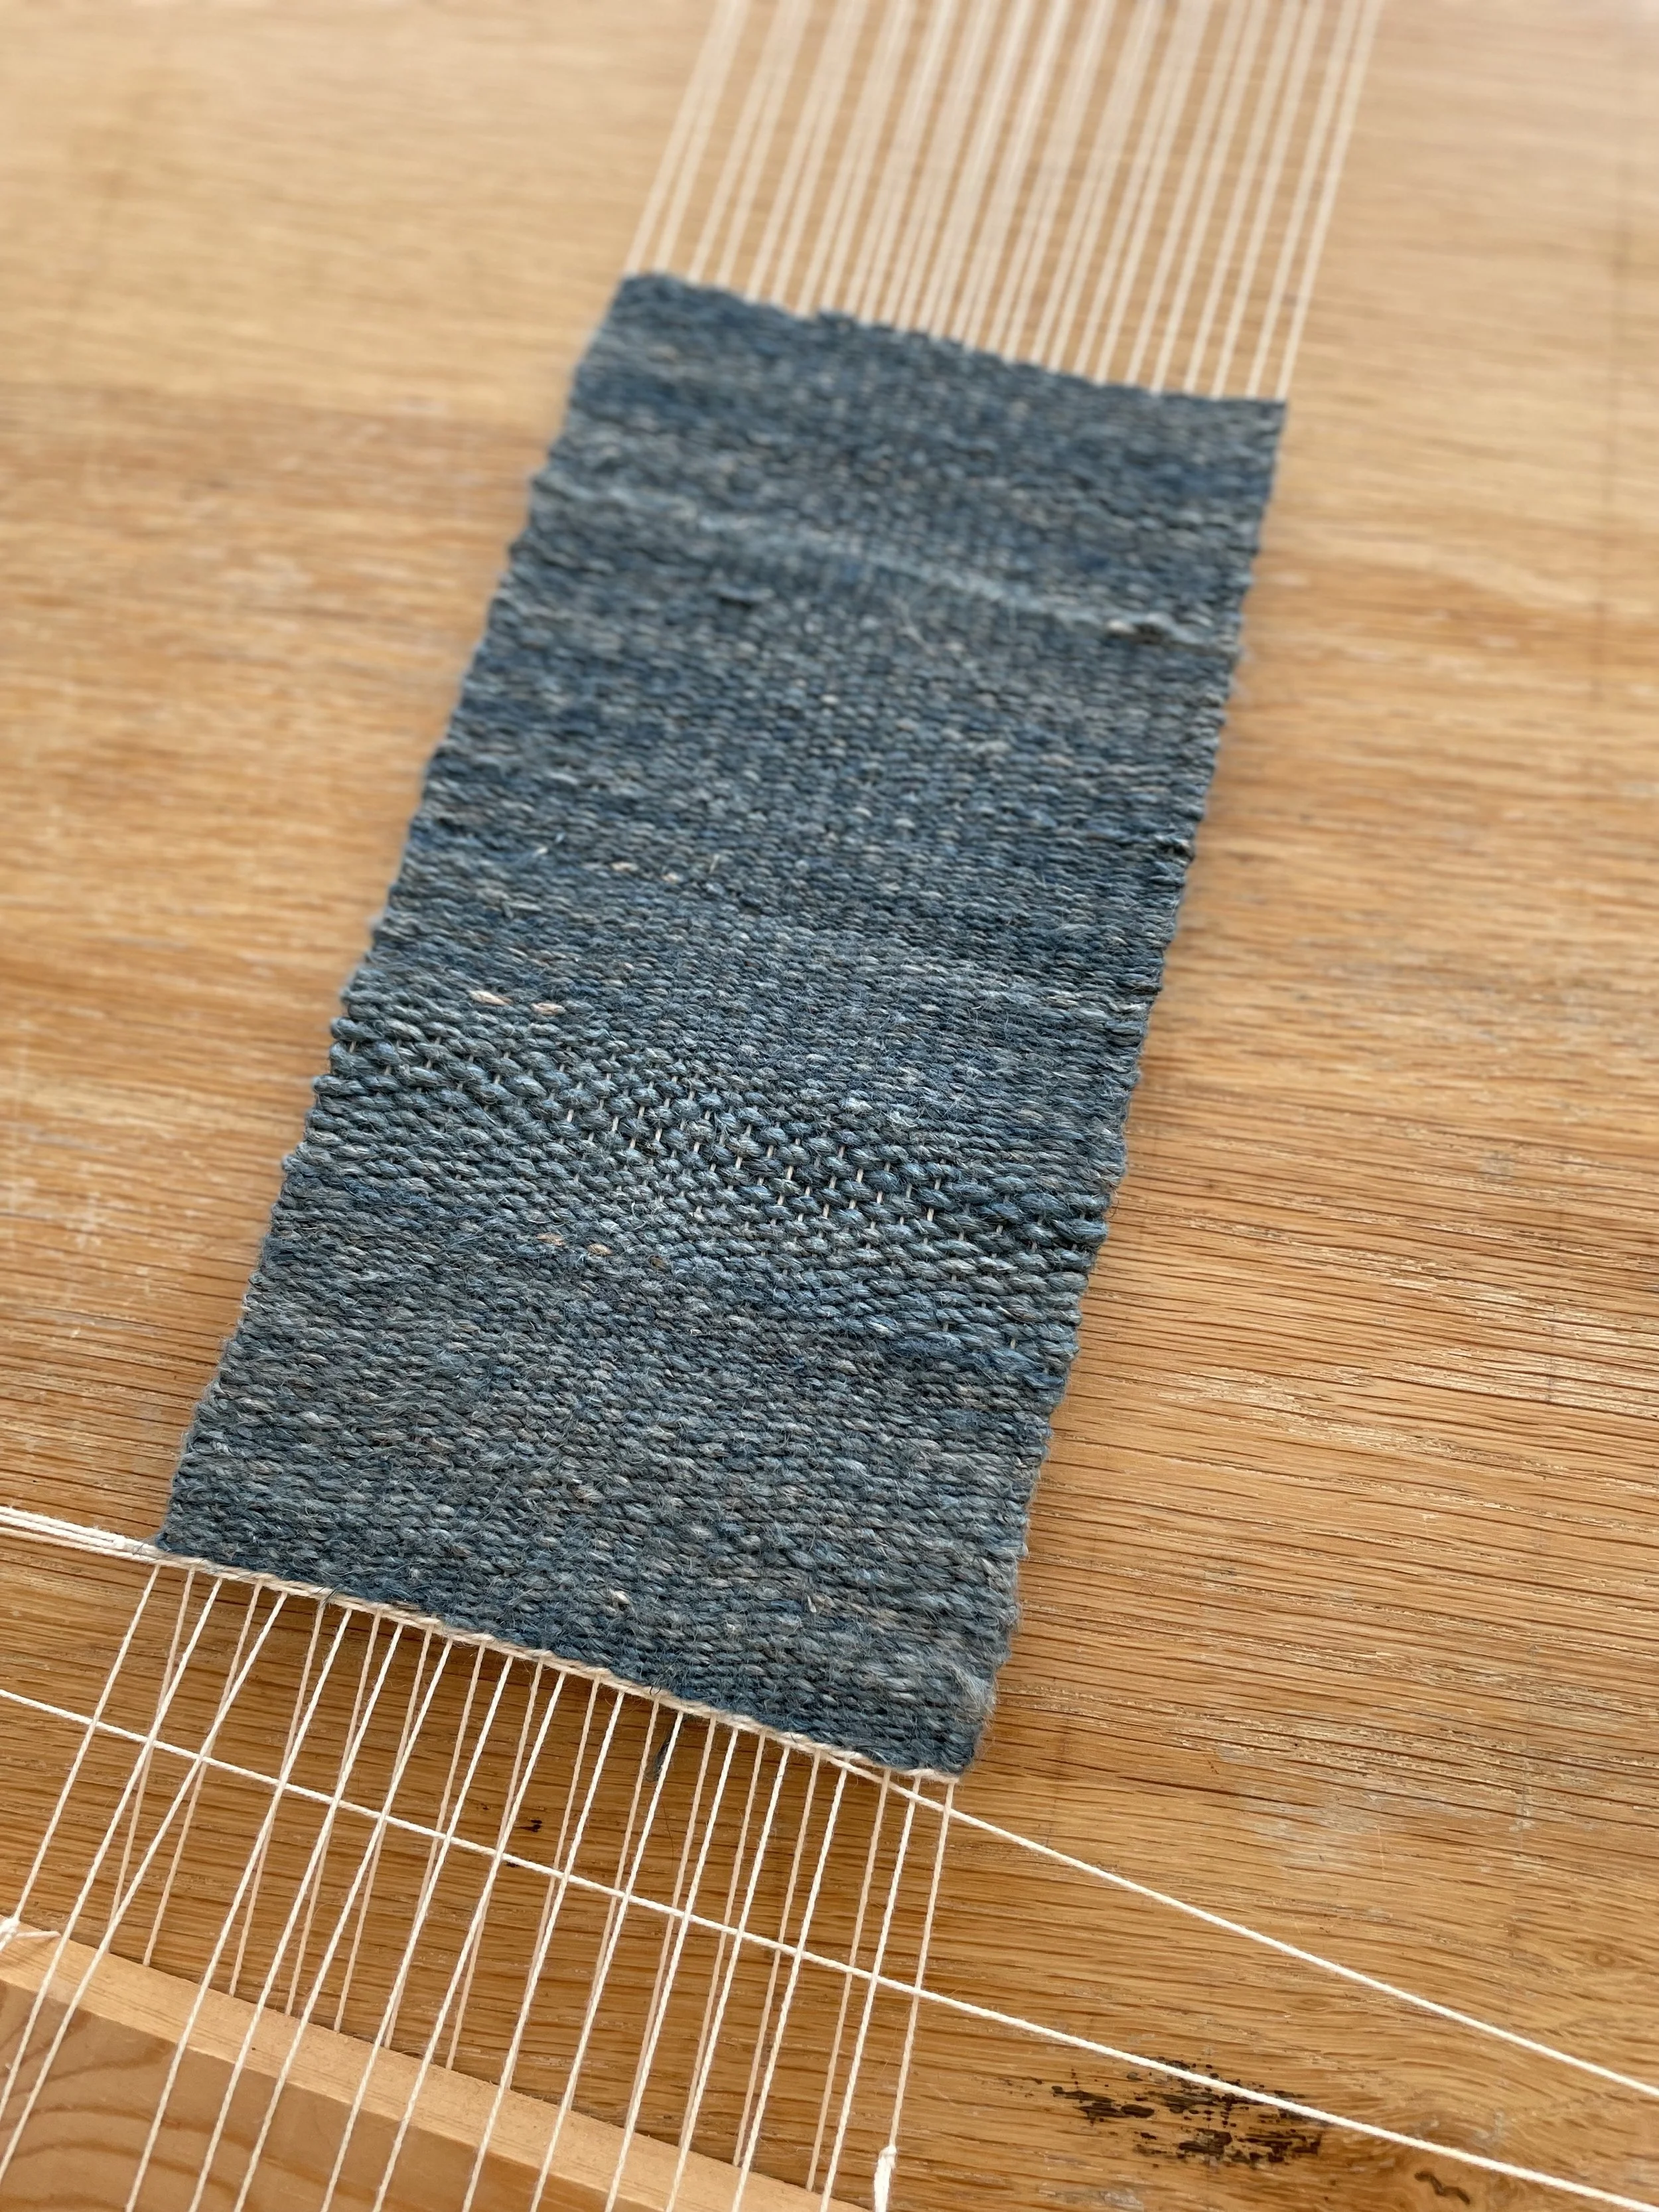
The Final Stage- Weaving the Cloth
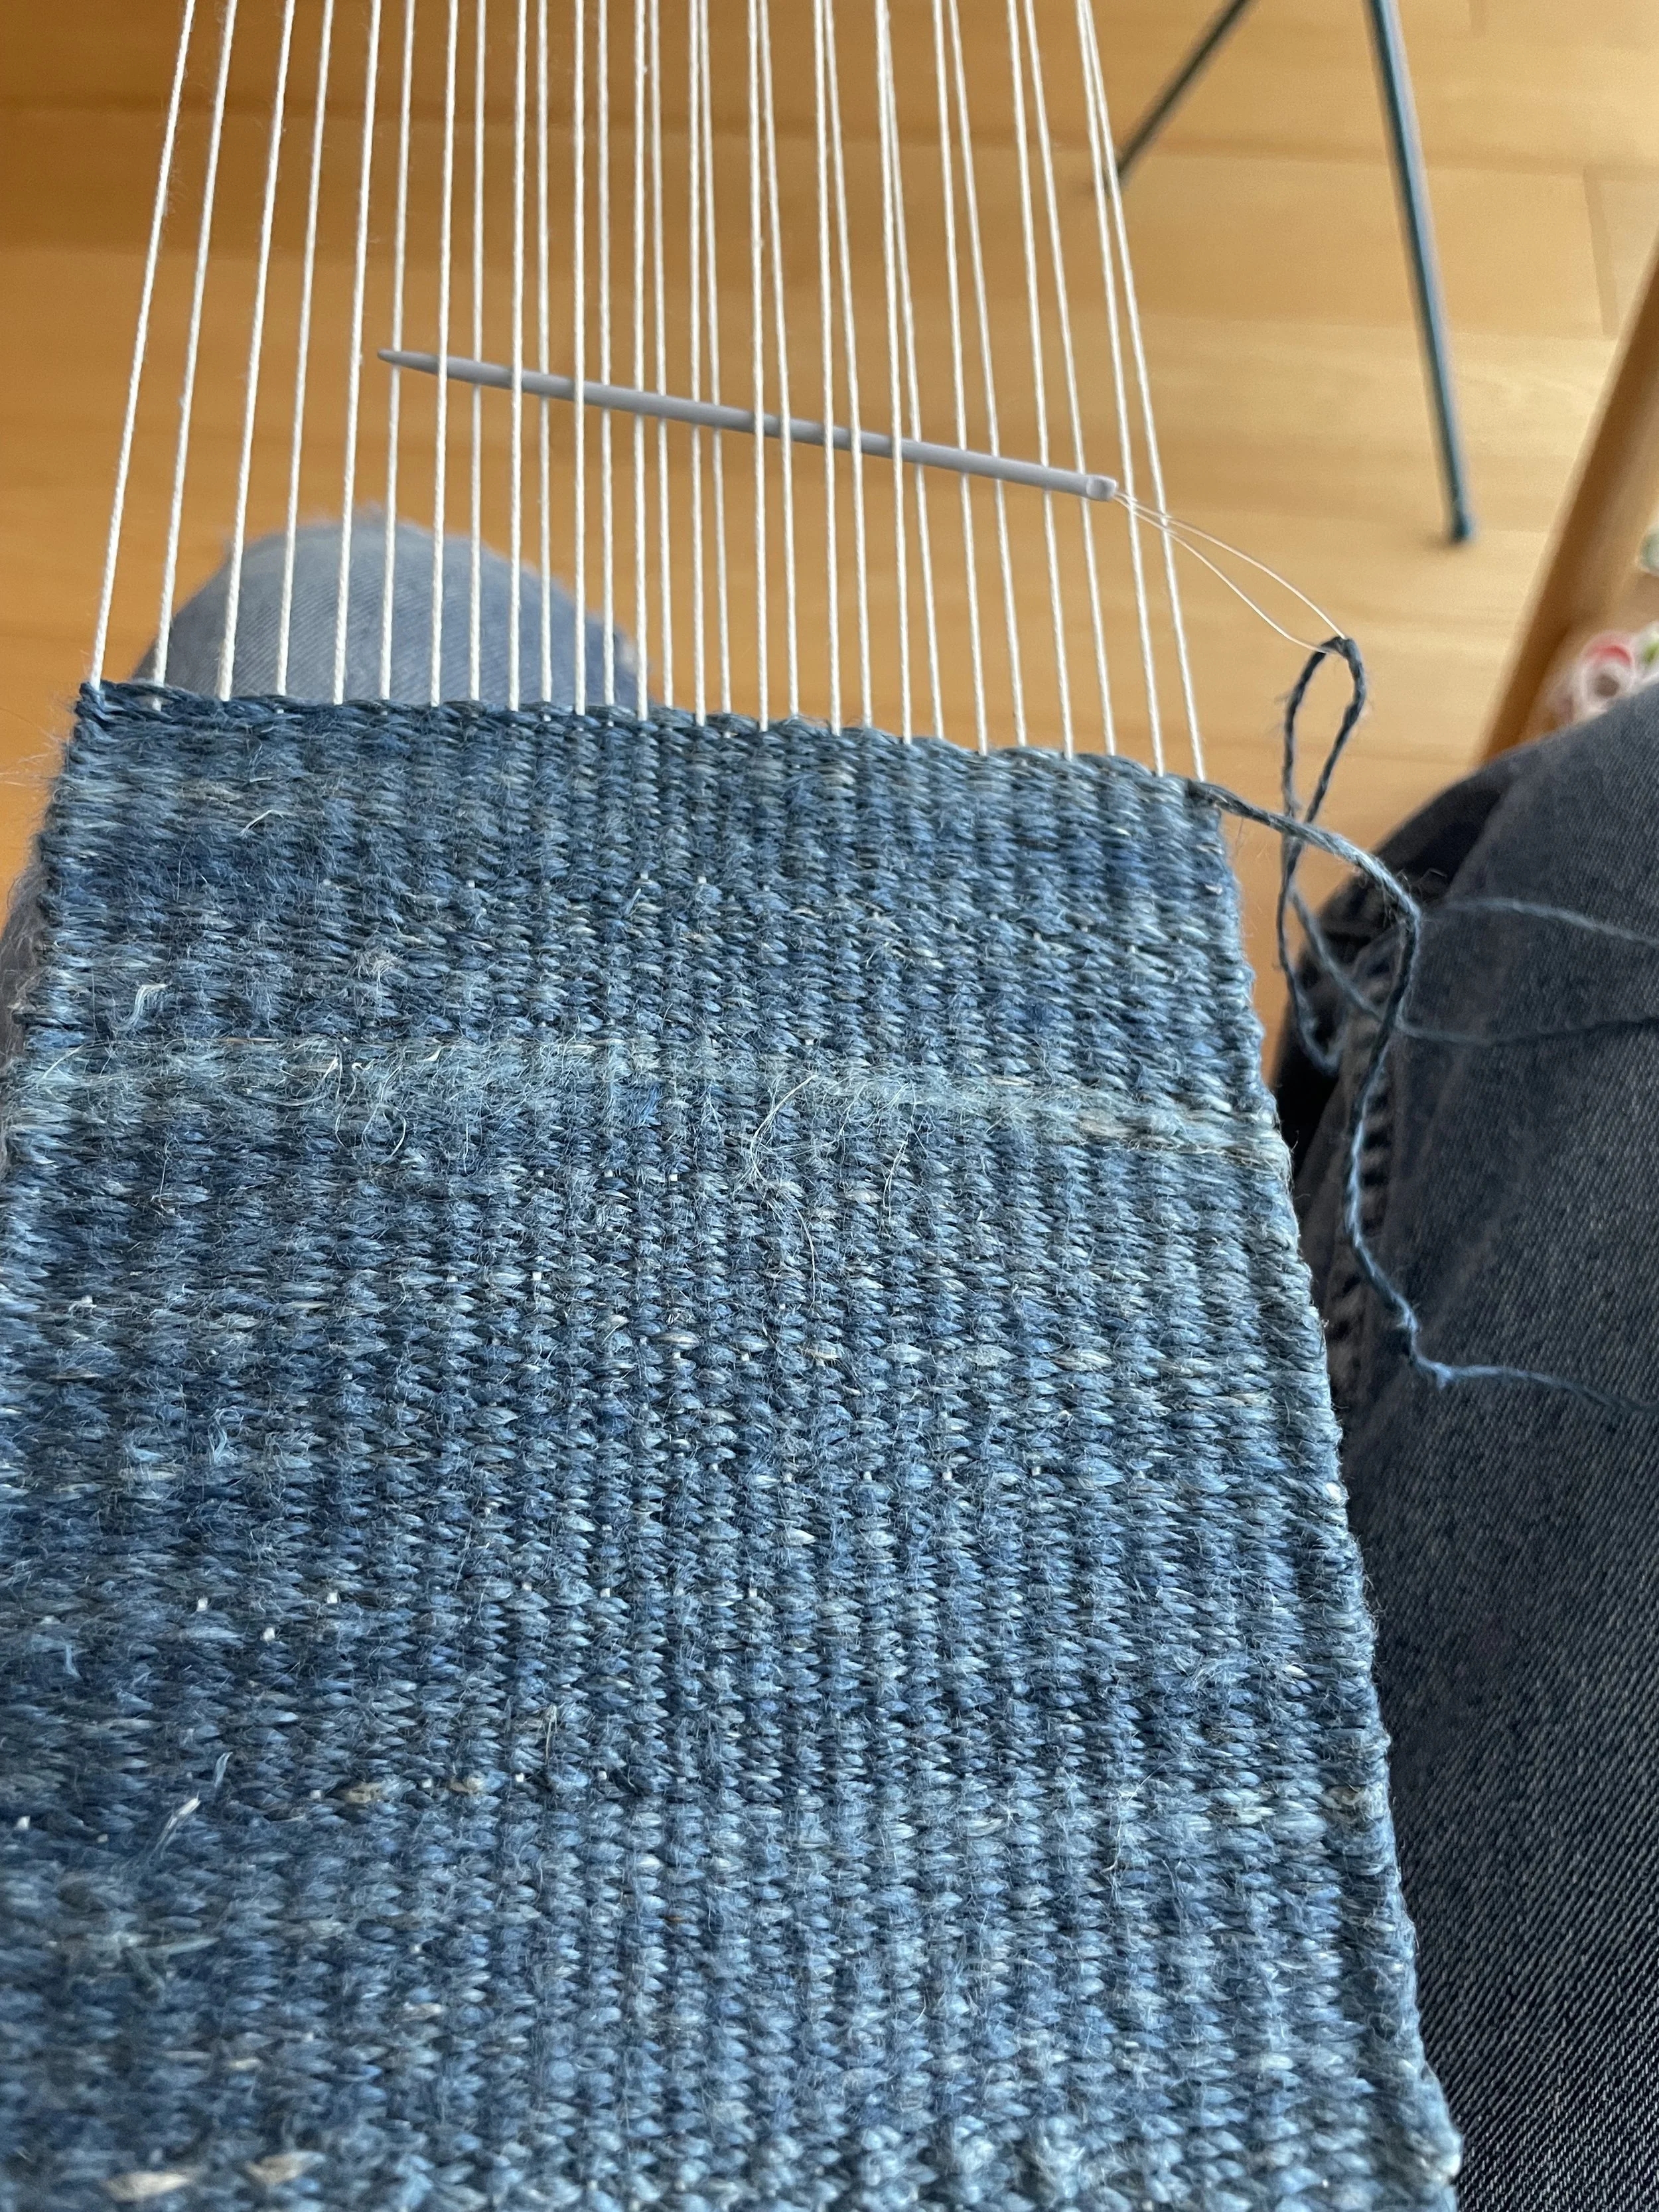
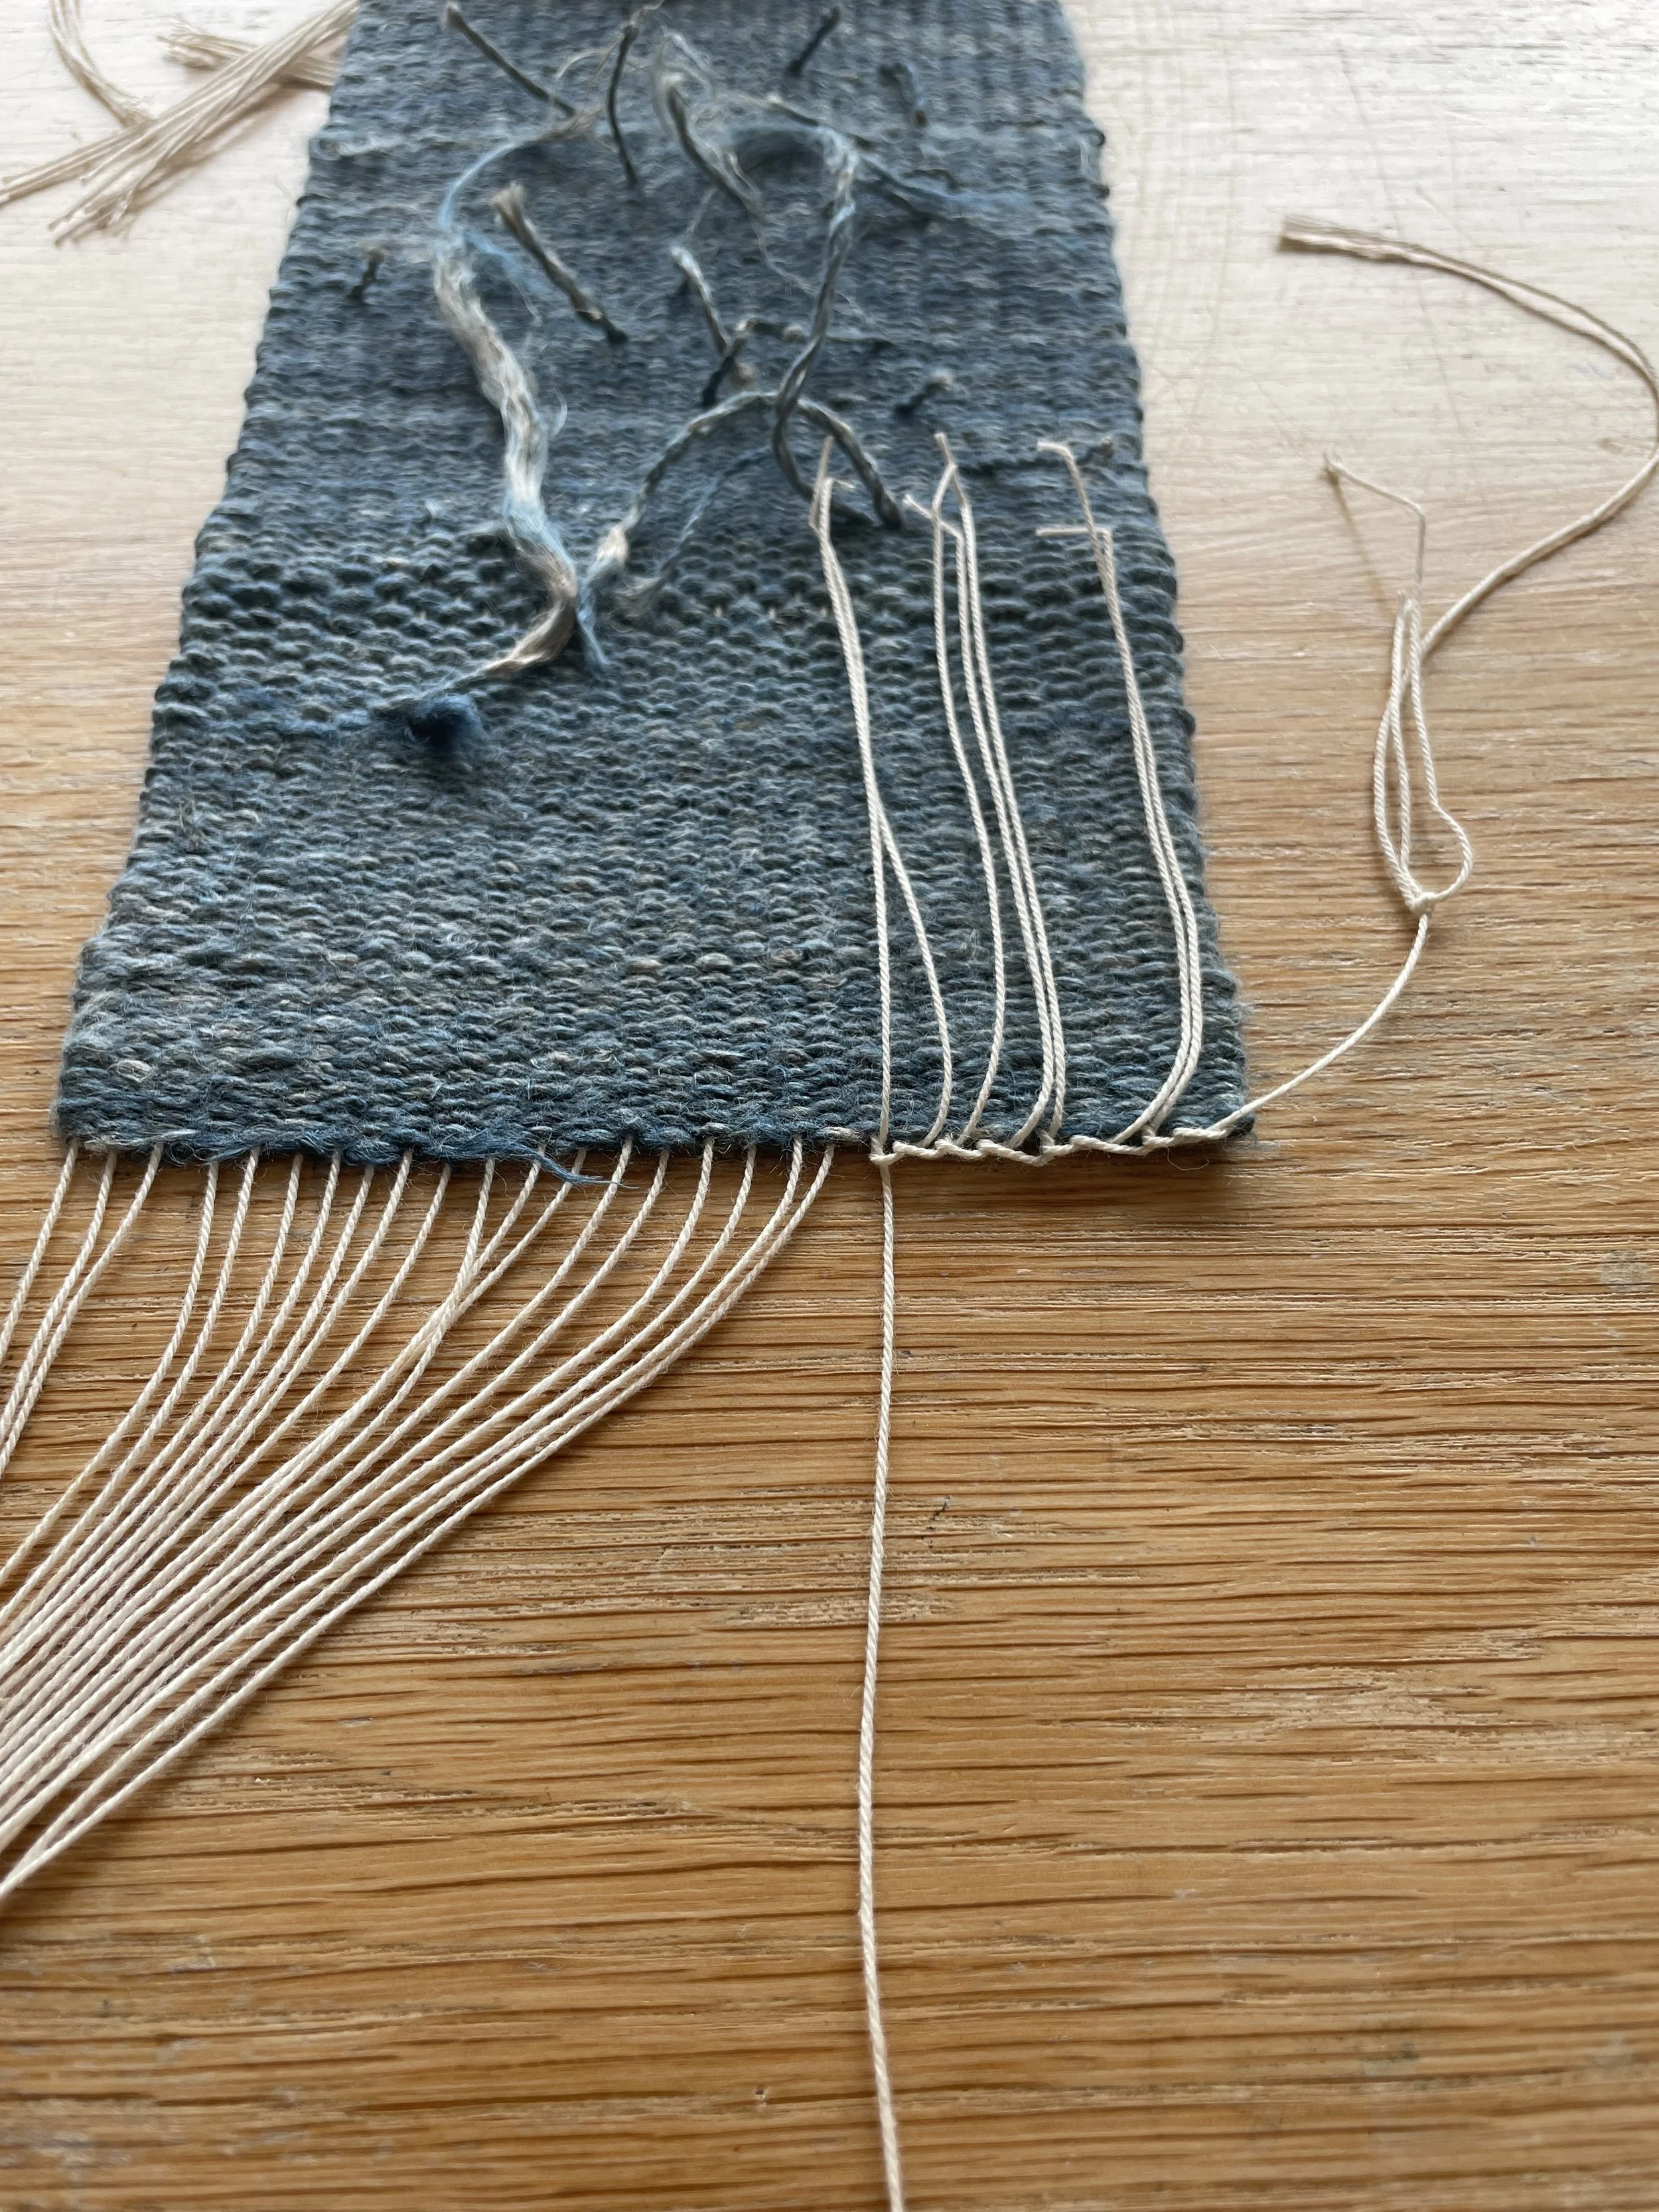
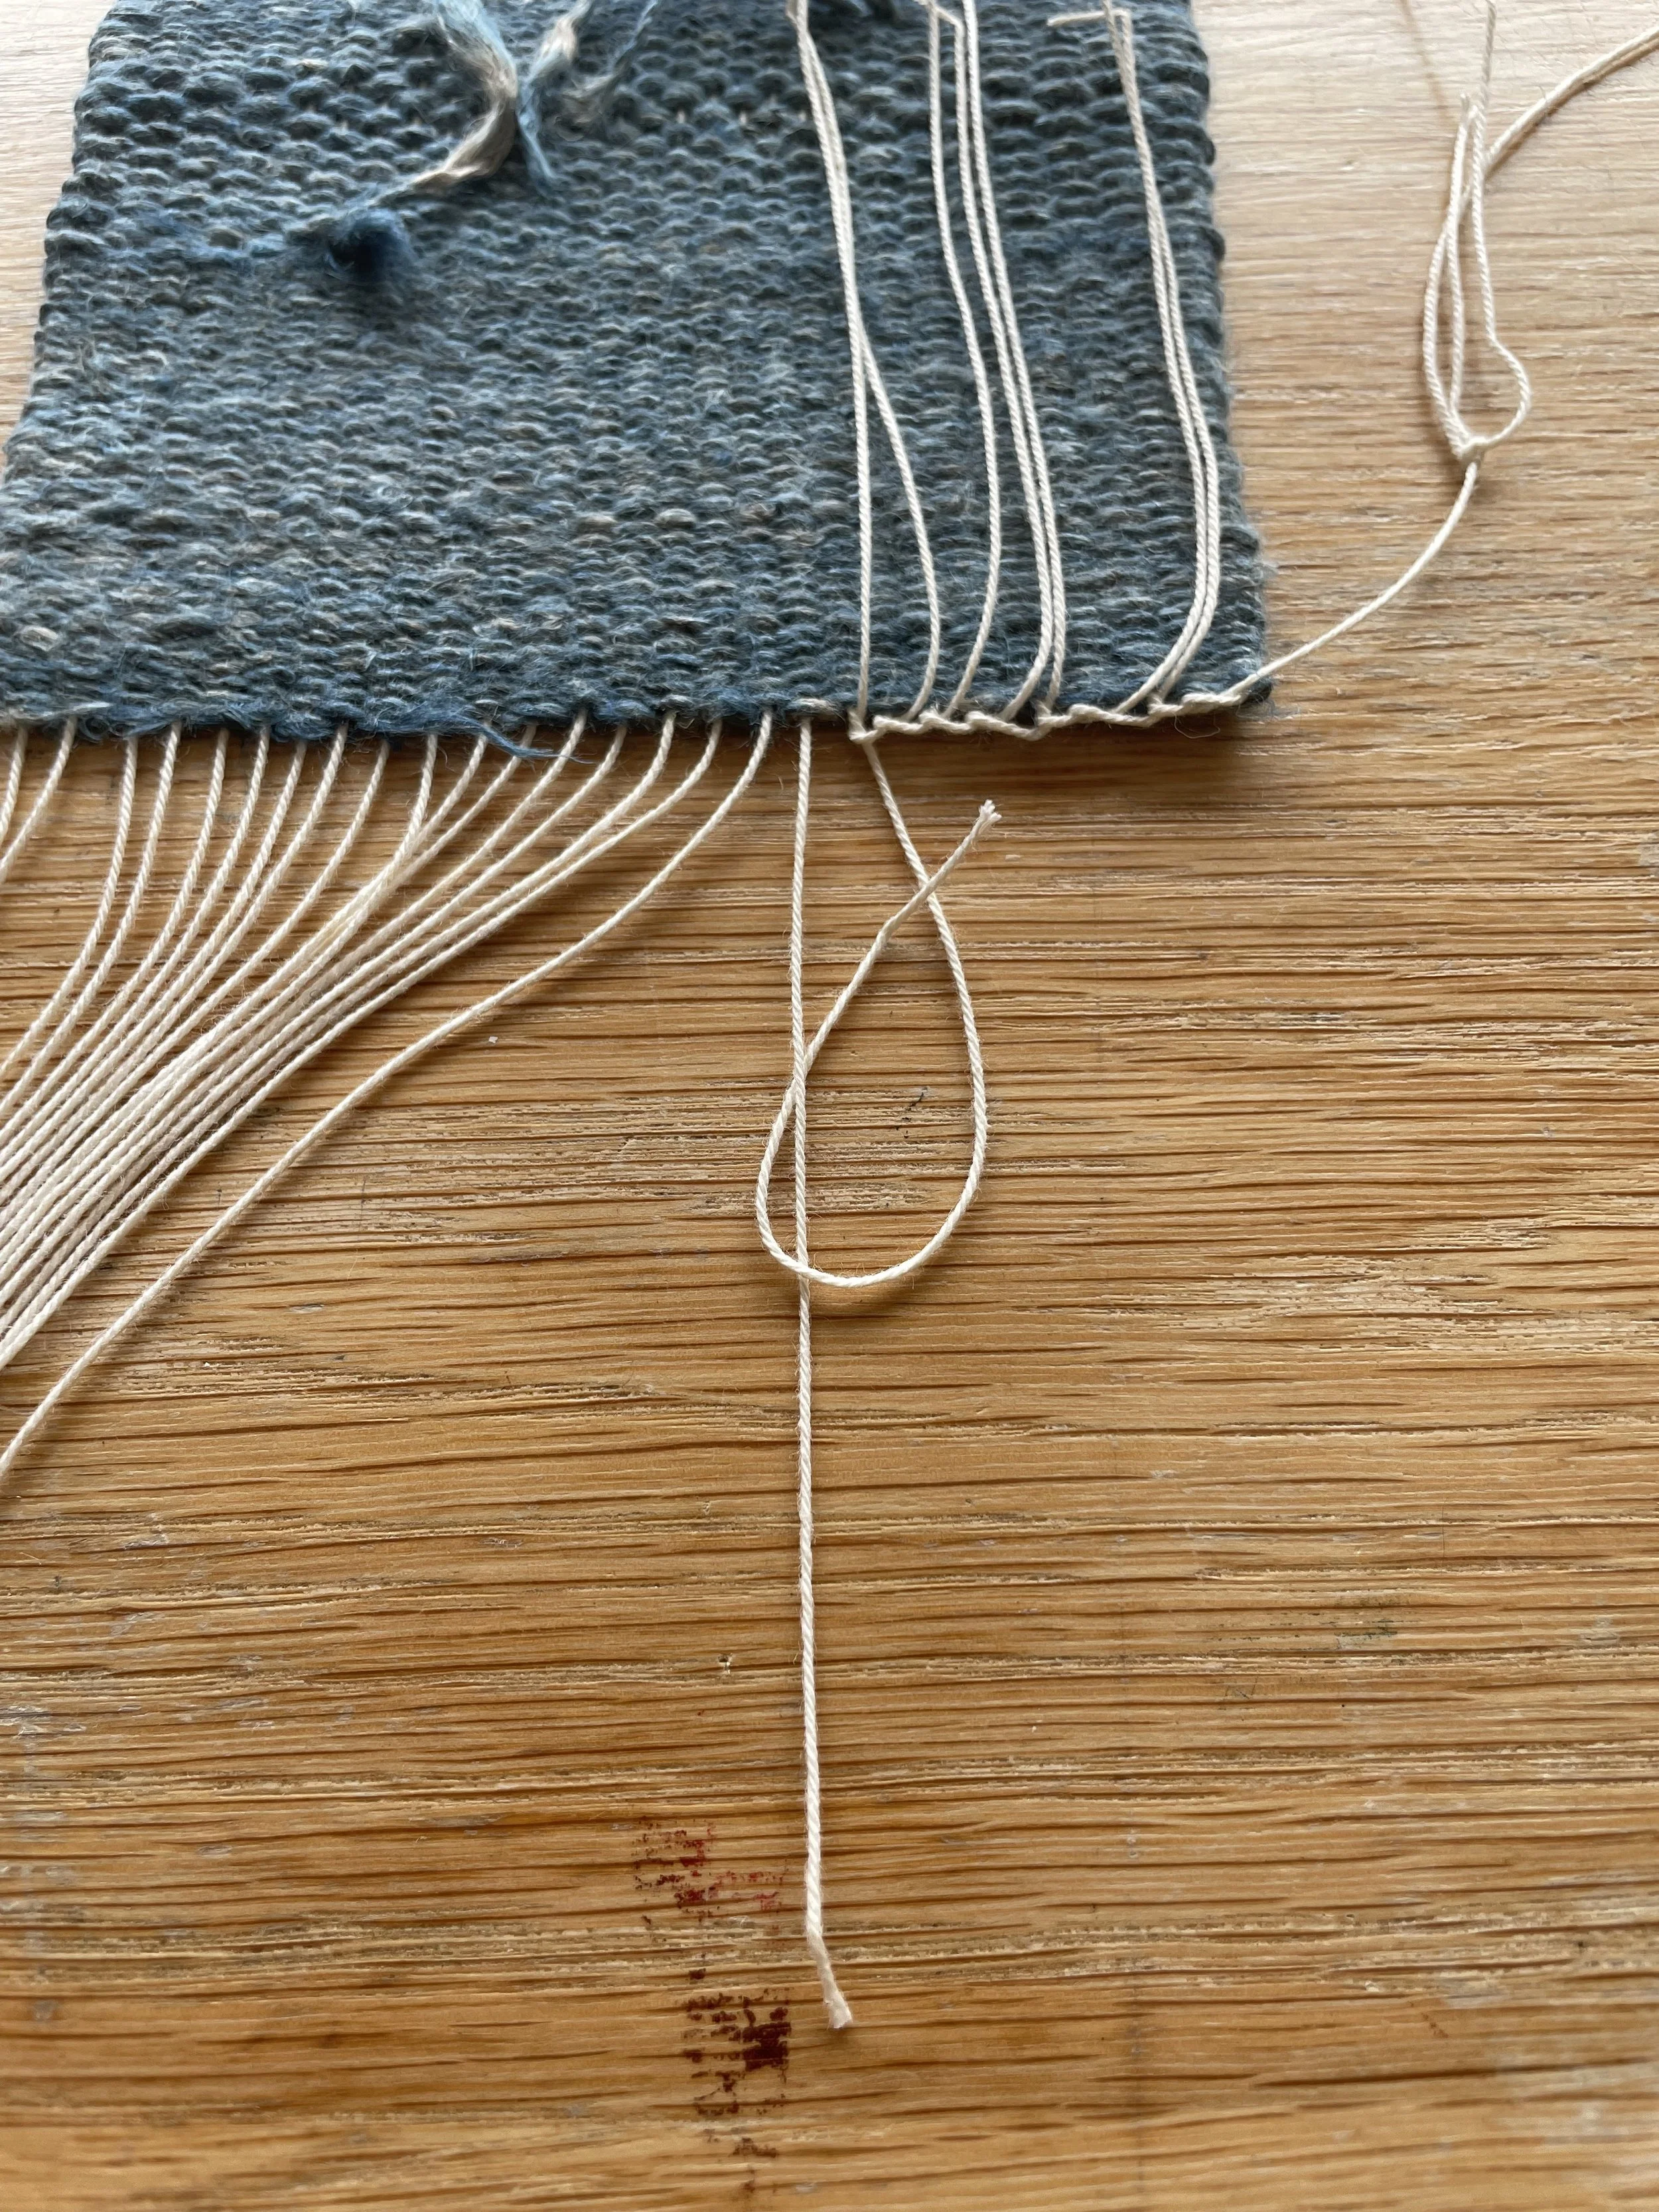
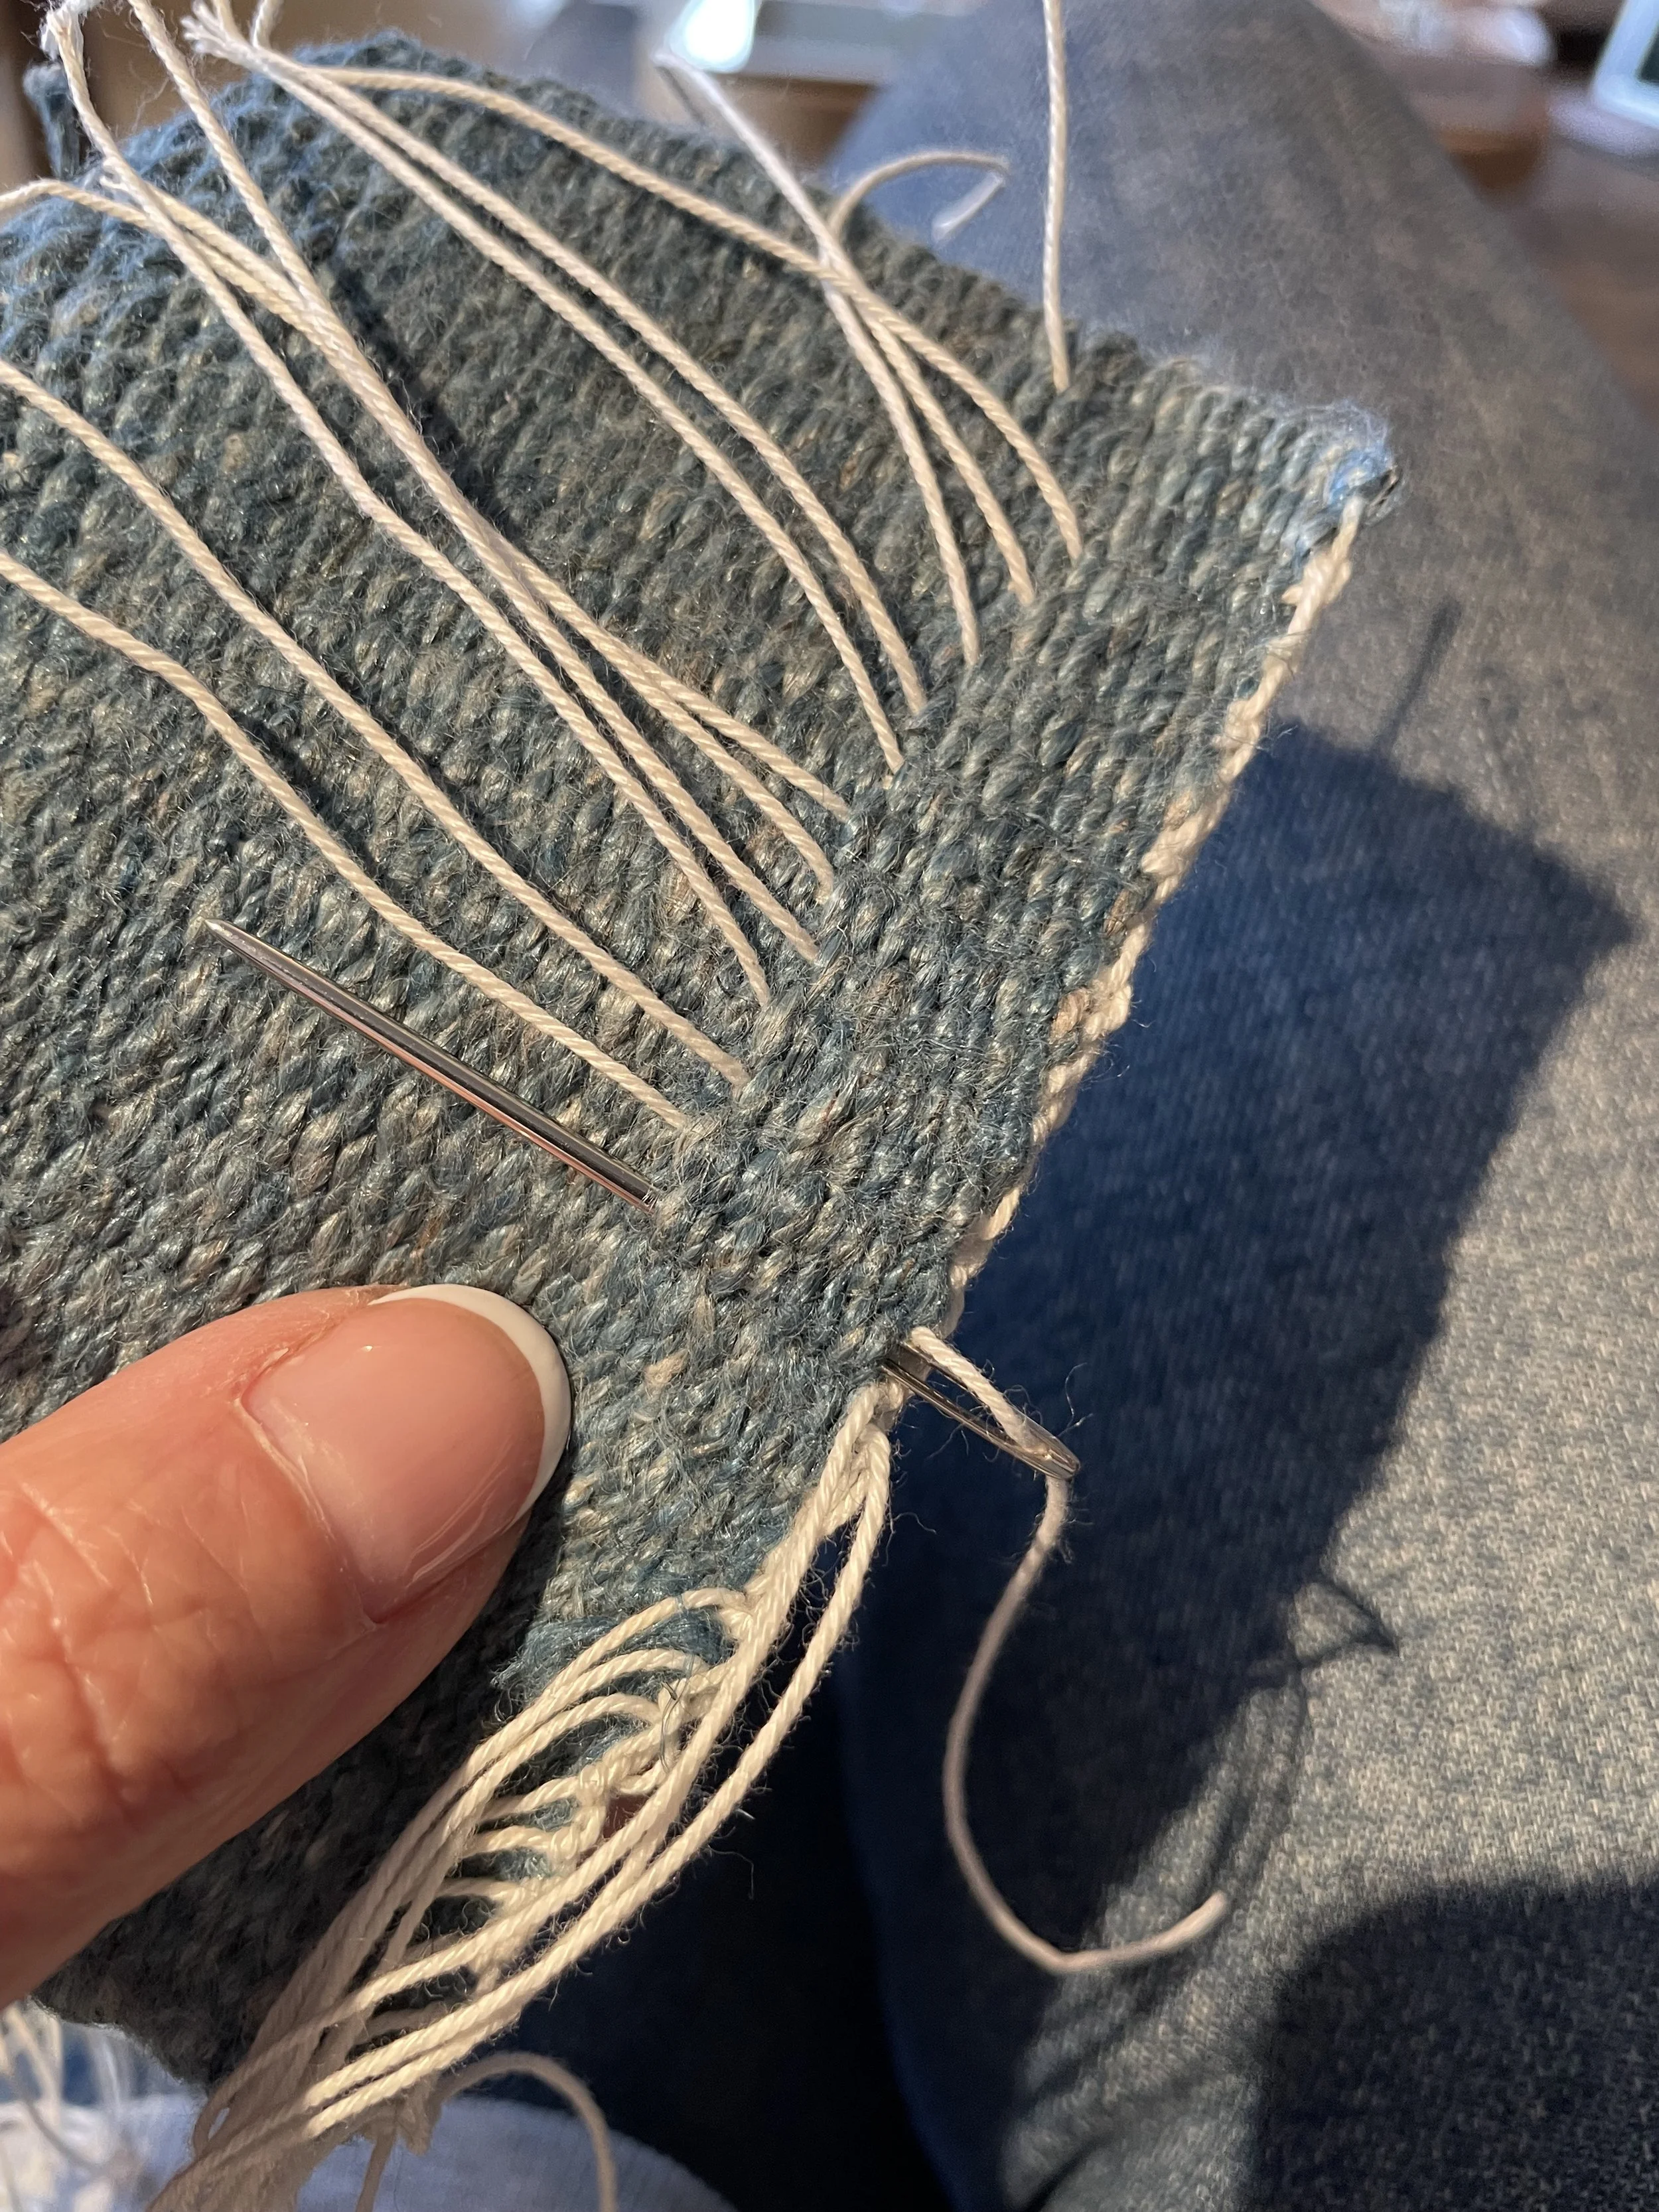
The only loom I had to weave it up was an old tapestry weaving frame which is basically a square of wood like a picture frame. Not totally ideal but good enough to do this small piece of weaving. I used a large needle to weave the yarn through the warp strings and pull it through. I decided to use all of the yarn I had both spun and corded so the piece became quite textural, with variation in colour and thickness. I then removed it from the loom and used what’s called a Damascus Edge- This involves tying a simple knot with the warp threads along the edge of the weaving. This ties up all the ends and once they are tucked in with the needle the piece has no visible fringe. I wanted it to look like a piece of cloth rather than a weaving, even though it was a bit chunky!

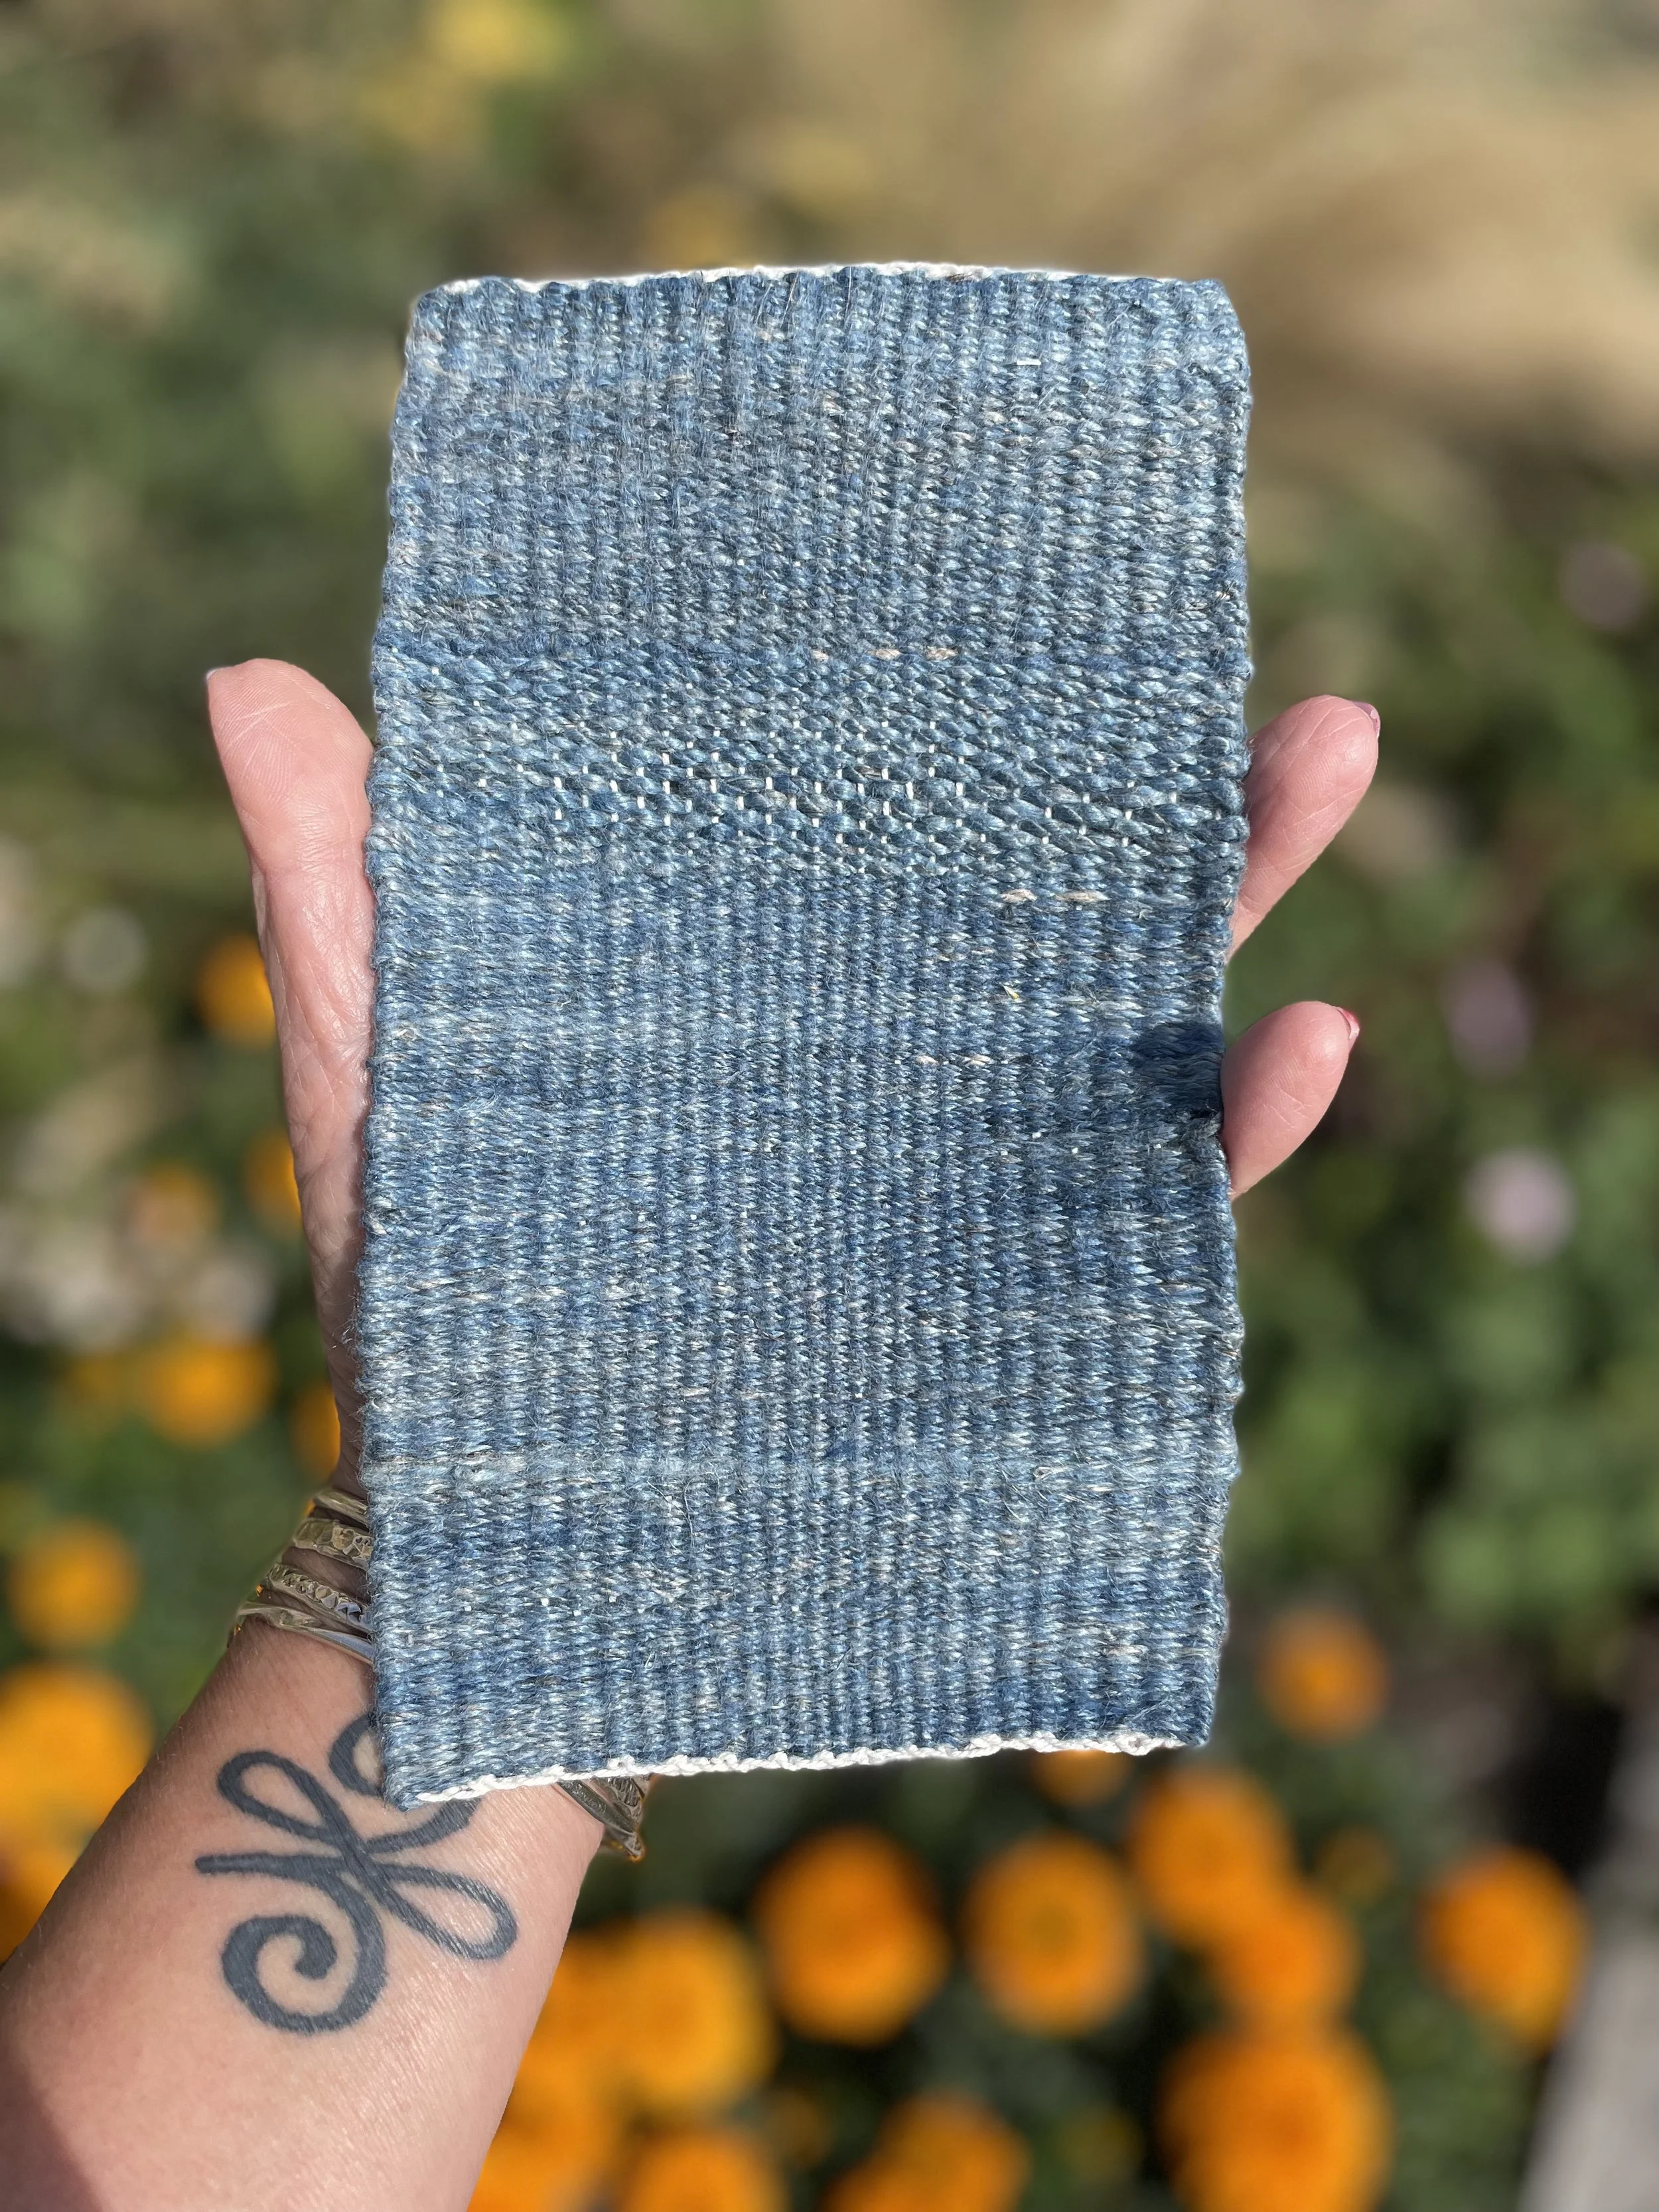
The Cloth
If you made it to the end of this blog you can see that this process is not called ‘slow textiles’ for nothing. To be honest I did the work over a period of about a year, a bit here and there as I could fit it in. My little piece of blue linen in its simplicity, belies the hours, weeks and months involved in its production.
How do we then place a value on that piece of work? To me it is precious and represents both my relationship with my garden and the plants that I grow, as well as my journey through various crafts used for centuries to produce our clothing. When textiles were made this way, from seed to cloth, they were highly valued by the people who used them. They would be handed down through generations, repaired, adjusted and remade until the end of their lives when they biodegraded back to the soil.
It has given me a different perspective on the clothing I choose to buy and wear and my appreciation of artisan handmade textiles. My little piece of cloth may not be perfect, but the process has been invaluable.